Hi there!
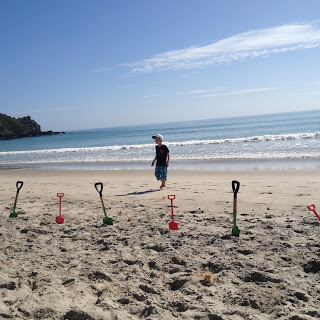
This is really just a quick update that deleted itself whilst I was writing it on my way back home from a day at the beach.
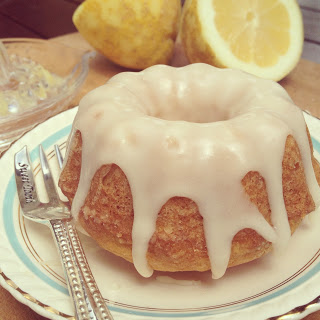
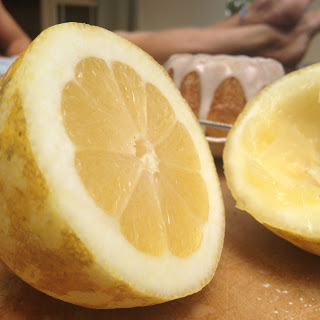
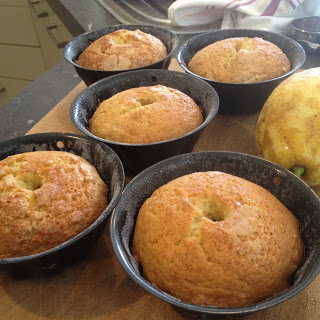
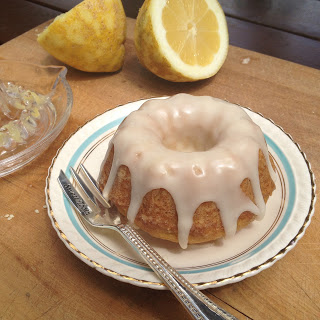
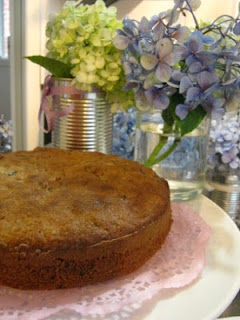
After my very successful lemon baby bundt cakes I decided to try another flavour. I saw a orange and almond version on a website somewhere but the actual recipe itself was much larger than my Nigella one which would have posed an issue for my already very full six bundt pans.

I decided to just use the Nigella recipe is my last post and instead of using lemon zest and juice I used orange zest and juice as well as a couple of drops of almond essence.
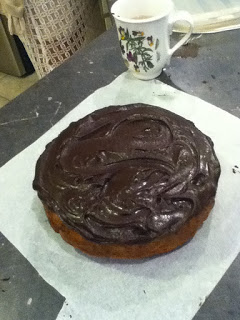
I love almond essence. It is a very strong and potent one so don't use it as you would vanilla because it can taste very over powering very quickly. Quite literally a few drops will do. Almond essence reminds me of Christmas cake; the best cake of all. The best part of the cake of course is the almond icing that goes atop of this marvellous cake. We have just finished our Christmas cake (it didn't get iced until New Years eve) and I already miss the wonderful almondyness that it had.

So for those of you who also pine after the delicious aroma of almond flavoured things then definitely go ahead and add the essence. For those of you who cut off the icing of a Christmas cake (God have mercy on your soul) then leave it out, it is still just as delicious without.

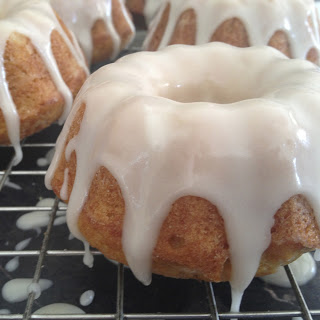
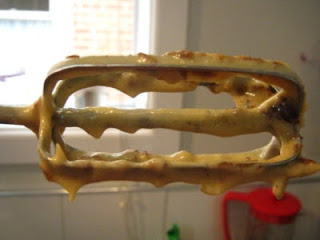
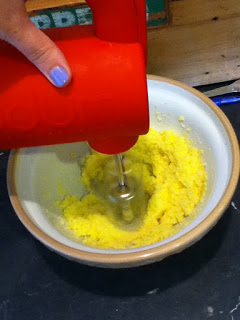
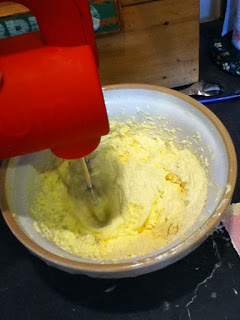
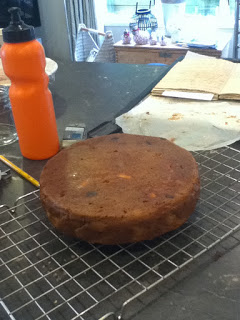
Once again this is the easiest cake recipe you will ever make. No beaters required. So great.
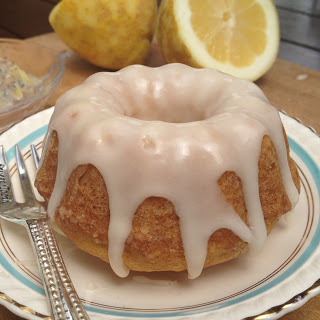
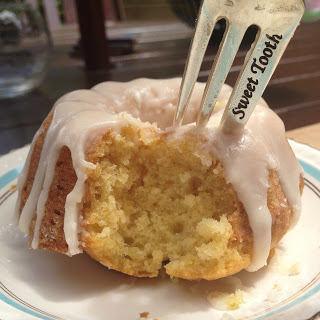
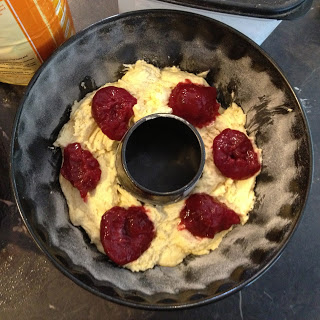
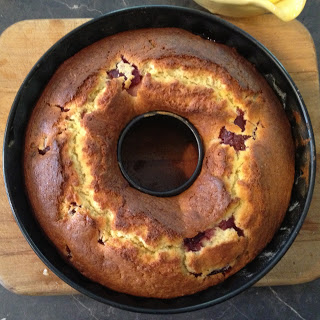
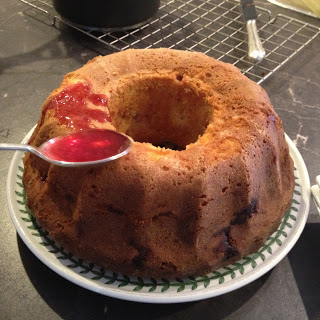
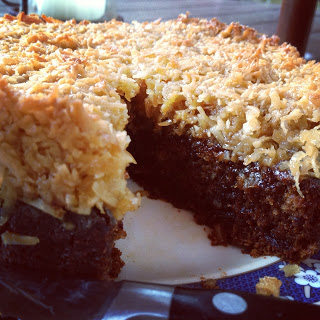
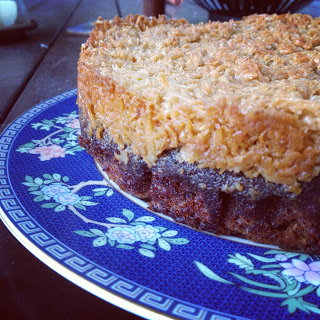
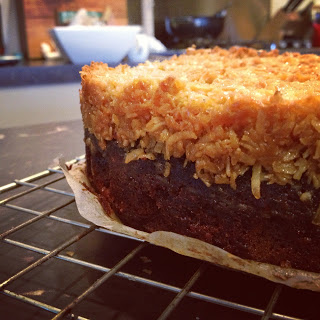
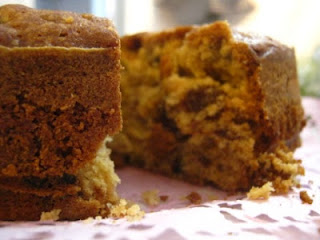
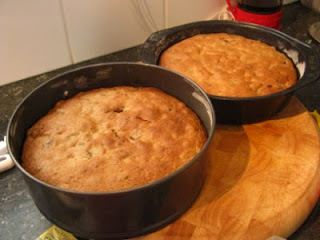
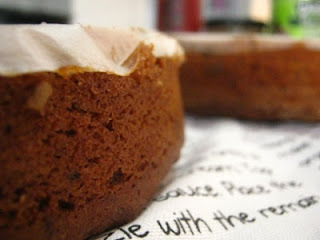
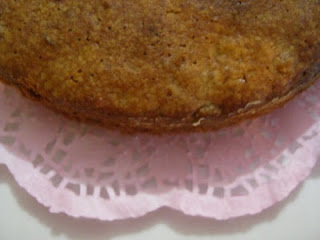
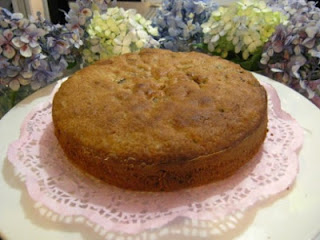
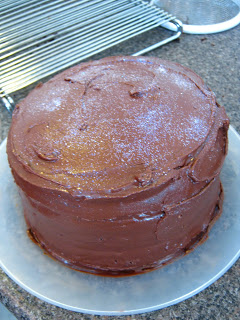
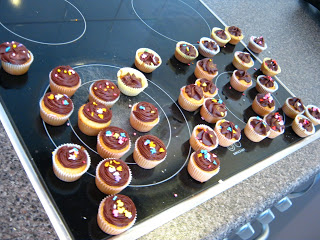
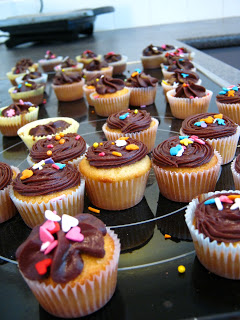
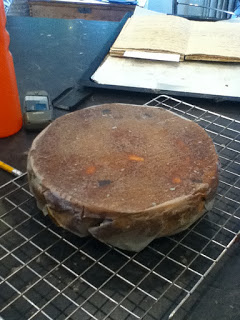
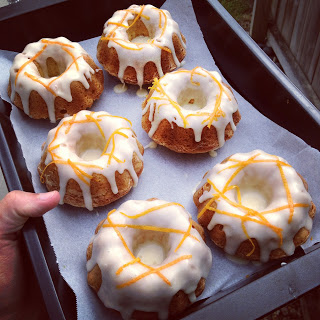
Unfortunately I was running off to my friends house for dinner (hence why I made these cakes) so I don't have any pretty pictures, just one I took whilst I ran down the stairs by the side of our house.
Orange and Almond Baby Bundts
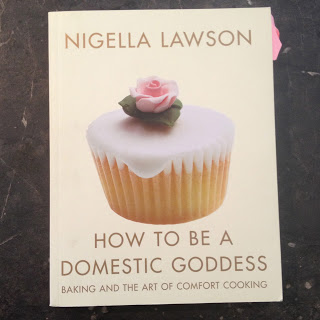
Adapted from Nigella Lawson's How to be a Domestic Goddess
Makes six little cakes
125ml (1/2 cup) plain unsweetened yoghurt
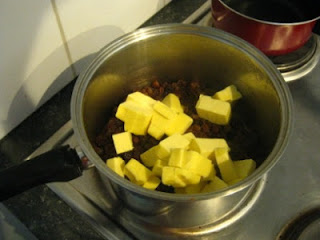
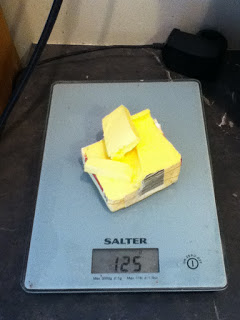
75g butter, melted
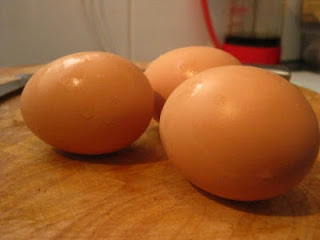
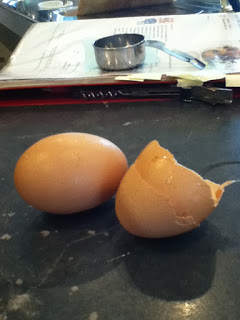
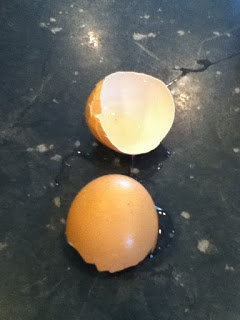
2 large eggs
zest of one orange
1/8 teaspoon almond essence
150g (1 1/4 cups) Plain flour
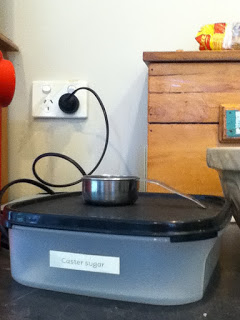
125g (1/2 cup) caster sugar
1/2 teaspoon baking soda
pinch of salt
For the icing:
1 1/2 cups icing sugar, sieved
juice of half to one orange
1 teaspoon of butter, melted
2 drops almond essence
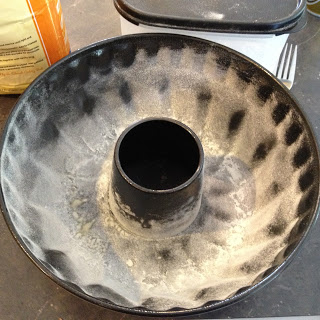
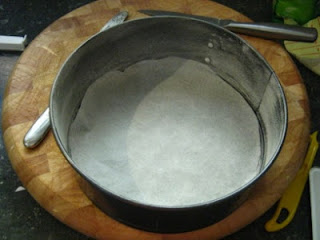
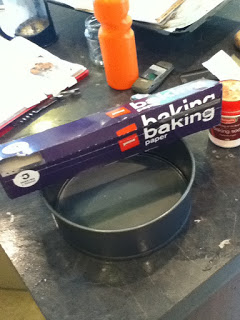
Preheat the oven to 170 degrees and grease and flour the baby bundt tins.
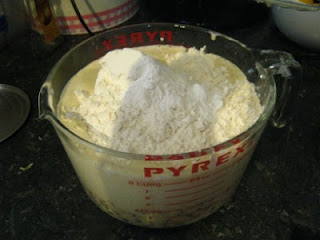
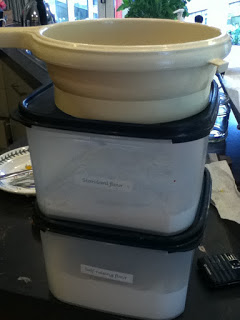
Sieve together the flour, sugar, baking soda, salt and zest.
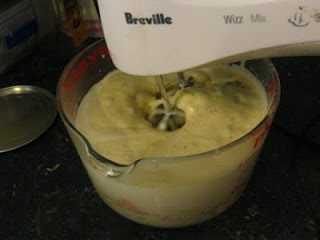
In a separate jug or bowl, whisk together the melted butter, eggs, essence and yoghurt.
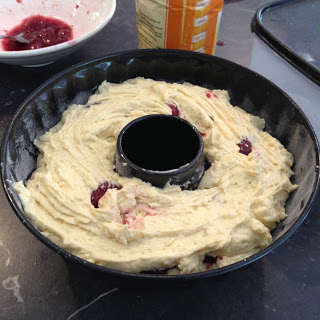
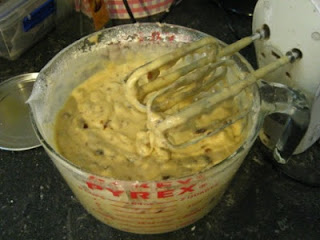
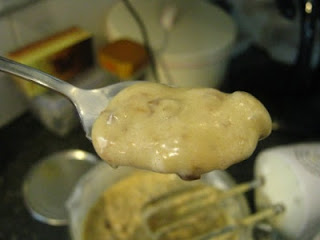
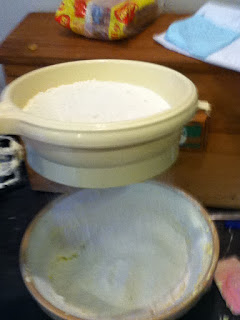
Add the wet ingredients to the dry ingredients and gently mix until no more flour clumps can be seen. Try not to overmix as this will result in a dense and chewy cake.
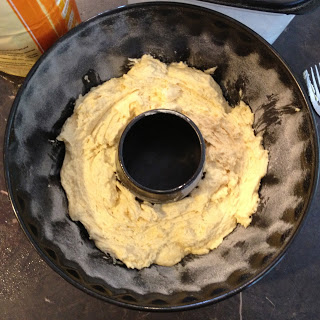
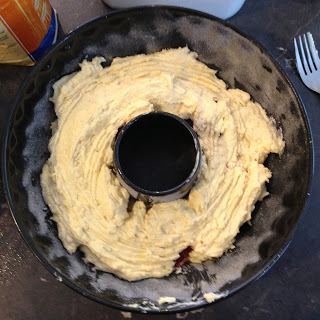
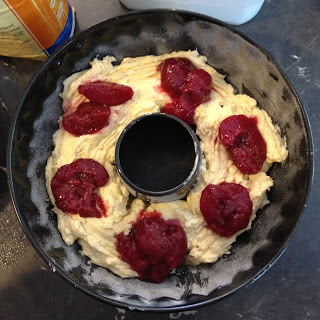
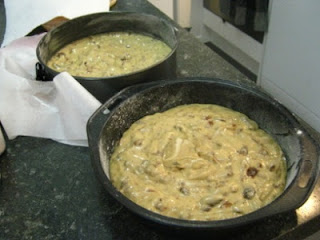
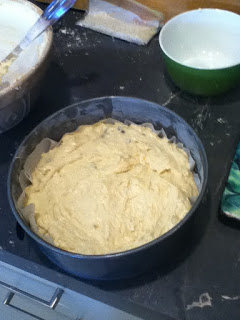
Fill the tins until just below the top of the centre tube (the inverse of the bundt hole), sprinkle over a little white sugar and bake for 20-25 minutes until a skewer comes out clean or and cakes bounce back when touched.
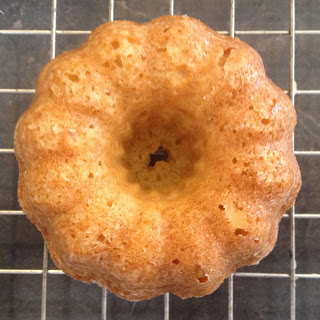
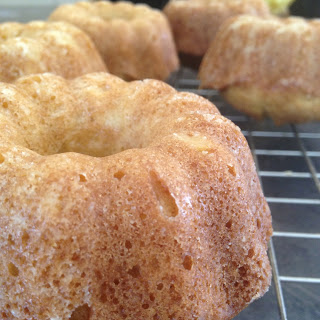
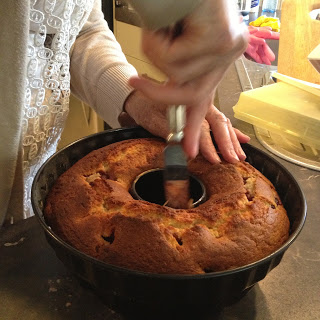
Leave to cool a little before removing the cakes form their tins. Soft, freshly baked cake is delicate and if the cakes are too hot when they are removed they can fall apart. Also don't leave them to fully cool in the tins as this can result in them sticking to the tins.
leave to cool completely on a wire rack before icing.
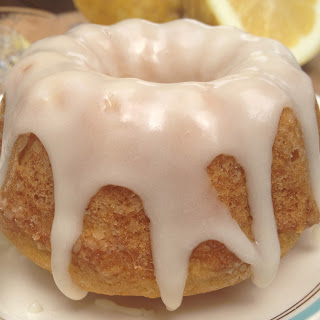
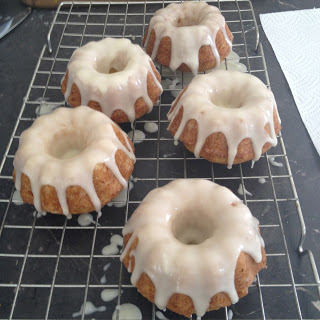
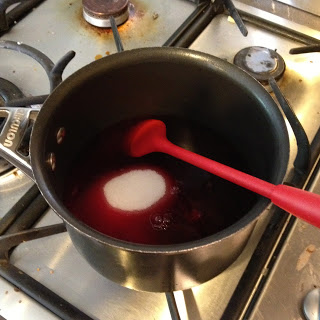
To make the icing, use as much of the orange juice as necessary to make a thick but still drippable mixture. If it is too runny the icing will just run off the cake and only the bench creating a very sticky mess to wipe up later.
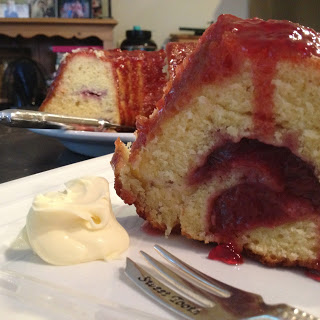
Decorate the cakes with a few long strands of orange zest if you wish!
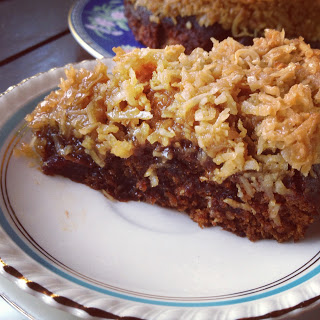
I think these were better that the lemon cakes!
Enjoy!!
This is really just a quick update that deleted itself whilst I was writing it on my way back home from a day at the beach.
After my very successful lemon baby bundt cakes I decided to try another flavour. I saw a orange and almond version on a website somewhere but the actual recipe itself was much larger than my Nigella one which would have posed an issue for my already very full six bundt pans.
I decided to just use the Nigella recipe is my last post and instead of using lemon zest and juice I used orange zest and juice as well as a couple of drops of almond essence.
I love almond essence. It is a very strong and potent one so don't use it as you would vanilla because it can taste very over powering very quickly. Quite literally a few drops will do. Almond essence reminds me of Christmas cake; the best cake of all. The best part of the cake of course is the almond icing that goes atop of this marvellous cake. We have just finished our Christmas cake (it didn't get iced until New Years eve) and I already miss the wonderful almondyness that it had.
So for those of you who also pine after the delicious aroma of almond flavoured things then definitely go ahead and add the essence. For those of you who cut off the icing of a Christmas cake (God have mercy on your soul) then leave it out, it is still just as delicious without.
Once again this is the easiest cake recipe you will ever make. No beaters required. So great.
Unfortunately I was running off to my friends house for dinner (hence why I made these cakes) so I don't have any pretty pictures, just one I took whilst I ran down the stairs by the side of our house.
Orange and Almond Baby Bundts
Adapted from Nigella Lawson's How to be a Domestic Goddess
Makes six little cakes
125ml (1/2 cup) plain unsweetened yoghurt
75g butter, melted
2 large eggs
zest of one orange
1/8 teaspoon almond essence
150g (1 1/4 cups) Plain flour
125g (1/2 cup) caster sugar
1/2 teaspoon baking soda
pinch of salt
For the icing:
1 1/2 cups icing sugar, sieved
juice of half to one orange
1 teaspoon of butter, melted
2 drops almond essence
Preheat the oven to 170 degrees and grease and flour the baby bundt tins.
Sieve together the flour, sugar, baking soda, salt and zest.
In a separate jug or bowl, whisk together the melted butter, eggs, essence and yoghurt.
Add the wet ingredients to the dry ingredients and gently mix until no more flour clumps can be seen. Try not to overmix as this will result in a dense and chewy cake.
Fill the tins until just below the top of the centre tube (the inverse of the bundt hole), sprinkle over a little white sugar and bake for 20-25 minutes until a skewer comes out clean or and cakes bounce back when touched.
Leave to cool a little before removing the cakes form their tins. Soft, freshly baked cake is delicate and if the cakes are too hot when they are removed they can fall apart. Also don't leave them to fully cool in the tins as this can result in them sticking to the tins.
leave to cool completely on a wire rack before icing.
To make the icing, use as much of the orange juice as necessary to make a thick but still drippable mixture. If it is too runny the icing will just run off the cake and only the bench creating a very sticky mess to wipe up later.
Decorate the cakes with a few long strands of orange zest if you wish!
I think these were better that the lemon cakes!
Enjoy!!