Cookies and Cream Cupcakes

Give an example of how you deal with stress.


Job interview preparations. Love it. I spend hours by myself thinking of scenarios and examples because I know that if I don't, when crunch time hits my brain will suddenly become empty and I will probably come up with some very poor, weak example. 

So while the proper answer is that I write down everything I have to do, prioritise and just work through it setting time goals, in reality the truth is far more calorific. 

If the stress is emotional and irrational I tend to turn to my Kitchenaid mixer and a viber chat with Alix. At the same time of course.


Anything to distract me and Alix has a magical way of pulling you back down to Planet Normal. Oh and she's great to talk to if you want to complain about boys and how dumb they are and celebrate being on Team Single. Whoop. 

So today whilst chatting away I churned through an entire packet of oreos in the process of making these magnificent creations.


I vowed that every Monday I would bring morning tea to our one fourth year class of the week. Since there are only like ten of us it is a very doable quest. So in practice for next Monday I decided to try out a half batch of these babies from my Home Sweet Home recipe book from the Hummingbird Bakery. My Dad bought be this book as part of a bet/deal we had going. If I get above 80% in a 50% exam I had earlier on in the year he would buy me this book. Between 70-79% I would pay half. Below that and he would disown me. Good deal eh.

Well thankfully I got 82% in that gem so this book was all mine!


But basically all this is just a chocolate cupcake recipe with a few crushed oreos shoved into each one. Preeeety simple. I decided to do an icing with a dollop of cream cheese thrown in there just to make it really lethal. 

I'm really going with the messy cupcake look lately aren't I? I could't pipe these very well anyway, the oreo chunks would get stuck in the nozzle!

So next time you feel like making something that looks epic but is actually really easy, look no further than these babies. 


Cookies and Cream Cupcakes
Adapted from the Hummingbird Bakery's Home Sweet Home

for the cupcake:
70g butter, softened
170g plain flour
250g caster sugar
50g cocoa powder
1 tablespoon baking powder
1/2 teaspoon salt
210ml whole milk
2 large eggs
12 oreos, broken into quarters

for the icing:
50g butter, softened
50g cream cheese
1 teaspoon vanilla
3 cups icing sugar
couple of splashes of milk
6 oreos, crushed

6 oreos roughly broken to sprinkle over the top

Preheat the oven to 170 degrees on bake.

Mix together the flour, butter, sugar, cocoa, baking powder and salt until a sandy consistency is reached.

Add in half the milk and vanilla and beat until smoothish then add one of the eggs and beat until smooth. Repeat with the rest of the milk and second egg. Beat until all the lumps have gone.

Spoon into cupcake cases in a muffin pan and bake for 20 minutes or until a skewer come out just clean.


Transfer to a wire rack to cool completely before icing.


To make the icing, cream the cream cheese, butter and vanilla together until smooth then mix in the icing sugar and a splash of mix to loosen it. Beat until fluffy and voluminous. Stir in the crushed oreo pieces. Spread over the cooled cupcakes and sprinkle with a few extra oreo crumbs.


Prepare to see your friends weep with gratitude.

Enjoy!!!

Black Bottomed Cheesecake Cupcakes

Also known as the ugliest cupcakes you will ever lay your eyes on.


That was intentional. They were never gonna be beautiful. Just like my feet were never going to be foot models (thanks Mum).

Sean said to claim them as being rustic. So I will.


I had a bit of a cruisey day today. I can only do lab work every four days at this stage so once I did all my prep I had the afternoon free to apply for a job, pay a power bill and twiddle my thumbs. I decided that I should probably pay a bit of attention to my wee blog. It has been a bit neglected really. I kind of went to Hawaii for 10 days, then I had a whole heap of stuff to do at uni and then I guess I have been in a bit of a baking rut, making the same things over and over again. I offered the chem honours kids that I would bring them in something so it was a perfect opportunity to try something new and to blog about it.


Now to be honest with you, these didn't go as expected. I made up the cheesecake mixture and it was such a failure. It was sloppy and not smooth and fluffy like it was supposed to be. It was somewhat lumpy also. Not ideal. I was also not prepared for the eggless sponge batter. It was the strangest recipe I have ever made. I put the first lot in with little faith in the outcome. But you know what? They didn't turn out half bad so we gobbled them all up and I gave them another go with the left over cheesecake mixture applying what I had learnt from the first lot. The cheesecake mixture was still a mess. Let me know if it works out alright for you.


Goodness, I made so many adjustments. I hope I can remember them in (slash guess how much extra I threw in). This was originally a Hummingbird Bakery recipe. This is the second cupcake recipe that has turned out a little suspicious. My trust in them is being compromised but I shall remain loyal.

The sponge of this cupcake is excellent and rich. It is also quite dense. For those of you who have ever made a mug brownie, this is basically the same thing.

Changes I made:
Add the yolk and only half the white to the cheesecake mixture
Add in about a quarter of a cup of icing sugar to the cheesecake mixture also
Add 3 tablespoons of oil instead of the three
Add 1/2 cup plus say 2 tablespoons of water to the sponge batter
Added chocolate chips to the sponge (hey why not?)
I made up a cream cheese icing then separated off a little and mixed in 5 squares of melted dark chocolate then marbled this through to create an even messier effect.
I also added small half teaspoon amounts of plain cream cheese to each cupcake case, just to break up the sweetness a little.


Black Bottomed Cheesecake Cupcakes
Adapted from the Hummingbird Bakery Cookbook
makes 11-12

For the sponge:
190g plain flour
120g castor sugar
40g cocoa
1/4 cup chocolate chips
1/2 teaspoon baking soda
1/2 cup + 2 tablespoons water
1 1/2 teaspoons white vinegar
3 tablespoons sunflower oil
1 teaspoon vanilla essence
pinch of salt

For the cheesecake filling:
140g full fat cream cheese
60g castor sugar
1/4 cup icing sugar
1 yolk + 1/2 egg white
1 teaspoon vanilla

Cream cheese icing:
50g butter, softened
60g cream cheese
3 cups icing sugar
5 squares dark chocolate
1 teaspoon vanilla

Other:
6 teaspoons cream cheese


Preheat the oven to 180 degrees on bake and line a muffin tray with paper cases.

Filling:
In a mixing bowl, beat together the cream cheese, vanilla, castor sugar and icing sugar. Slowly add in the egg and mix until smooth and creamy (hopefully). Set aside.

Sponge:
Mix together all the dry ingredients (flour, sugar, cocoa, chocolate chips and baking soda).

In a jug, mix together all the wet ingredients (oil, water, vinegar, vanilla).

In a free standing mixer, gradually add the liquid mix into the dry and mix until the batter is thick.


Spoon dessert spoonfuls of the batter into each cupcake case. Spoon half a teaspoon of cream cheese into the bottom of each case also. Next, spoon a tablespoon or two (as much as fits) of the cream cheese mixture into the cases. Try not to fill too high (leave 6mm space) or else the cheesecake mix overflows.


Bake for 20-22 minutes or until the cheesecake looks set and is no longer 'eggy' looking.


As you can see, these are pretty hideous looking.

Leave to cool before icing.

To make the icing, cream together the cream cheese, butter and icing sugar and vanilla until light and fluffy. Melt the chocolate using small bursts in the microwave. Stir this chocolate into a small bowl with about half a cup of the cream cheese icing. When spreading the cream cheese icing over the cupcake, dip the edge of your spatula in this chocolate icing and swirl it around to create a marbled effect.


Sprinkle over with chocolate chips if you wish.


Enjoy!!


Gingerbread Cupcakes

I love gingerbread.


Its so great. I love the crunchy crust that forms on the top. Oh and when it is still warm and the butter melts into it. Ahhh so good.


It's another one of those Christmassy treats that can be made this time of year for no proper reasoning other than that it is Christmas time.


I basically made gingerbread. In a cupcake case. That had stripes on it. Cool eh?


And what makes everything better?


Cream cheese icing.


That's right, sooo delicious.

We are all moving Nana into her new place tomorrow so Mum asked me to make something to fill her tins that we could snack on during the day. She asked for cupcakes, or gingerbread or something.

Two birds. One stone.

I got this recipe here from my Cake Days book (no surprises there). You guys really should buy it. So worth it. The recipe said to add black treacle. Unfortunately we didn't have any here, I just substituted in the same weight of golden syrup. This makes the final sponge not as dark as it should and the black treacle would have lent a deeper flavour. But never mind, there is always next time. Which there will be! These are delicious!


Gingerbread Cupcakes
Adapted from Cake Days
Makes 12-16 regular sized cupcakes or 20 scalloped cupcake case sized ones

140g softened butter
200g caster sugar
120g golden syrup (or 60g black treacle and 60g golden syrup)
2 large eggs
2 large egg yolks
310g plain flour
1 tablespoon cocoa
1 teaspoon ground ginger
1 teaspoon ground cinnamon
1 teaspoon ground nutmeg
2 teaspoon baking powder
240ml hot milk

Icing:
50g cream cheese
50g butter
400g icing sugar, sieved
A couple of tablespoons of milk
1/4 teaspoon ground ginger
1/4 teaspoon ground nutmeg

Preheat the oven to 190 degrees and line two muffin trays with cupcake cases.

Cream together the butter and sugar until light and fluffy. Add the golden syrup (and treacle), eggs and egg yolks and beat until fluffy.

In a separate bowl, sift together the dry ingredients. Add the dry ingredients to the egg mixture in three lots, alternating with the hot milk.

Once all the ingredients have been added, beat until the batter is smooth.

Pour the batter into the cupcake cases until they are two thirds full.

Bake for 20 minutes until a skewer comes out clean.


Once they are cool, prepare the icing by creaming together all the icing ingredients until light and fluffy.  Add as much milk as you need to smooth the icing out.


Enjoy!

I did :)


Mini Pumpkin Pies

I got sent a free turkey.

Win.

Turkey is a Thanksgivingy food. Thanksgiving means pie. Pumpkin Pie. I like pie.

I am hosting a Thanksgiving dinner party where this beast of a turkey bird will be served as the main attraction. But as we all know a great show is lacking when there isn't a delicious finale at the end of it.

By finale I mean dessert. The most important meal of all.


My first and only previous experience of pumpkin pie was when my Auntie Rachel made it one year (for Christmas I think). I loved it. It was great. Mum however wasn't so much a fan. She got a bit weirded out by a vegetable (slash actually a fruit) and sugar combination thrown into a sweet pie. To me that sounds excellent. Unfortunately I do not own a decent pie dish. There is only a quiche dish here. Great sadness I know. Then I thought, hey! what's better than a pie? Lots of mini pies! Everything is better in miniature. Like mini bagels. They are amazing.

(I'll tell you how to make the pecan ones tomorrow :))


I found a recipe to sort of follow in my Hummingbird Cookbook (of course). I was feeling lazy as I had a whole tonne of other things I needed to do so I bought some pre rolled sweet crust pastry. Sure it isn't as good as homemade but it sure is easier.

The recipe calls for 424g of tinned pumpkin puree. Last time I checked they don't sell that here. I googled the best way to make my own. The Pioneer Woman helped me out with this one. I baked around 700g of fresh pumpkin and it yielded me bang on 425g. Phew!


Because I was using mini muffin trays to cook these, the pie cases only held half a tablespoon of filling in each one. I only had enough pastry to make 30ish of these (I needed to save the other half of the pastry for my mini pecan pies later) and so I was left with quite a bit of left over filling. That is ok though, i'll just buy some more pastry and make some more later.


Mini Pumpkin Pies
makes 50-60
adapted from the Hummingbird Bakery Cookbook

4 sheets, pre rolled sweet short crust pastry
425g pumpkin puree (see here for instructions)
235ml evaporated milk
220g castor sugar
1/4 teaspoon ground cloves
1/2 teaspoon salt
3/4 teaspoon ground cinnamon
1/4 teaspoon ground ginger
1/4 teaspoon ground nutmeg
1 tablespoon flour
baking spray

mini muffin trays
a tart tamper
a 5cm circle shape you can use as a pastry cutter


Mix together the pumpkin, spices, evaporated milk, sugar, egg and flour with a wooden spoon until a smooth mixture is formed.

Preheat the oven to 170 degrees on bake. Generously spray the mini muffin trays with baking spray.

Lightly flour your bench a place on it a defrosted sheet of sweet, short crust pastry.

Using the 5cm circle, cut out circles from the pastry. Using the tart tamper (or your fingers if you don't mind them being all knobbly) press the pastry circle into the mini muffin hole. Make sure there aren't any holes in the base.

Once you have filled up the tray with the cases, spoon 1 1/2 teaspoons (or half a tablespoon) of the pumpkin filling  mixture into each case.

Bake for 17 minutes or until the filling stops wobbling.

Leave to cool for a few minutes before twisting the mini pies in their trays to release them. Leave to cool on a clean tea towel or cake rack. Repeat until you have used up all your pastry and/or filling.

These are best eaten warm but are still delicious the next day. Once they are fully cooled, place them in an airtight container.


My favourite new (borrowed) toy!


My rolling pin for the day.

We made four bigger pies out of the pastry scraps we had
left :) nom!
I know what I am thankful for! That brilliant tart tamper device!

Nom!!

Enjoy! (I know Alix did)

Sophie x

Funfetti Birthday Cake: A cake for Chris

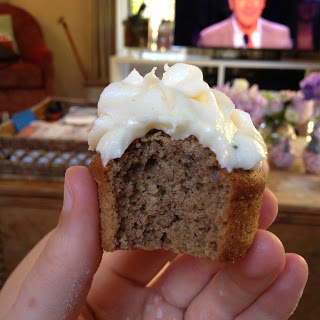
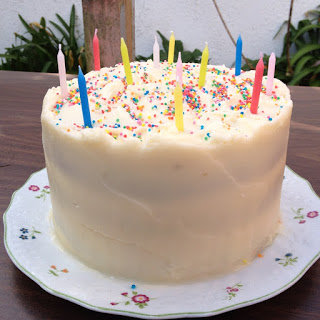
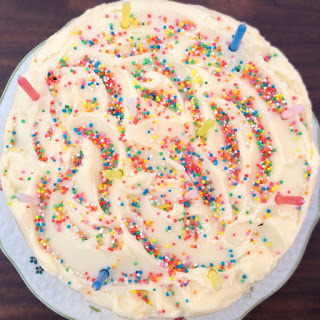
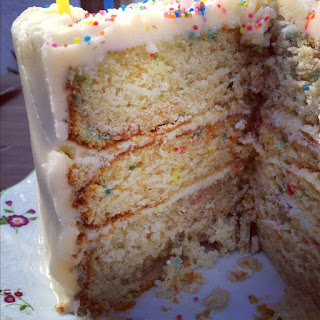
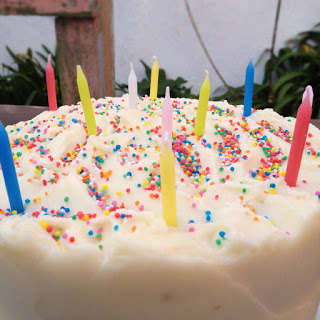
Or as I like to call it: A cake that looks like a magical unicorn threw up into it.

Charming.

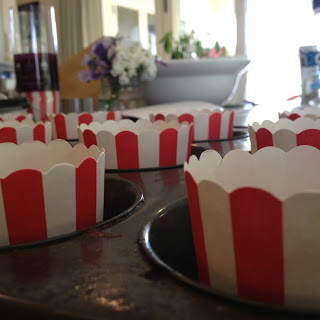
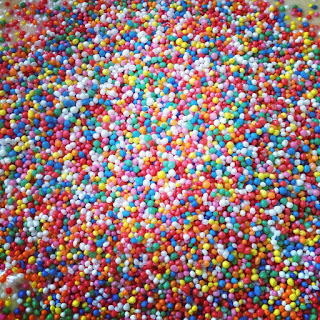
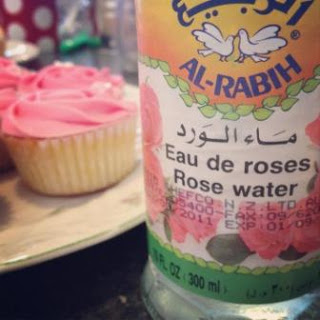
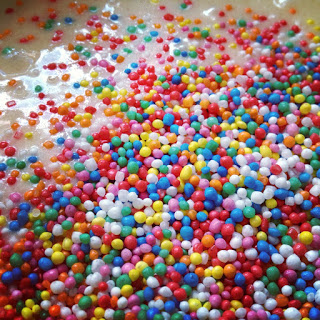
This pretty, girly, colourful cake is for Chris' 21st. The same Chris that broke up with me last week. Despite that I am still making him a birthday cake. His punishment for breaking up with me is that it is not banana cake. Oooh take that Chris! Instead it gets to be whatever the hell I want it to be. Since I found a 190g packet of hundreds and thousands in my cupboard I decided to make a funfetti cake.


I first got the idea for funfetti off 
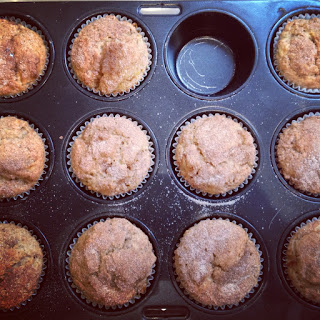
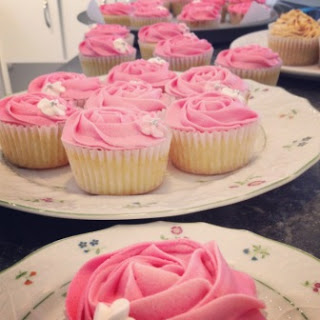
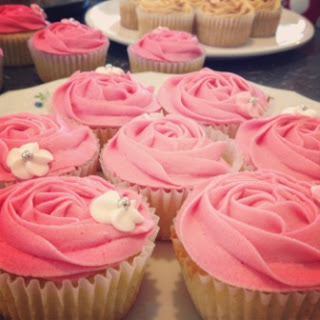
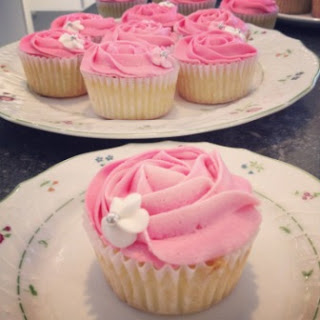
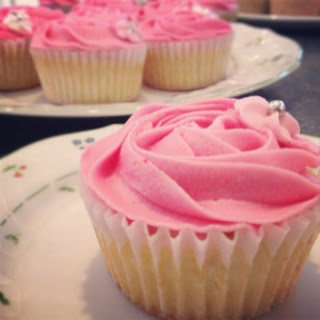
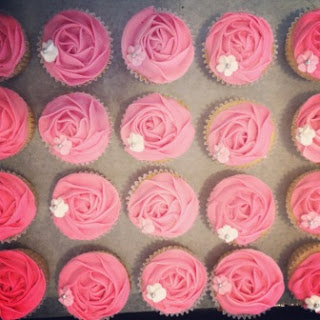
this post by Rosie from Sweetapolita. She has made both a cake and cupcakes. I tried out adding sprinkles to my 
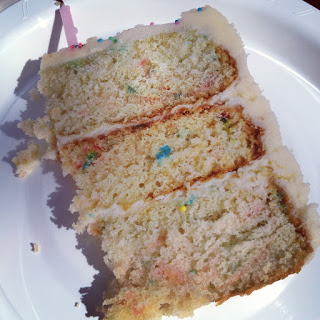
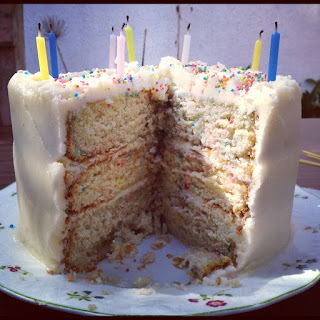
cupcakes a few months back. They were so fun to make and eat. So logically a whole cake with that much internal colour would be infinitely times better.


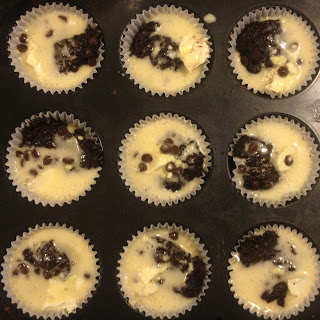
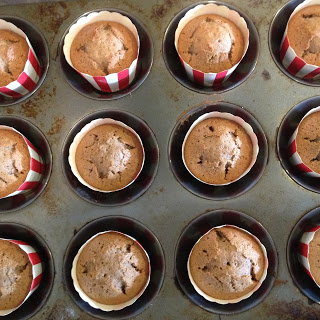
I just took my simple vanilla cupcake recipe and multiplied it by four then split the mixture into three 20cm cake tins and baked for around 45 minutes on around 170 degrees. I turned the temp right down to stop the cakes from doming. When they dome I have to cut the tops off, throwing away precious cake and precious height. My oven is weird, half the time it fan forces and the other half of the time it doesn't. If your oven is on a steady bake then you can probably increase the temp to just 180 degrees.


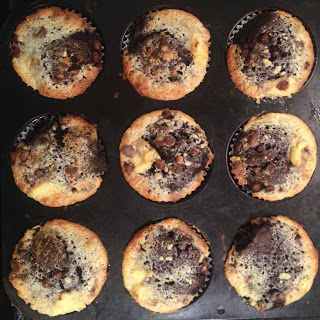
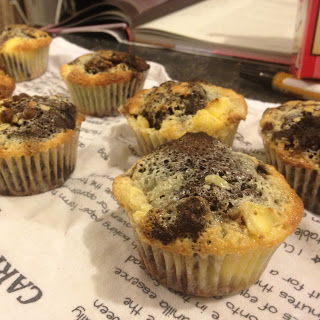
I wrote the above before the cakes came out of the oven. I obviously spoke too soon. For some strange reason the sugar decided to all sink to the bottom and form a hard sticky purpley brown toffee at the bottom. The first two to go in had hollows in the sides. It looked like I had taken massive bites from the cake. I swear I hadn't. Even more strange is that the third cake turned out beautifully. It was the picture of cake perfection. One of the cakes however was so munted that it was lop sided, a terrible cake for layering. So in record speed I whipped up another batch for a single layer and threw it in the oven. Alas the gym had to be delayed another forty minutes. The scientist in me decided to use a different brand of 100s and 1000s. When I added the previous brand, all the colour ran off into the mixture very quickly. When I added the new brand the 100s and 1000s held their colour. This could perhaps have had an impact. Maybe the sugar wasn't dissolved enough in the first batch. When making cakes out of these cupcake recipes you absolutely need to use castor sugar over normal sugar. In the larger batches there just isn't time for the sugar to dissolve properly.


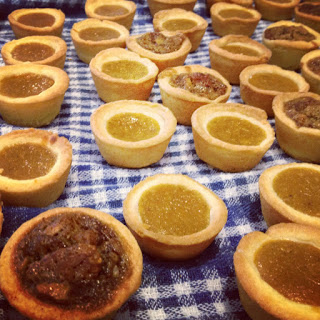
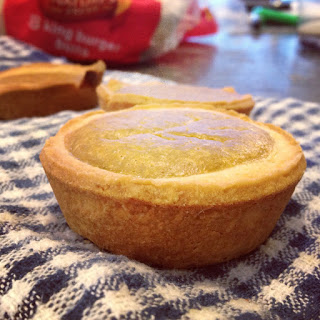
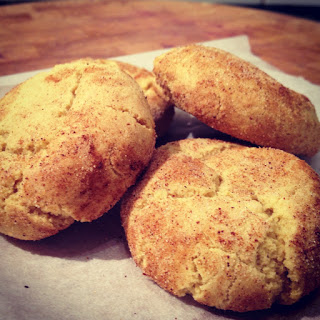
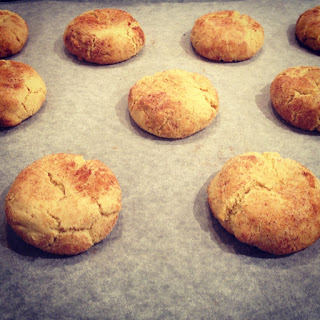
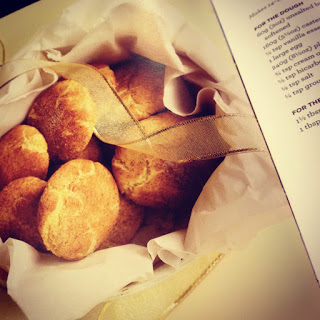
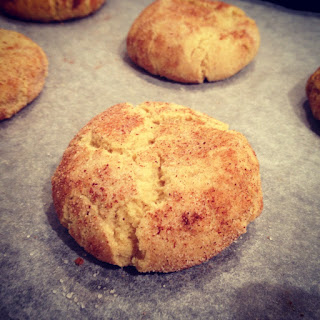
I wish there were more than just two of us in the flat sometimes. Today is the perfect day to be making scones while it sporadically rains. Unfortunately, it takes a long time for just two people to eat batches of anything and since we are not obese we don't really like the idea of having baked goods lying around all the time for us to eat. We need a few guys around the place I think. They would hoover down anything giving them the satisfaction of eating home baking and me the satisfaction of making it. Win win. Funnily enough, Chris didn't/doesn't have much of a sweet tooth so he was never much help in the consumption department.


I'm still thinking of that Jon Snow look alike that I saw yesterday. I wish my phone had a face scanner feature, sort of like what shazam does for music. You could just sneaky take a photo of someone and the app could tell you who they were. Then you could stalk them on facebook and them plan to 'accidentally' bump into them. Ok I need to stop being so creepy. Now. If the Jon Snow look alike is reading this (highly unlikely) I apologise for this creepiness. I am actually normal (most of the time).

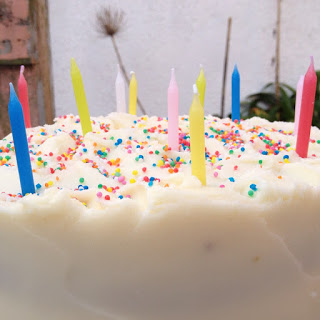
Sooo where was I? ah right. I'm making a cake. A cake with lots of sprinkles. How exciting.


Vanilla Funfetti Birthday Cake
Adapted from the Hummingbird Bakery's vanilla cupcake recipe
makes 3x20cm cakes

560g castor sugar
160g butter, softened
480g flour
2 tablespoon baking powder
4 large eggs
480ml (2 cups) whole milk
2 teaspoons vanilla essence
150g 100s and 1000s or other colourful sprinkles

Vanilla buttercream icing:
700g icing sugar, sifted
150g butter, softened
1 teaspoon vanilla essence
A few tablespoons whole milk


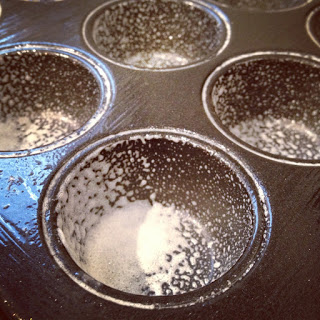
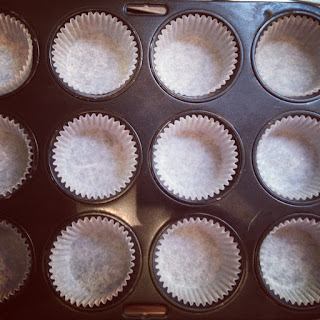
Preheat the oven to 160 degrees bake. Like three 20cm sandwich tins with baking paper and grease around the sides.

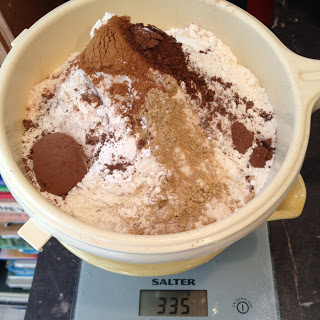
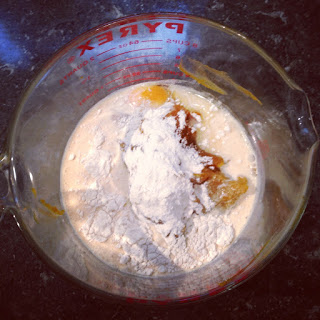
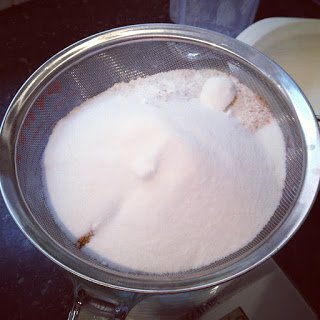
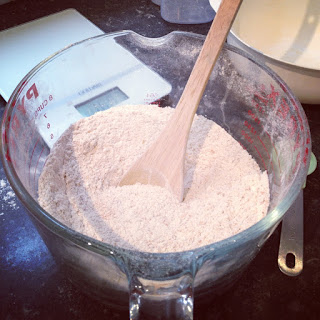
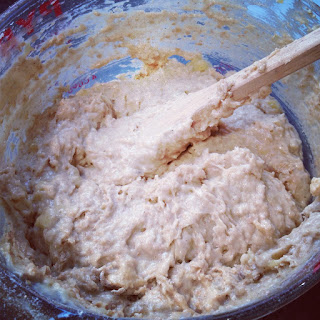
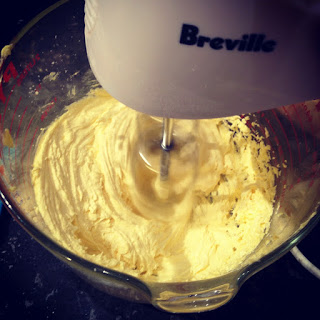
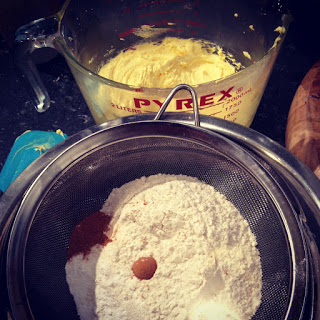
Beat together the butter and sugar until all the sugar lumps have been broken down. Add the sifted flour and baking powder and beat until a sandy consistency is achieved.

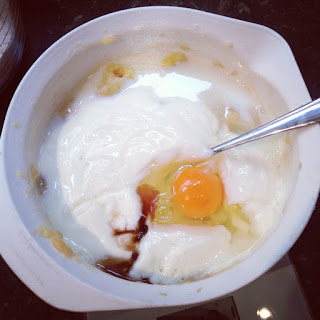
In a separate bowl, whizz the eggs with the beater so they become a little frothy.

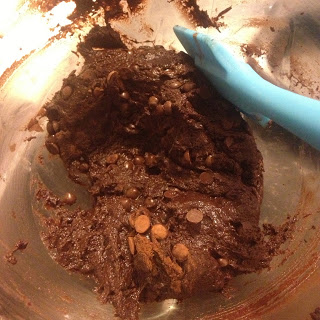
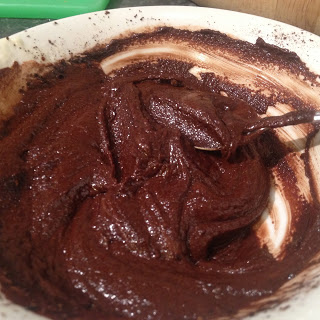
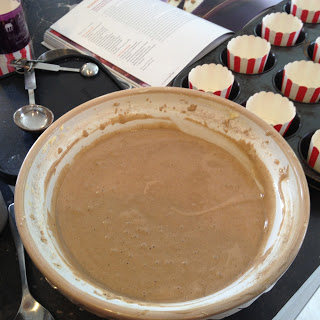
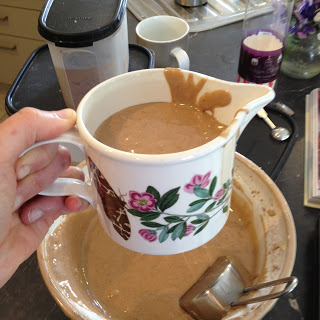
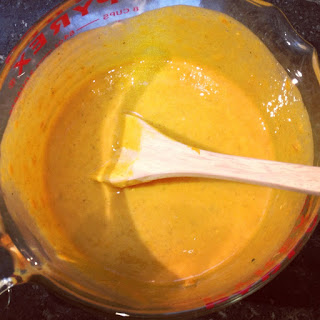
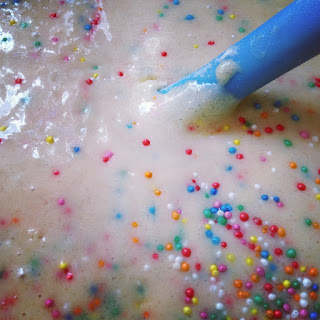
Add half the milk to the dry mixture, beat then add half the egg mixture, beat. Add the rest of the milk, beat again. Then add the rest of the egg and beat on high for a few minutes to smooth out the batter. Remember to regularly scrape down the sides of the bowl so you don't miss any bits. Pour in your sprinkles and lightly mix. If you mix too much the colour bleeds and you get a cake mixture that looks like a giant's snot rather than a unicorns stomach contents.

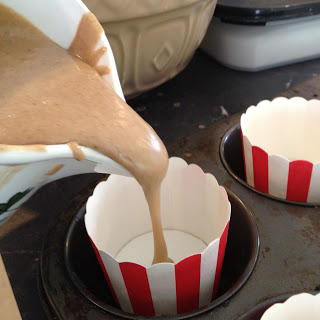
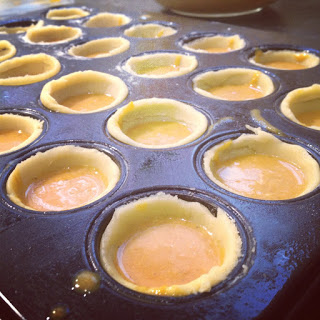
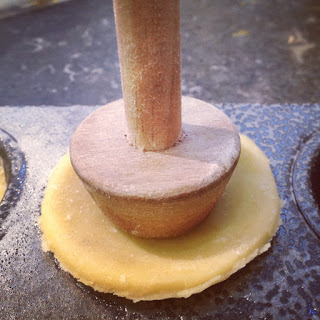
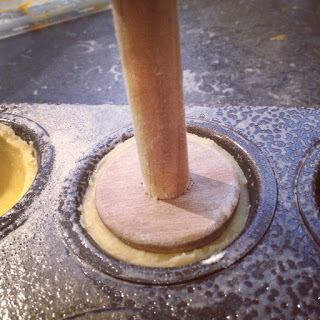
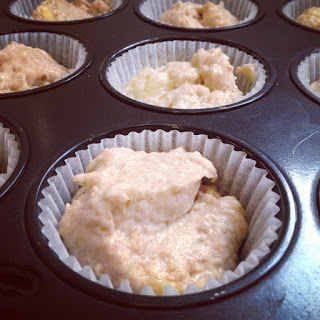
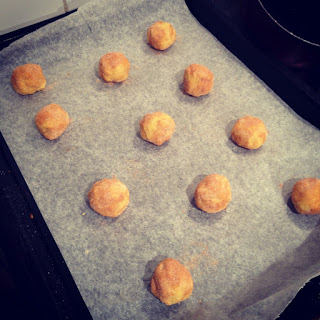
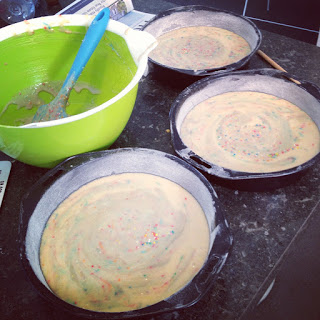
Using a large cup measure, scoop the batter evenly between the three tins.

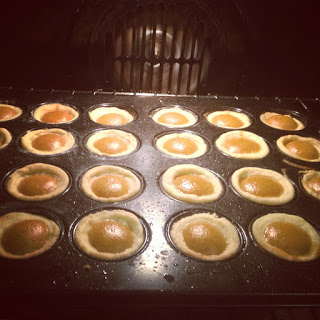
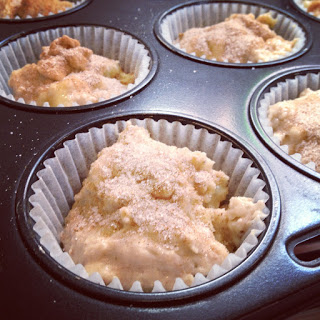
Place as many of the tins as you can on the same shelf (don't use two shelves) and bake for 45 minutes or until a skewer comes out clean.

Leave to cool before tipping them out onto a cooling rack. I made the mistake of taking them out too early when I made my brothers birthday cake a few weeks ago. The cakes sank and caused the edges to bulge making getting a smooth side very difficult.

Leave to cool completely before icing.

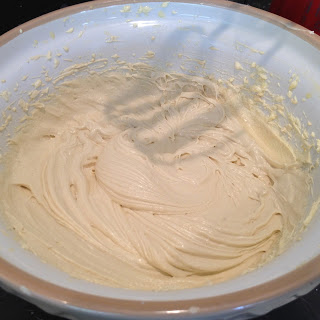
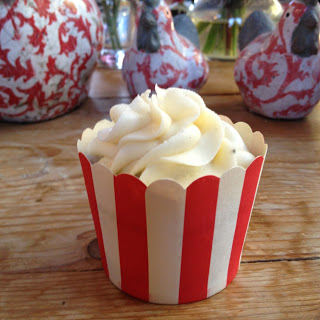
To make the icing, cream the butter and icing sugar together, adding a bit of milk to smooth it together. Beat until the icing is really light in colour and fluffy. Don't forget to add the vanilla, or whatever flavour you want it to be. I might actually add a bit of strawberry to this icing.

Follow the Whisk-kids instructions here on how to ice a cake properly :)

I hope this cake brings endless joy to your next birthday celebration and gives you less angst and frustration that it did for me.


So the next day at Chris' 21st was the moment of truth. To be honest the cake didn't last long enough to be examined by anyone properly so I was safe!


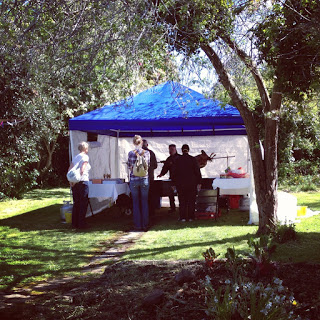
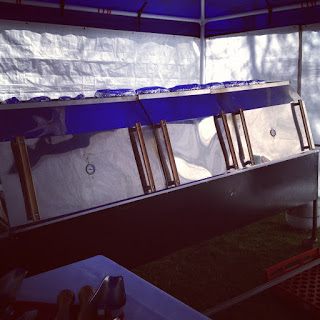
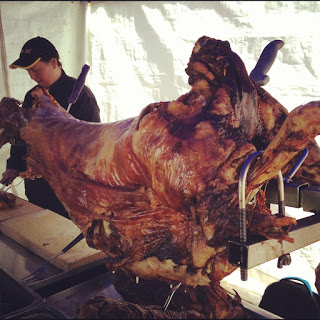
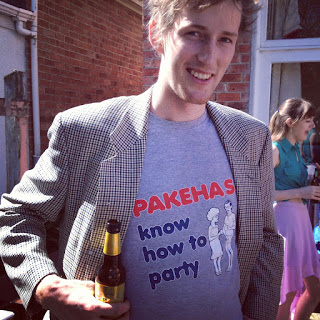
On a non-cake related note, I learnt a great deal about how to spit roast a whole lamb carcass that day. When Chris said he was having a barbecue for his birthday I assumed they were going to try and get the crappy rusty thing at the back of his flat to work. Oh no, they  got these people in who bring with them at 7.30am a 3m long spit roast barbecue and cook to perfection whatever whole animal you prefer. It was great. I'm pretty sure I had my years quota of red meat that day. It just melted in your mouth (well you would expect it to after being cooked for four and a half hours. 


So yes, happy birthday Chris.

Enjoy!
Sophie x

Banana and Cinnamon Muffins

Hello!

It is that beautiful time of year when exams and final assigments worth far too much of one's final grade are quick around the corner. Now I tend to avoid the library at all times during this season, unless it is to deliver friday bakery almond croissants to a stressed out Alix. The idea of rushing stampeding to the library to get a special seat or a seat at all stresses me out. I therefore spend my study time at home where I am only metres away from my beloved kettle and box of tea bags. But for those of you who camp out at that crazy central, malicious med or scary science library you will be in need of soul comforting and brain fuelling snacks to get you through.


Back home, my Mum makes my brother big batches of chocolate muffins for his school lunches (yes my brother is 18). She wraps them up individually in glad wrap and pops them in the freezer so they stay fresh. I decided to do the same with these banana cinnamon muffins for when Alix begins her month long disappearing act. 


This recipe is relatively low fat and low sugar (as far as muffins are concerned anyway). They have the goodness of bananas in them too. When I was making these I ran out of plain flour so I substituted in some wholemeal flour, so there is a wee bit of fibre in there too. You could probably increase the amount to around half if you wanted to. I think I added 100g or so. I also didn't feel like buying buttermilk for the sole purpose of making these muffins. As a substitute I used low fat vanilla yoghurt mixed with a bit of milk. This gives both the acidity and texture you need. You could even add nuts or chocolate chips if you wanted. These ones are topped with sugar and cinnamon which gives them that amazing crunch to the top.


This is inspiring me to do an exam muffin series, haha maybe i'll do some delicious bran and fruit muffins next. 

I got this recipe from my Hummingbird bakery cookbook, it has a whole muffin section so there will definitely be more muffin posts. 


Now the method in the book said to beat everything, beat everything quite a lot. Now I don't know about you but when I was little and my Mum taught me to make muffins she said you need to mix the liquids and the dries separately. Then when you add them together only stir with a spoon as much as you need for everything to be combined (ie no flour pockets). When you over mix the muffin mixture the gluten becomes over worked and air pockets form in the finished product. I followed my own muffin making instinct and went with what my Mummy told me and they turned out just fine.


Banana and Cinnamon Muffins
(makes around 20 medium sized muffins)

350g plain flour
3/4 teaspoon salt
1 1/2 teaspoons baking powder
1/2 teaspoon baking soda
2 teaspoons ground cinnamon plus extra to sprinkle
160g castor sugar plus extra to sprinkle
375ml buttermilk (or 275g plain or vanilla yoghurt + 100ml milk)
1 egg
1/2 teaspoon vanilla extract
70g unsalted butter
400g mashed banana


Preheat your oven to 170 degrees bake.

Sieve together the flour, salt, baking powder, baking soda, cinnamon and sugar. Give it a stir to mix it all up then make a well in the centre. Set aside.

In a separate bowl, whisk together the egg, buttermilk (or yoghurt and milk), the melted butter, the vanilla and the mashed banana.

Pour this wet mixture into the well of the dry mixture. Using a wooden spoon, stir the batter until evenly combined and all flour pockets have been incorporated. Do not over mix or use a hand beater.

Line muffin trays with paper cases and spoon fill them until 3/4 full (I like that overhanging muffin top bit that goes nice and crunchy). Mix together some castor sugar and cinnamon and sprinkle over the tops of the muffins.

Bake for 20 minutes or until the top springs back when pressed.

Wait a few minutes before eating them as I find the muffin tends to stick to the paper when they are too fresh out of the oven. 


Enjoy!

Sophie x

Snickerdoodles

Hi there!

This weekend I have been on my lonesome so I took to the kitchen and filled my days with trying out new types of cookies and biscuits.

To be honest I came home this evening feeling a bit useless at everything and so I sought therapy in the one thing I don't seem to suck at: baking.

Thank God for baking. Had I not possessed the ability to whip up half decent treats I probably would have sulked and moped on the couch all night watching gossip girl and eating a tonne of red liquorice. Then I would have felt bad because I am supposed to be on a diet. Then I probably would have gone on a guilt induced trip to the gym for the second time in a day.


 I was going to make oaty chocolate chip biscuits. But that would have involved going to the supermarket to buy chocolate (funnily enough I did end up at the supermarket to buy tuna where I bumped into Mel who I then followed to the library to see Bryn. Talk about a detour. Did I mention this was 10pm at night?)


Right where was I? Ah I opened my Hummingbird book to see if there was anything new and exciting to make when I stumbled across this snickerdoodle recipe.

I had heard of snickerdoodles before, from numerous American TV and movie references. I didn't actually have any idea what they were though.

Turns out they are a dense but fluffy vanilla biscuit with a hint of cinnamon, coated in a crust of more cinnamon and sugar to create a crunchy yet fluffy spicy biscuit. They are delicious.

When I looked at the recipe I had everything I needed already in my extensive baking cupboard. What is even better is that they only use 60g of butter, so they are sort of in the low fat department with only around 4g of butter per cookie (lets not get started on the sugar - lets assume you burn that off in an instant :)).


This recipe does call for cream of tartar, I know it is not something you use often but it is super cheap to buy and only use a couple of times. Cream of tartar, or potassium bitartrate acts as a stabilising agent and a crystal forming preventative agent. It also helps to activate baking soda in baking powder.


Right lets get onto the cookie making shall we?

Snickerdoodles
(from the Hummingbird Bakery's Cake Days)
Makes 12-14

For the dough:

60g softened butter
160g caste
r sugar
1 teaspoon vanilla
1 large egg
240g plain flour
3/4 teaspoon cream of tartar
1/2 teaspoon baking soda
1/8 teaspoon salt
1/2 teaspoon ground cinnamon

For the coating:
1 1/2 tablespoons caster sugar
1 tablespoon ground cinnamon


Cream together the butter, sugar and vanilla until light and fluffy.

Add the egg and beat until the volume almost doubles.

Sift together the flour, baking soda, salt, cream of tartar and cinnamon and add this to the egg mixture in around three lots, beating well after each addition. Mix well until the mixture becomes a thick dough.

Cover the bowl with glad wrap and leave to rest in the fridge for half an hour.

While the dough rests, preheat the oven to 170 degrees bake (150 if on fan bake).

Prepare the coating by mixing the caster sugar and cinnamon together in a small bowl.

Once the dough is firm, roll into walnut sized balls then coat well with the cinnamon and sugar mix.

Place on a baking tray and press down slightly with the back of a spoon, just to flatten them into fat discs. Space the dough balls evenly with around 5cm between each ball.

Bake for 13-15 minutes or until the cookies are a light golden colour.

Allow to cool slightly before munching down on them :)


I hope you enjoy these :) they are really easy, pretty much fool proof and are a nice crispy change from the usual bickie :)


Enjoy!

TTFN!
Sophie x

Rosey Turkish Delight Cupcakes

As mentioned in my last post (which I posted like an hour ago) I have had a rather cupcake oriented day. Yes an hour later I am still in my pajamas. Yes it it 4pm on a Sunday. This is bad. Really bad. It's almost dinner time. For the record I did get up at 8am.


I had too many cupcake flavours that I wanted to try out at once. So I used Chris' thank you party for his helpers for the Cystic Fibrosis NZ street collection he organised to try two of them out.


The first one was the banoffee cupcakes and the second ones are these rose cupcakes. The recipe says they are rose but because they use rose water, just like Turkish delight, I associate them with being a Turkish delight flavour rather than a rose flavour.


I was really excited to buy some rose water, I found it in the international section of New World, City Centre. It was $8.99 for a 300ml bottle. A bit of a splurge if you are only just trying these out but I think it was well worth it. It lasts for ages and I plan on making Turkish delight in the holidays coming up. And once it is all gone you are left with a really really cool shaped bottle.


Flip I wish I could write essays as fast as I write blog posts.

This is really just a vanilla cupcake recipe that has two teaspoons of rose water added to the batter and 2 teaspoons added to the icing. Simple as!


Rose Cupcakes (adapted from the Hummingbird Bakery's Cake Days)
Makes 12


40g butter, softened
140g castor sugar
120g plain flour
1 1/2 teaspoons baking powder
1/2 cup whole milk
2 teaspoons rose water

Icing:
300g icing sugar
80g butter, softened
25ml whole milk
2 teaspoons rose water
A few drops of pink food colouring


Preheat the oven to 190 degrees bake (or 170 if your oven is fan forced). Line your muffin tray with cupcake cases.

Beat together your butter and sugar until all the butter lumps have been broken down and the consistency is even. Sieve in your flour and baking powder and beat until a sandy consistency is reached.

Add in your milk, vanilla and rose water, beat in. Next add your egg and beat until thick and smooth.

Fill your cupcake cases 2/3 full and bake for 20 minutes or until the sponge springs back when lightly pressed.

Leave your cupcakes to cool a wee bit before transferring them to a cake rack or a clean tea towel.

Make sure your cupcakes are completely cold before you ice them. 


Icing:

Cream the butter and sugar together with the addition of the milk to loosen it up. You may need more milk or icing sugar if the icing isn't thin or thick enough. Add in your rose water and food colouring and beat until smooth and fluffy. Make sure your icing is relatively stiff, you don't want it slopping off your cupcake and making a mess.

Insert the icing into a piping bag fitted with a 1M nozzle and swirl away! :)

Decorate with anything you wish :) I found those wee flowers at the supermarket.


Things got a bit messy after 50 cupcakes
came through my kitchen

Tidy time I think

These cupcakes are amazing! If you love that amazing rose flavour of Turkish delight you won't be able to stop eating these :)

TTFN!!