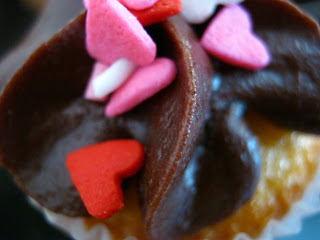
Happy Friday!
TGIF indeed
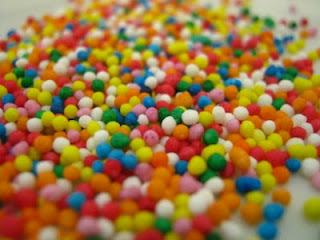
So last night after taking a break from researching this terrible jelly lab report (yes I am writing a lab report on jelly) I stumbled across some excellent uses of sprinkles! Such as funfetti cakes and cupcakes and just generally sprinkles on top of everything. The best ones I found were on Sweetapolita's blog. Oh my goodness! I love her blog. It's like her life was plucked from a home and garden magazine. Her two girls are the two most adorable cakelets (as she calls them) on the planet! Anyway I am now in love with 100s and 1000s. So after class I ran to the supermarket to stock up.
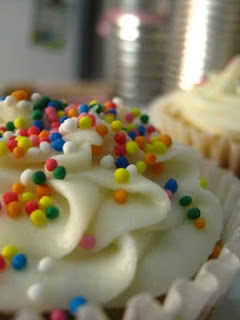
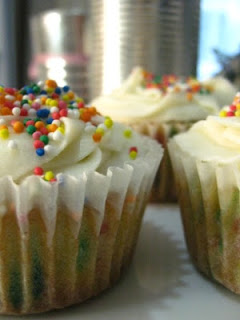
Throwing in a canister of sprinkles is a great way to make vanilla cupcakes a bit more visually appealing. Lot of people complain that vanilla is boring, I have to disagree. It is my favourite cupcake flavour. You can ice them with almost any icing type and they still taste delicious!
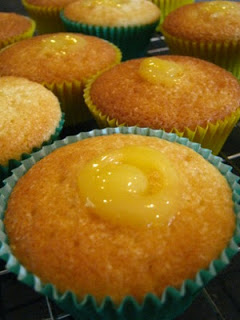
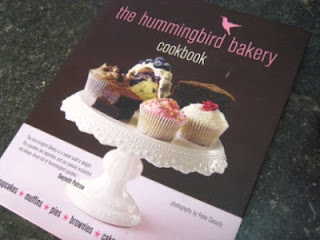
The recipe II used is just a plain vanilla cupcake mixture from the Hummingbird Bakery Cookbook. It makes lovely fluffy vanillary cupcakes. You just can't beat them. Then I just literally poured in a canister of 100s and 1000s into the batter. Super easy. I decided that keeping the icing plain white against the sprinkles would be best and I think they turned out rather well. I have already devoured three of them since they were iced an hour and a half ago.
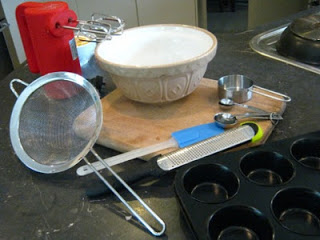
Ok so what you will need:
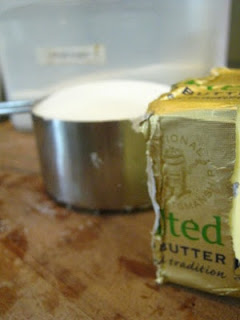
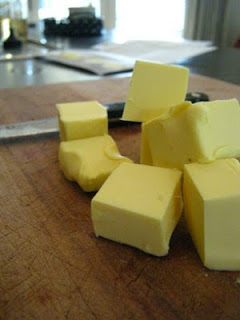
40g softened butter
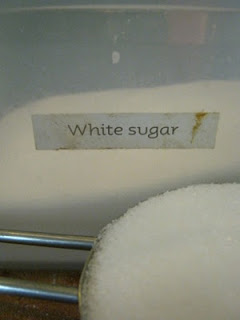
140g castor sugar (castor sugar gives a better texture than regular sugar as it dissolves more)
120g flour
1 1/2 teaspoons baking powder
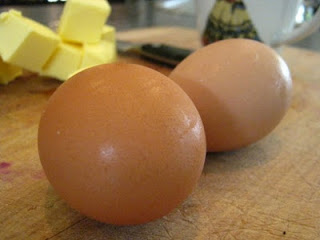
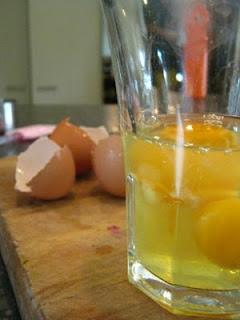
1 egg
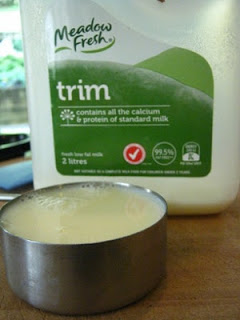
1/2 cup milk
1 teaspoon vanilla essence (although I am pretty sure I used near to three . . .)
A pinch of salt
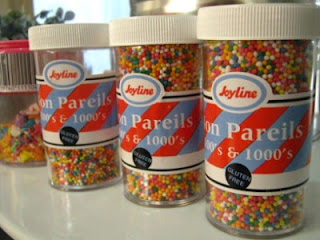
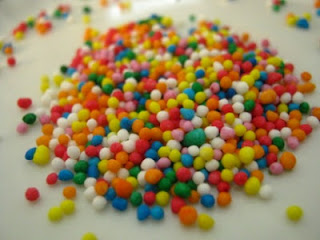
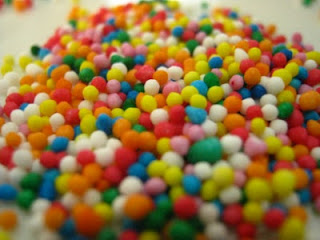
A canister of 100s and 1000s
Preheat the oven to 170 degrees
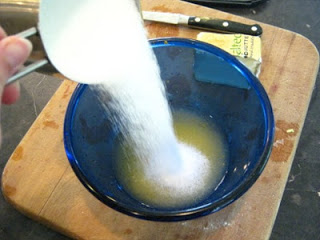
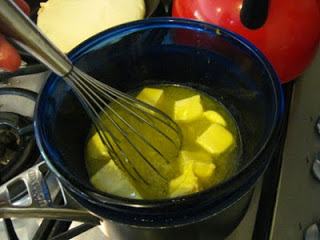
First beat the sugar and butter until it is a nice evenly grained sandy consistency. You want to make sure there are no clumps of butter.
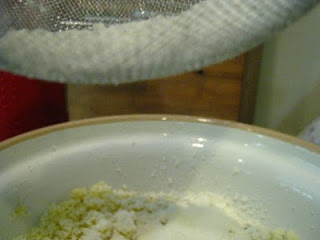
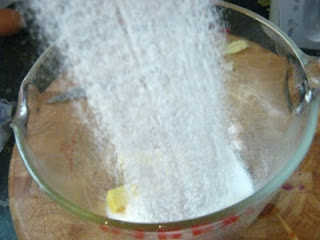
Next, sieve in the flour, baking powder and salt. Beat into the sugar and butter until it is nice and evenly sandy.
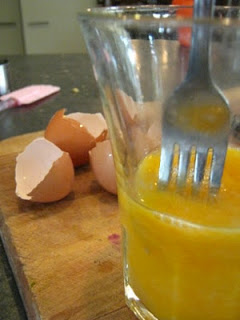
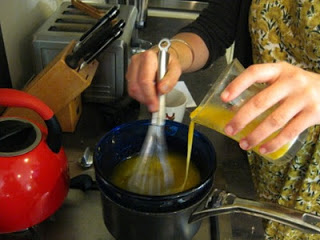
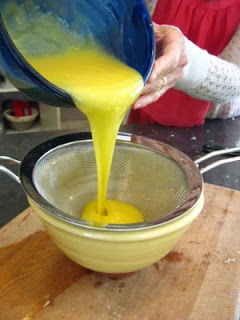
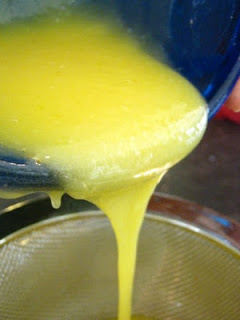
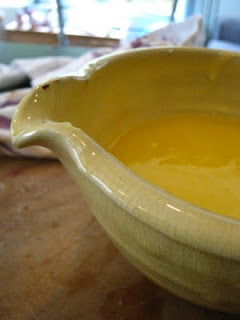
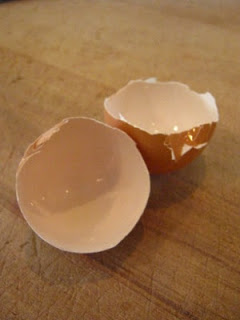
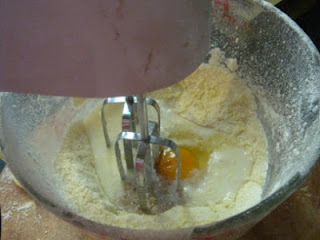
Next crack the egg in and splash in the milk. Beat beat beat until the mixture becomes smooth and fluffs up and becomes more voluminous.
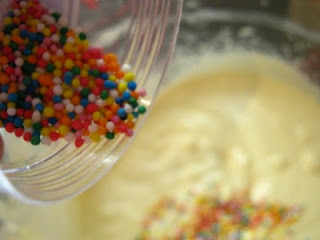
Sprinkle time! Pour in about half to three quarters of a canister of 100s and 1000s - depending on how many you want left for the top. Mix those gently in - the colours may start to run so act quickly.
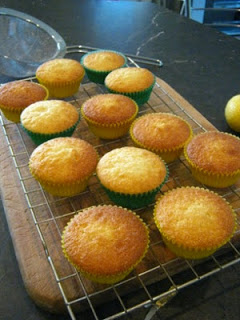
Spoon into 12 cupcake cases (in a muffin tray) and bake for 17-20 minutes or until they are starting to turn that lovely golden colour.
Take them out of the oven, leave to cool.
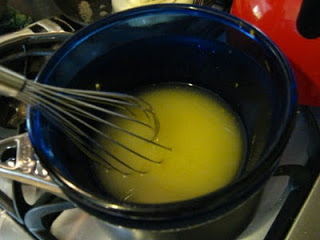
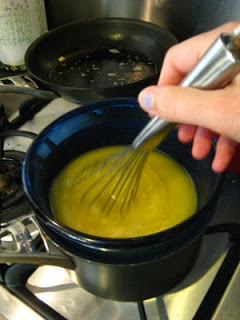
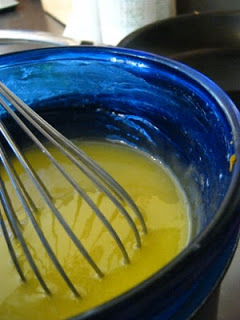
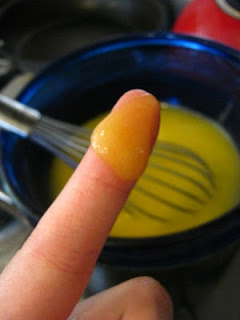
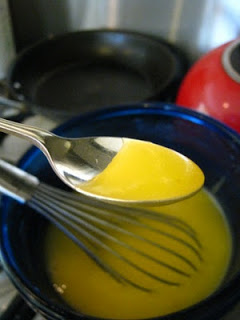
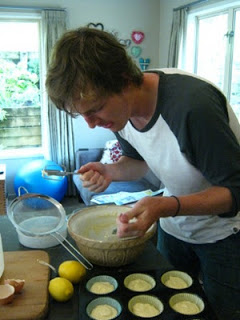
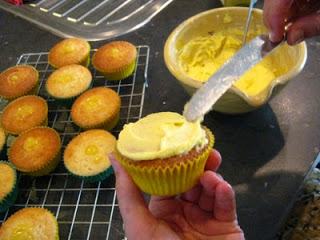
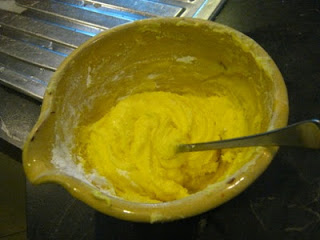
Make up your icing (lets say 30g butter, 3ish cups icing sugar, a good splash of vanilla, tablespoon of boiling water). Just add more icing sugar or hot water if it is too runny/thick. I don't really follow a recipe for icing. It just happens.
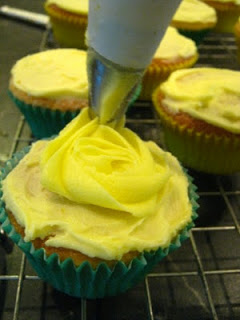
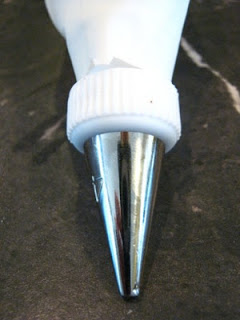
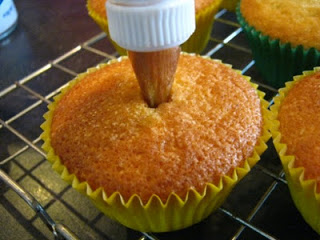
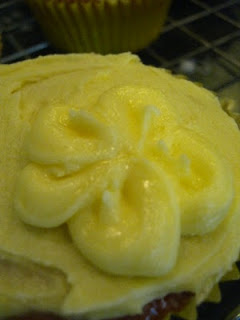
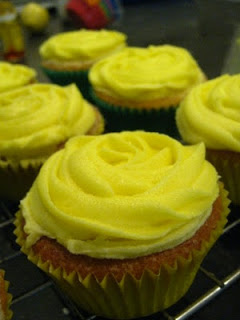
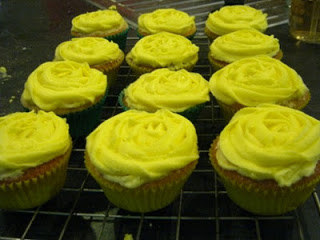
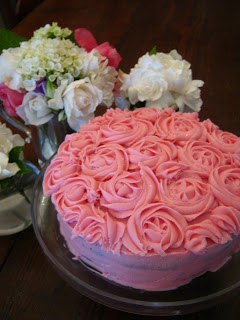
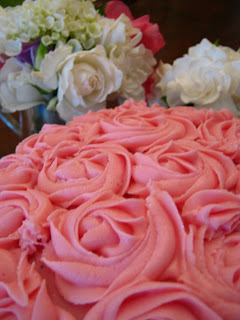
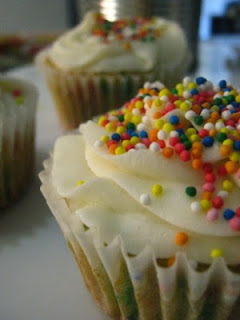
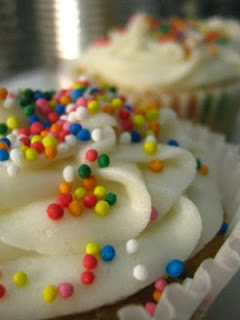
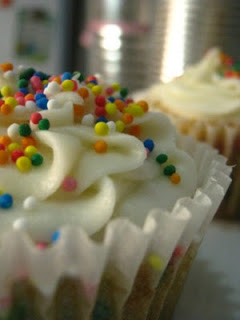
I used a piping bag with a 1M wilton tip on the end (the same for doing roses). I swirled them starting from the outside edge, swirling inwards.
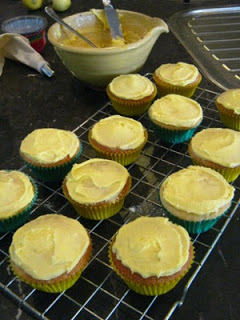
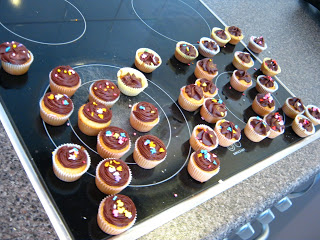
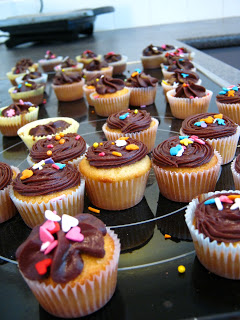
DOUSE them in more sprinkles!
and you are good to go :)
 Sprinkles!
 Sprinkles!
 Sprinkles!
 Sprinkles!
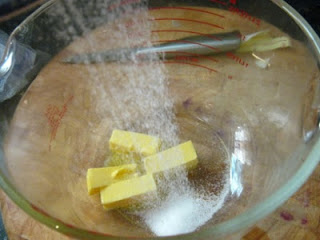
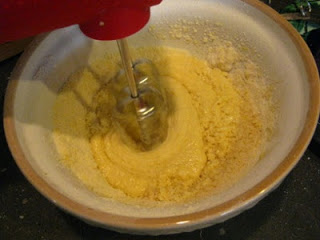
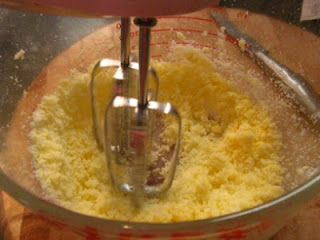 Beat your butter and sugar together until it is an even sandy consistency with no butter lumps.
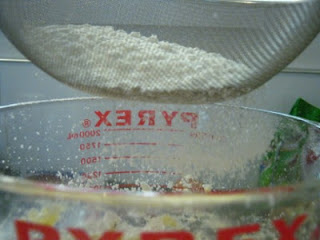 Sieve in your baking powder and flour
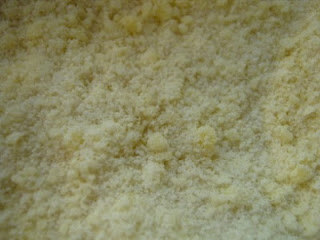 Beat until a sandy consistency is reached again.
 See how sandy it is?
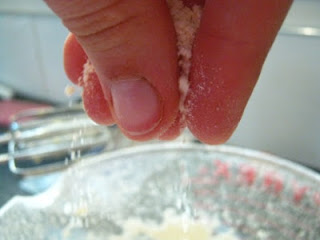
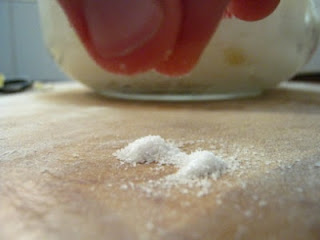 Don't forget your pinch of salt.
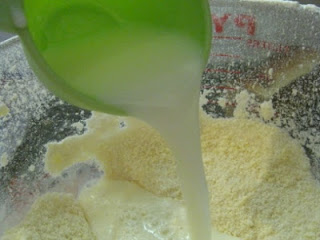 Add the milk and egg.
 Beat beat beat until smooth and fluffy :)
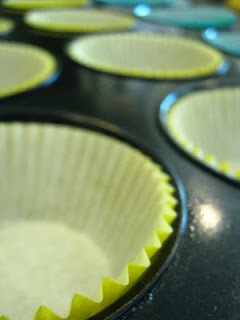
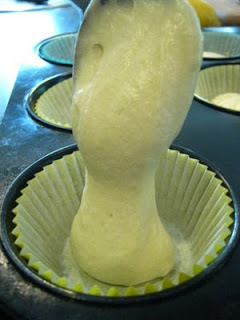
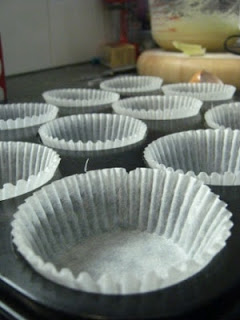 Line your muffin tray.
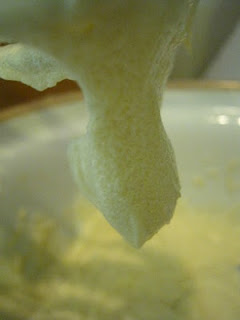
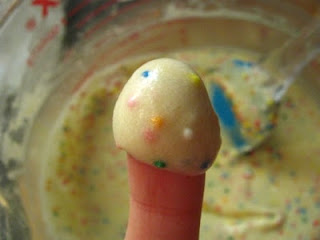
 See how smooth it is? You can also see air bubbles in the batter.
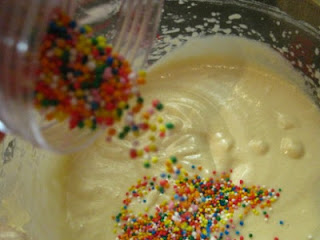 Pour in your sprinkles.
 and a few more . . .
 Yay! It looks like a unicorn threw up in my cupcake batter!
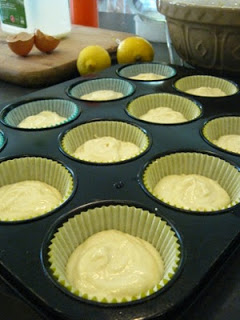
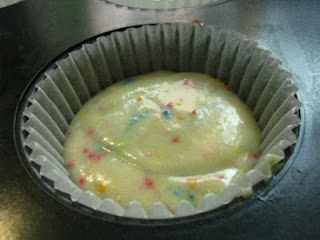 Evenly fill up your cases.
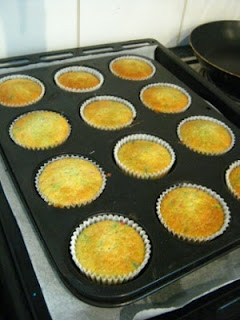
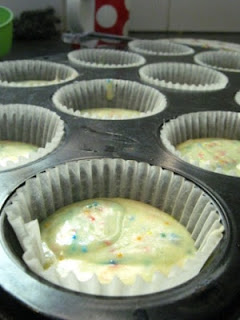 Pop them in the oven for 17-20 minutes
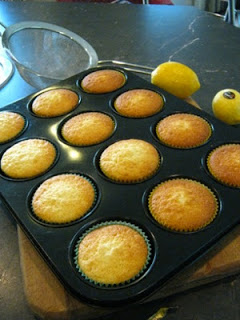
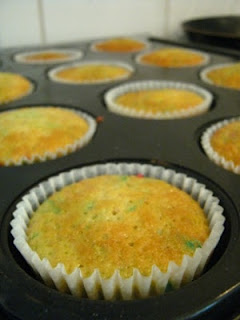 and Bam! they come out looking lovely.
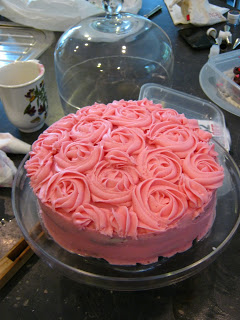
 I definately reccommend buying a piping bag and a 1M tip - you can use it for so many icing designs and no matter what, the result will always look good.
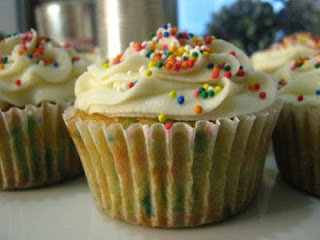
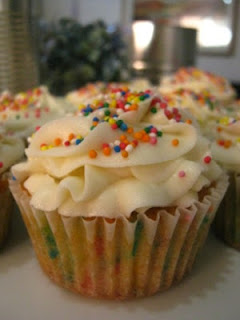
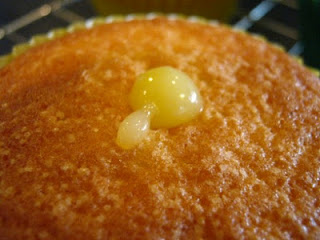
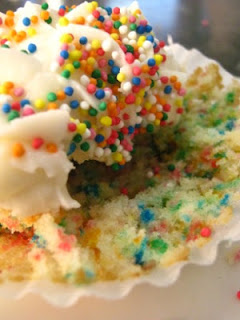 Oh look! there is a rainbow inside! How exciting!
 I may or may not have consumed a few while "writing my report".

 So here you have it. The best way to jazz up some vanilla cupcakes. This recipe is nice and cheap to make as you don't need a huge amount of butter, eggs or milk. Excellent! Also makes them kind of healthy . . . until you ice them :)
Time to watch Vampire Diaries now I think :)
Have a good night!
TGIF indeed
So last night after taking a break from researching this terrible jelly lab report (yes I am writing a lab report on jelly) I stumbled across some excellent uses of sprinkles! Such as funfetti cakes and cupcakes and just generally sprinkles on top of everything. The best ones I found were on Sweetapolita's blog. Oh my goodness! I love her blog. It's like her life was plucked from a home and garden magazine. Her two girls are the two most adorable cakelets (as she calls them) on the planet! Anyway I am now in love with 100s and 1000s. So after class I ran to the supermarket to stock up.
The recipe II used is just a plain vanilla cupcake mixture from the Hummingbird Bakery Cookbook. It makes lovely fluffy vanillary cupcakes. You just can't beat them. Then I just literally poured in a canister of 100s and 1000s into the batter. Super easy. I decided that keeping the icing plain white against the sprinkles would be best and I think they turned out rather well. I have already devoured three of them since they were iced an hour and a half ago.
Ok so what you will need:
40g softened butter
140g castor sugar (castor sugar gives a better texture than regular sugar as it dissolves more)
120g flour
1 1/2 teaspoons baking powder
1 egg
1/2 cup milk
1 teaspoon vanilla essence (although I am pretty sure I used near to three . . .)
A pinch of salt
A canister of 100s and 1000s
Preheat the oven to 170 degrees
First beat the sugar and butter until it is a nice evenly grained sandy consistency. You want to make sure there are no clumps of butter.
Next, sieve in the flour, baking powder and salt. Beat into the sugar and butter until it is nice and evenly sandy.
Next crack the egg in and splash in the milk. Beat beat beat until the mixture becomes smooth and fluffs up and becomes more voluminous.
Sprinkle time! Pour in about half to three quarters of a canister of 100s and 1000s - depending on how many you want left for the top. Mix those gently in - the colours may start to run so act quickly.
Spoon into 12 cupcake cases (in a muffin tray) and bake for 17-20 minutes or until they are starting to turn that lovely golden colour.
Take them out of the oven, leave to cool.
Make up your icing (lets say 30g butter, 3ish cups icing sugar, a good splash of vanilla, tablespoon of boiling water). Just add more icing sugar or hot water if it is too runny/thick. I don't really follow a recipe for icing. It just happens.
I used a piping bag with a 1M wilton tip on the end (the same for doing roses). I swirled them starting from the outside edge, swirling inwards.
DOUSE them in more sprinkles!
and you are good to go :)
Ok method by pictures:
Time to watch Vampire Diaries now I think :)
Have a good night!