Once again I am still in my pajamas at 3pm on a Sunday and the only think I have to show for myself are 50 or so cupcakes and 1000 extra words on my essay. You wouldn't have thought I got up at 8am would you?

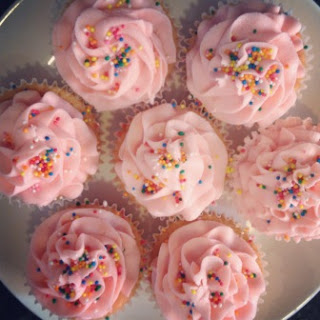
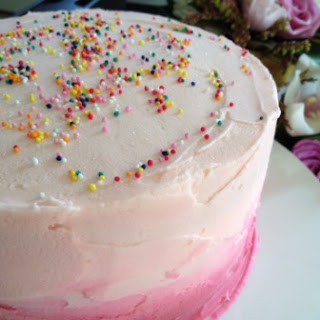
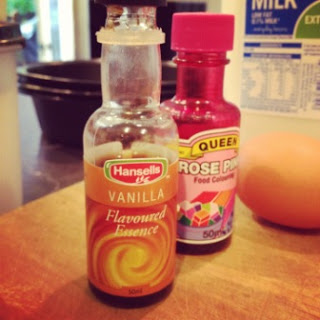
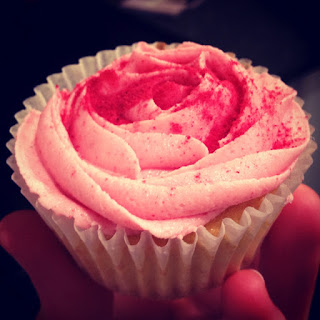
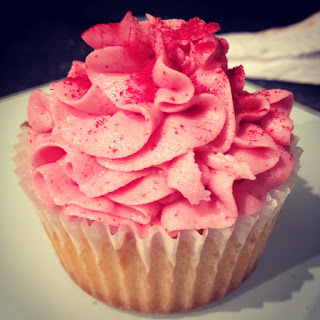
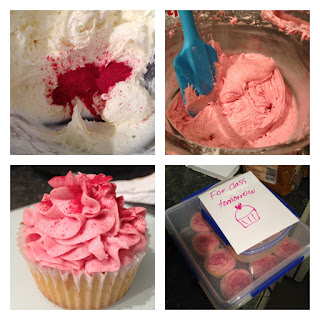
So dearest Chris organises his friends together every year to raise money for Cystic Fibrosis New Zealand. As a thank you for everything I offered to make Chris some thank you cupcakes for a wee gathering to be held this evening. I made banoffee cupcakes (since he loves banana cake) and rose cupcakes which tasted a lot like rose Turkish delight as I was itching to try out the new rose water I bought a few days ago.

This post however will be on the banoffee ones. I'll post about the rose ones when I am not feeling so cupcaked out :S
Once again the dear old
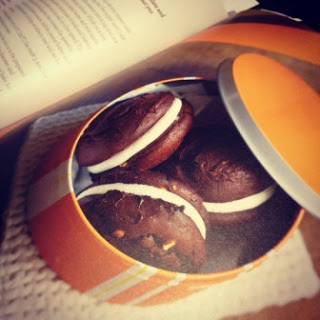
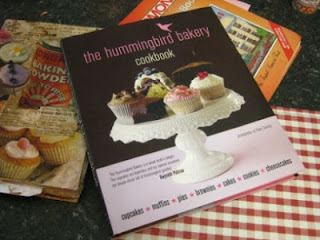
Cake Days
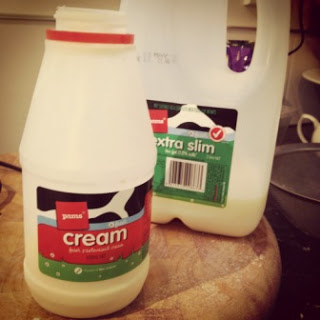
book comes into play. It had a recipe for banoffee cupcakes with a caramel-whipped cream thing going on on top of them. To be honest I couldn't really be bothered putting on my face and putting on actual clothes to go down to the supermarket to buy the cream. So I just made a toffee icing like I did in my
I made last weekend.

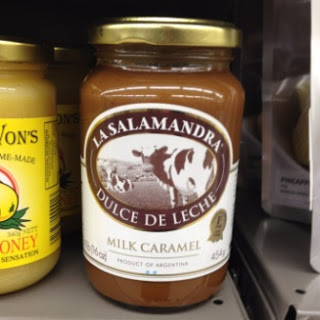
Remember that expensive issue I had with the
dulche de leche
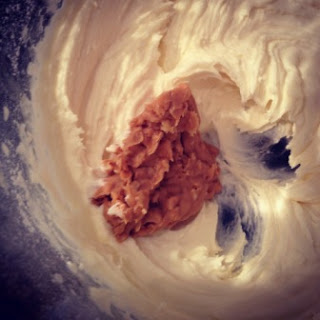
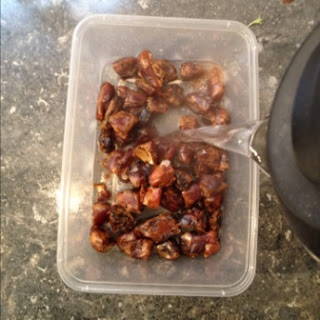
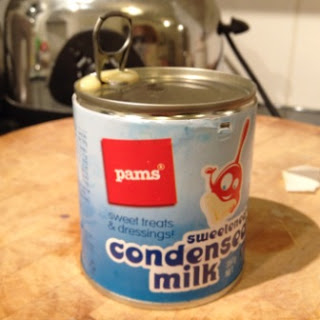
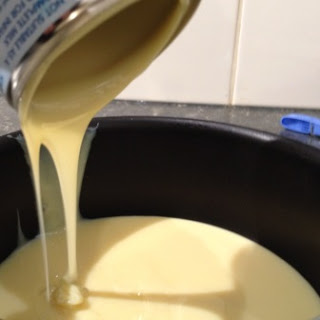
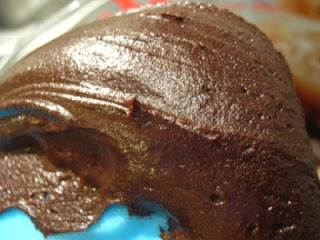
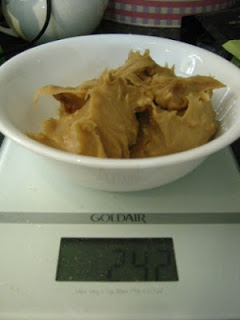
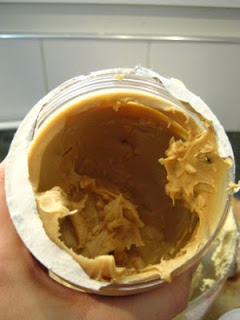
? Well Linda at work said to try out Jamie Oliver's method of placing unopened tins of condensed milk in a full pot of simmering water for three hours, topping the water up when it goes down. I tried it out last night and boy did I get a pleasant surprise this morning when I opened up one of the tins! It was delicious! Sure three hours is a long time but I boiled up two tins, one for these cupcakes and one for next time. If you were super efficient you would put like five in at a time and leave them sitting on your shelf - after all you haven't opened them so they are still shelf stable.


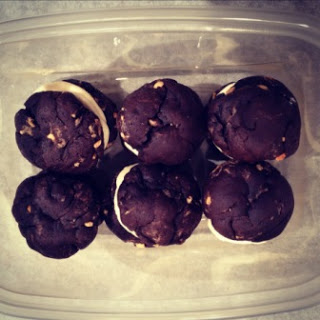
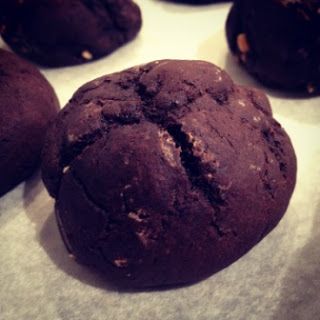
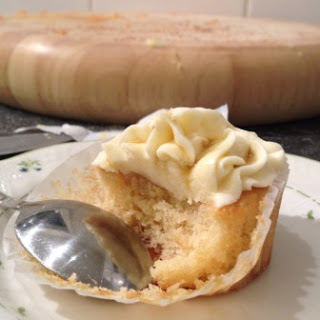
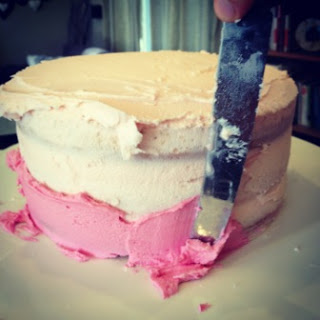
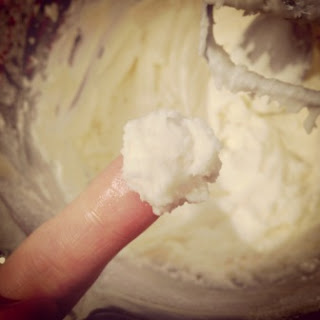
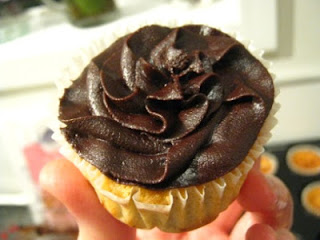
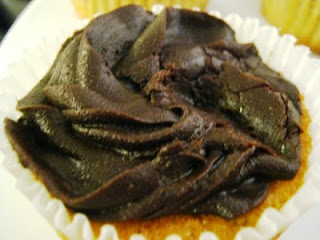
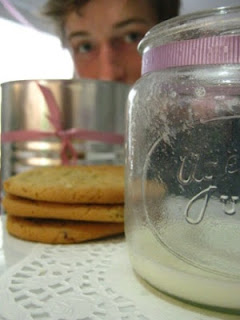
Moment of truth!

Sweet mother of goodness!
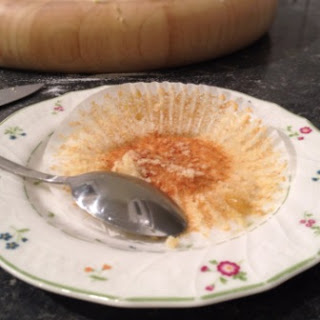
Uugh I feel so sick. Too much icing has been consumed today and not enough actual food!
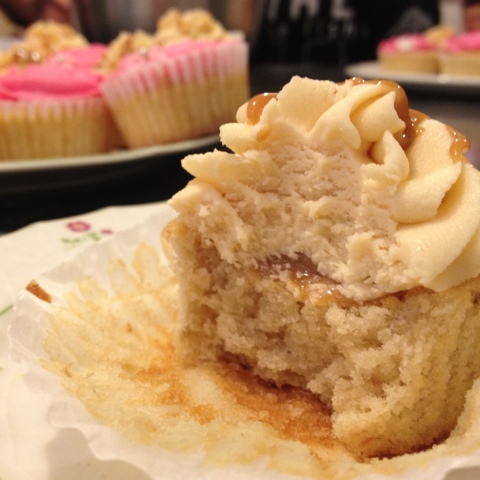
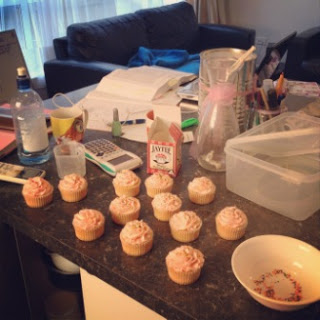
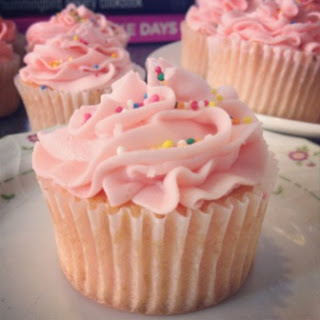
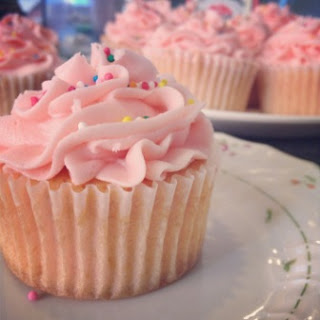
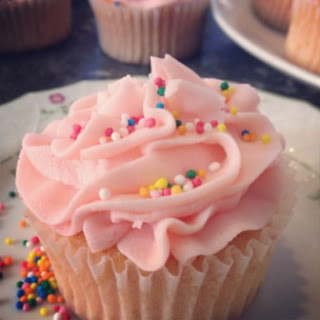
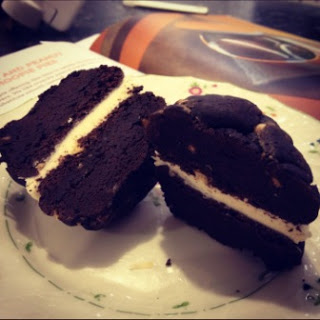
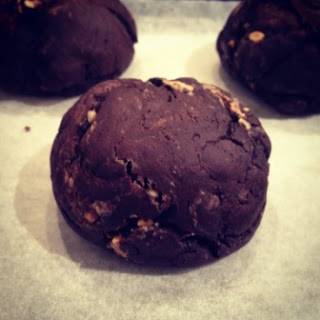
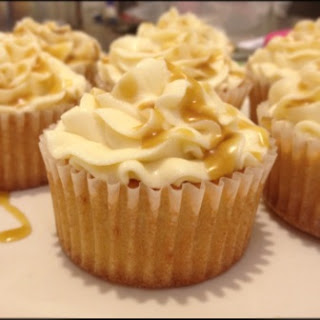
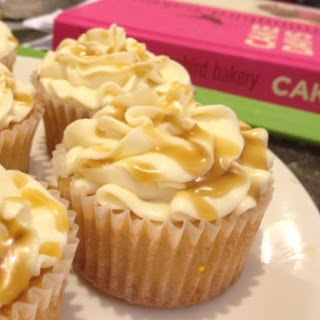
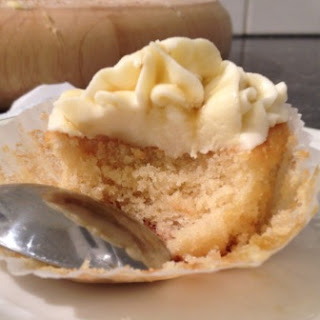
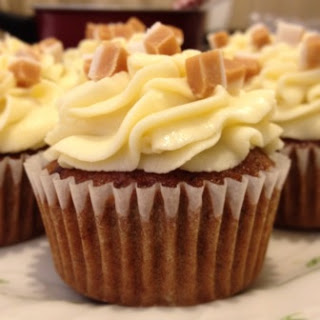
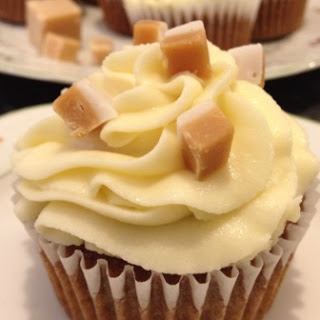
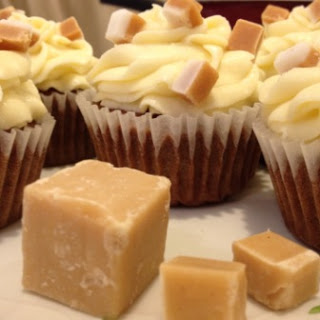
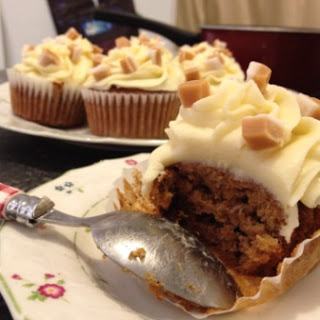
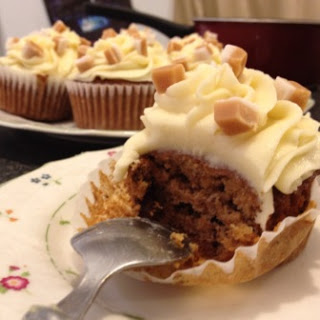
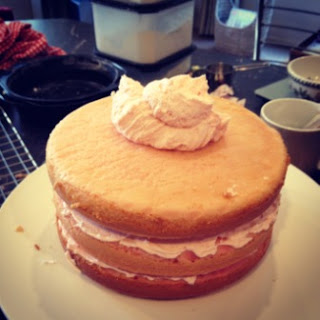
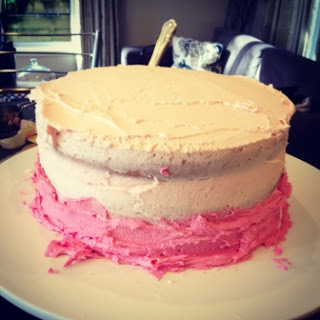
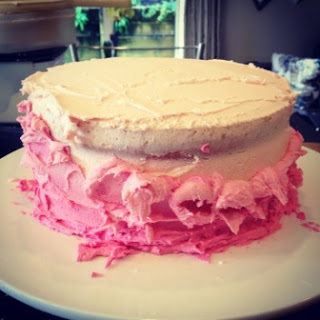
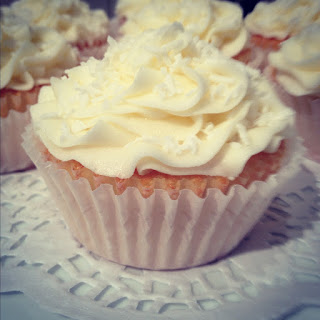
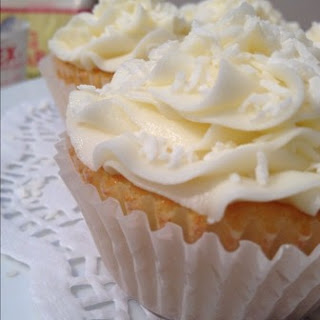
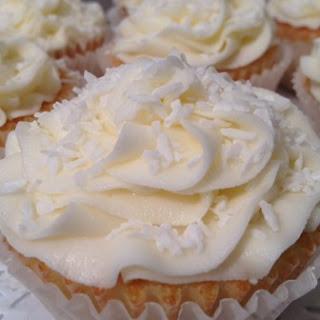
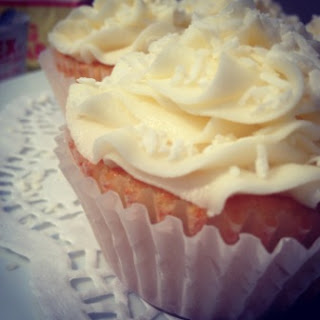
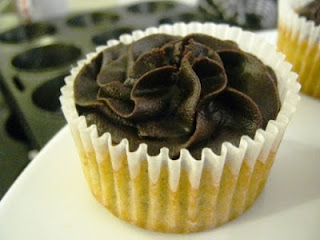
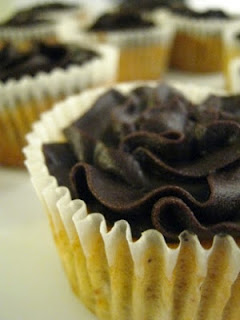
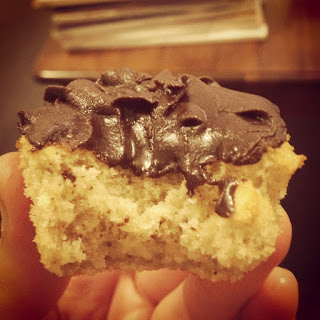
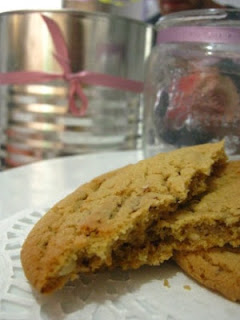
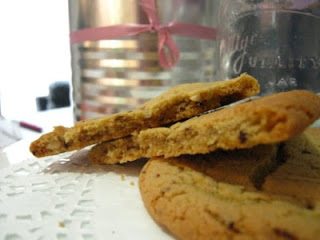
Don't let that put you off though, these are delicious. They comprise of a banana cake and caramel sponge with a sneaky dollop of caramel on top piled further with delicious toffee caramel icing :)
Don't kid yourself. The banana in these does not make these things the least bit healthy.
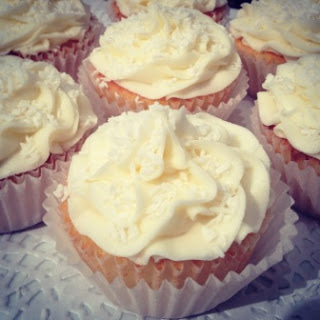
Give them a go, impress your mum and your friends when you show up with the most delicious treats out!
Banoffee Cupcakes
(adapted from the Hummingbird Bakery's Cake Days
recipe)
Makes 12
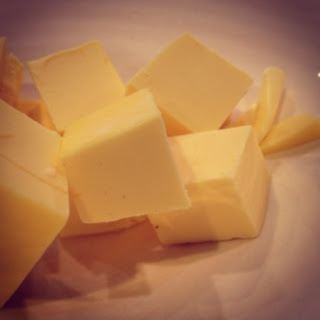
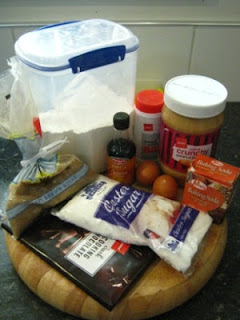
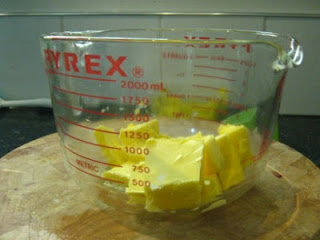
40g butter, softened
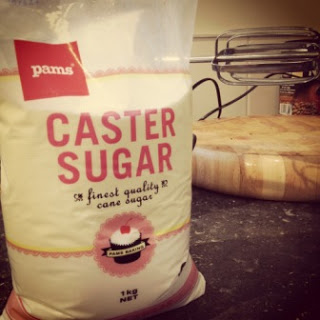
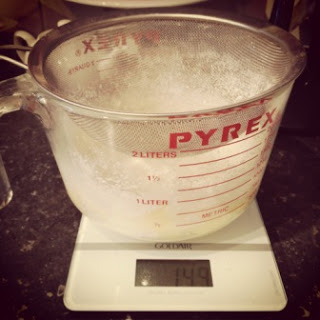
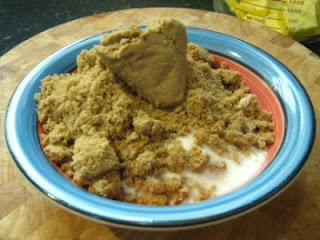
140g castor sugar
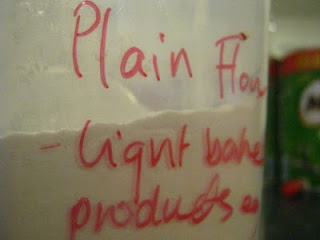
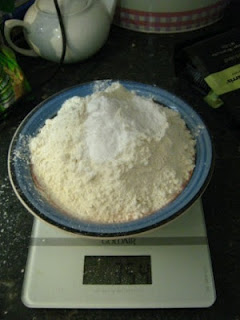
120g plain flour
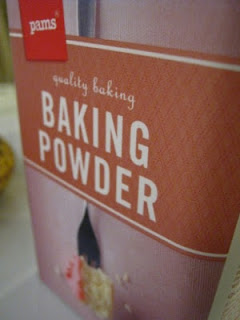
1 1/2 teaspoons baking powder
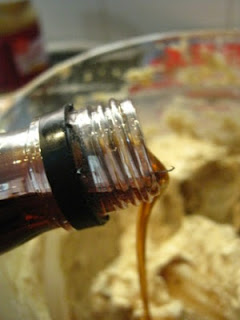
1 teaspoon vanilla
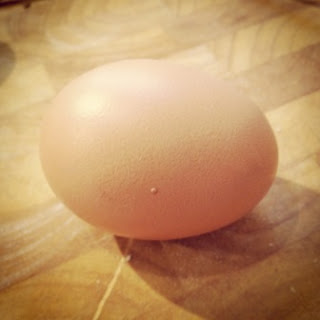
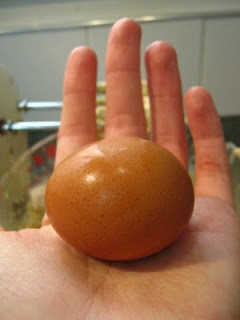
1 large egg
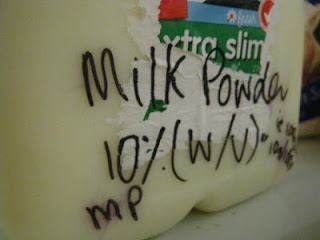
1/2 cup whole milk
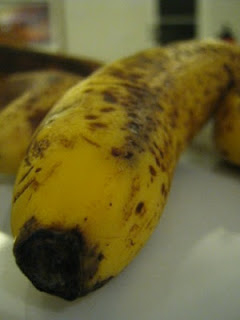
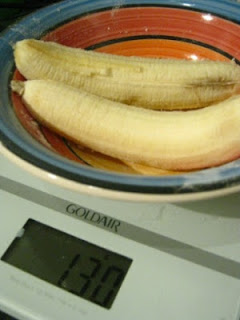
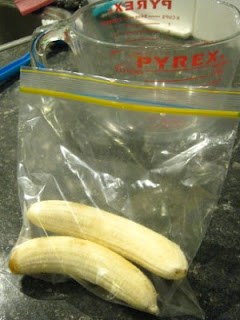
100g mashed banana (about 3/4 of a large banana)
50g of dulche de leche or the tinned condensed milk caramel
Icing:
300g icing sugar
80g butter, softened
25ml whole milk
100g tinned caramel
Splash of vanilla
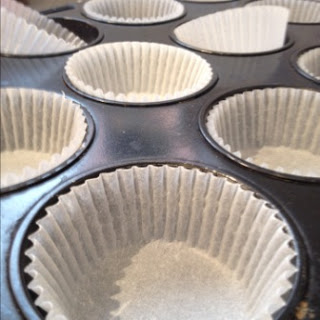
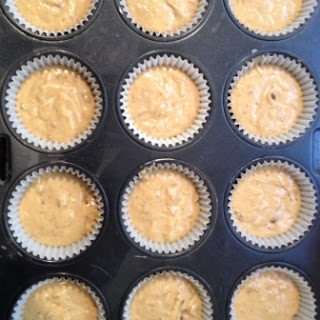
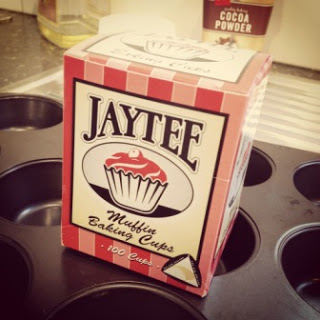
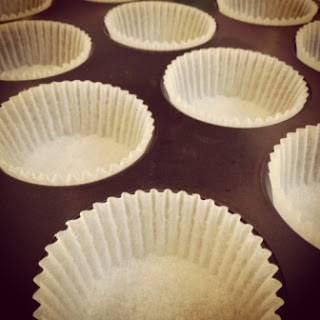
Preheat the oven to 190 degrees bake (or 170 if your oven is fan forced). Line your muffin tray with cupcake cases.
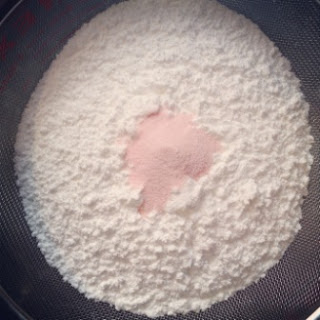
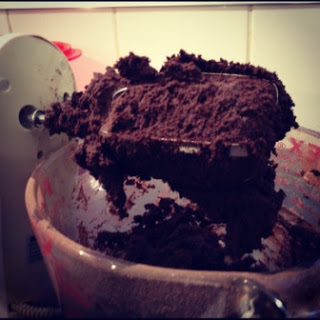
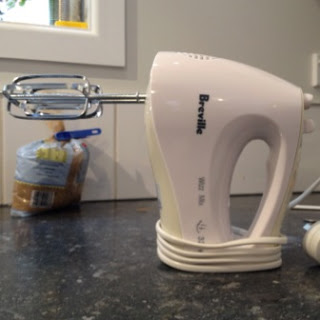
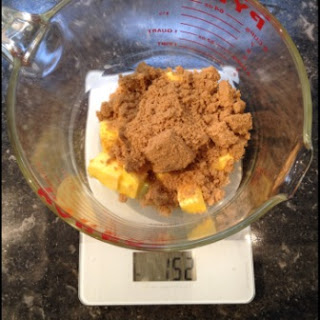
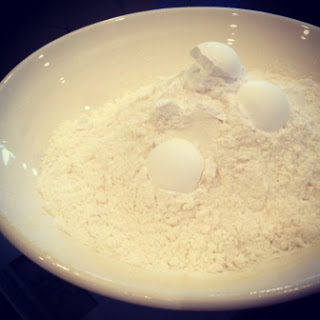
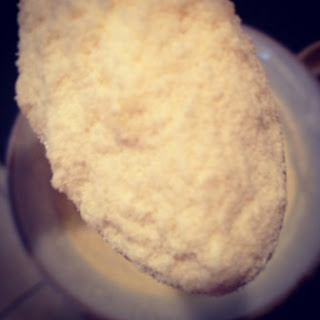
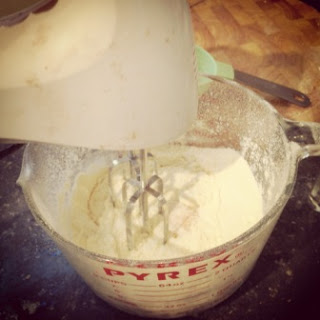
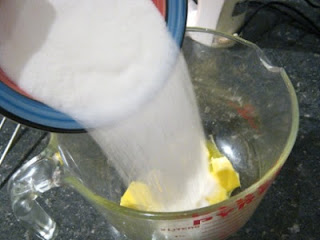
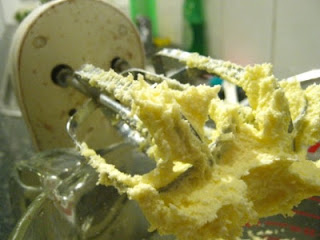
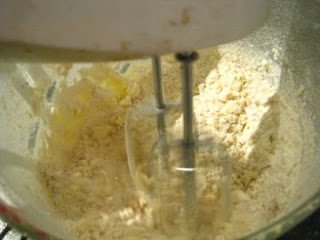
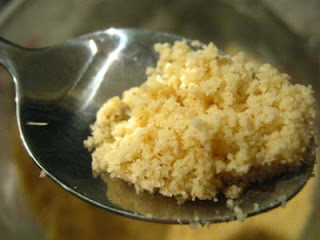
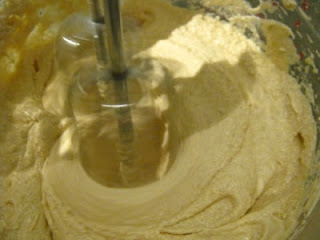
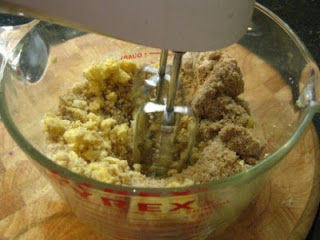
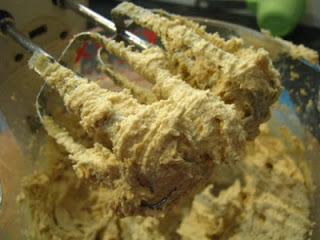
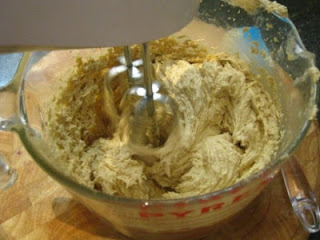
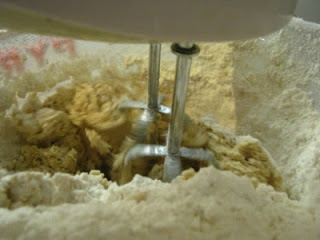
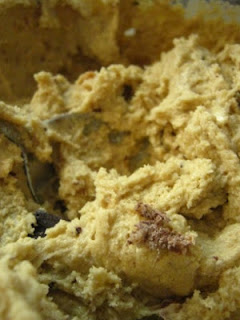
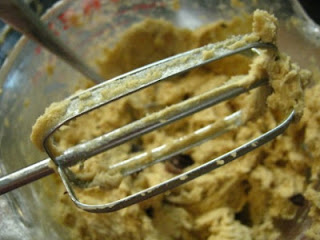
Beat together your butter and sugar until all the butter lumps have been broken down and the consistency is even. Sieve in your flour and baking powder and beat until a sandy consistency is reached.
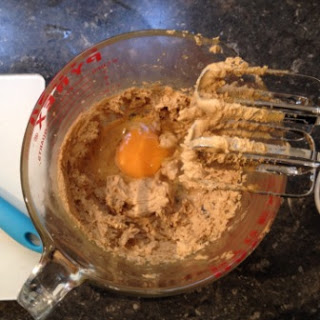
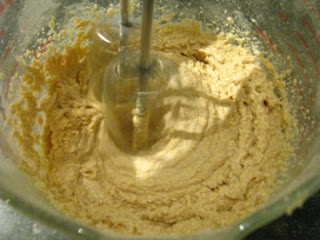
Add in your milk and vanilla, beat in. Next add your egg and beat until thick and smooth.
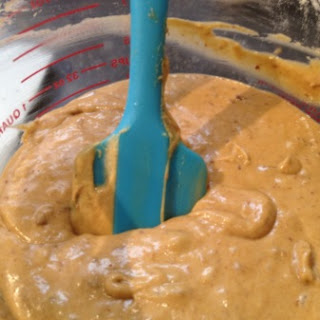
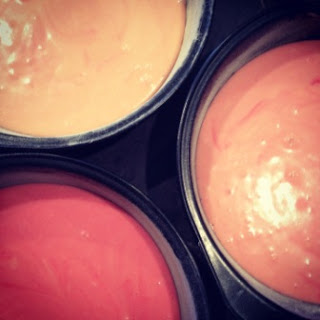
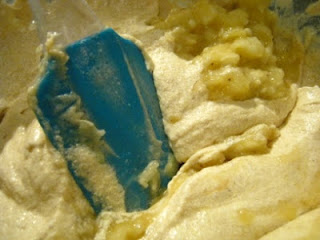
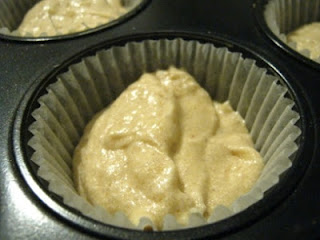
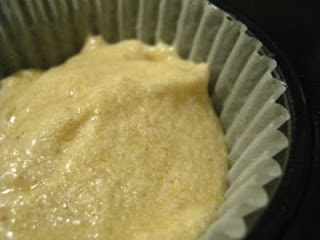
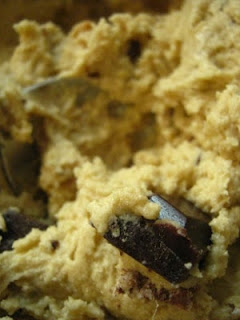
Pop in your mashed banana and caramel and mix until evenly distributed.
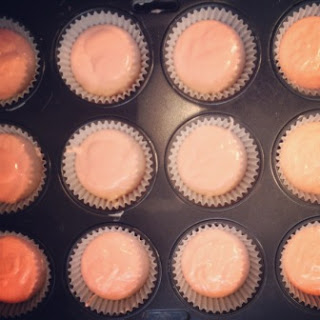
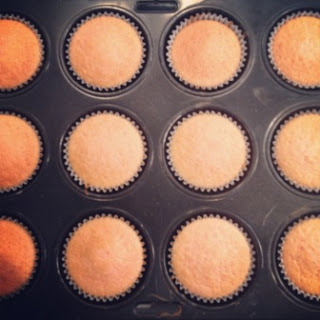
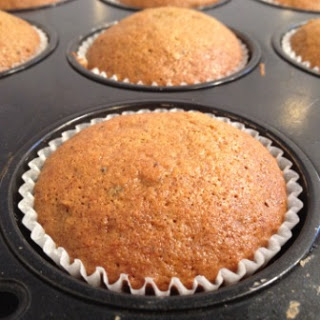
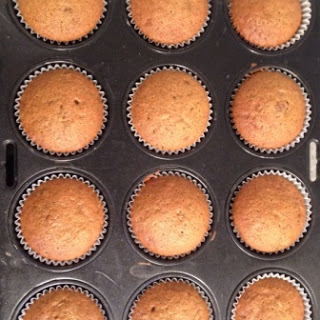
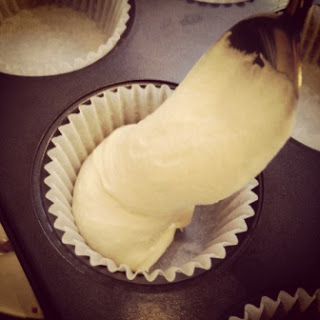
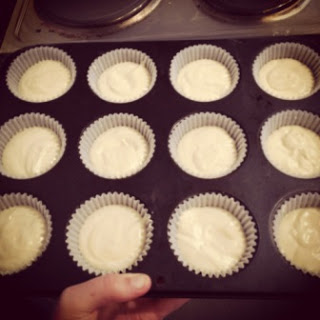
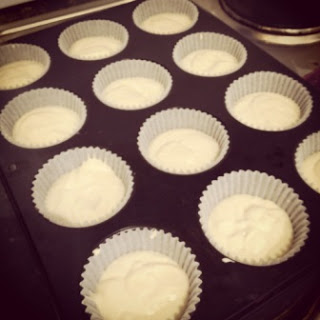
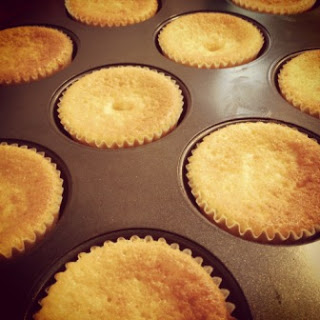
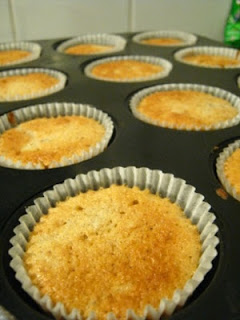
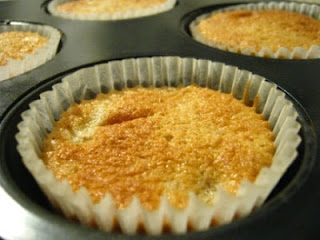
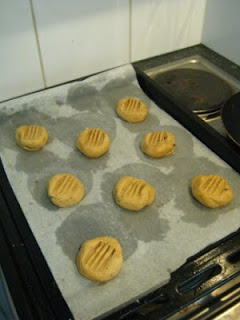
Fill your cupcake cases 3/4 full (they tend to sink quite a bit when they cool) and bake for 20 minutes or until the sponge springs back when lightly pressed.
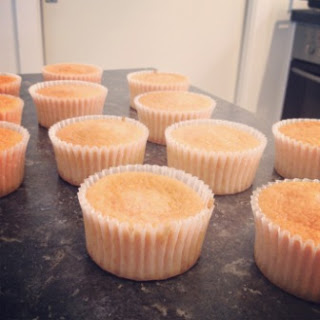
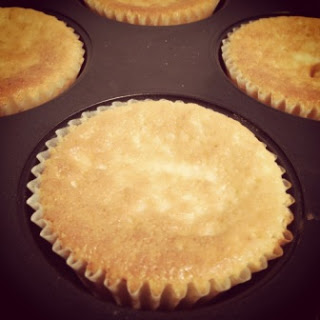
Leave your cupcakes to cool a wee bit before transferring them to a cake rack or a clean tea towel.
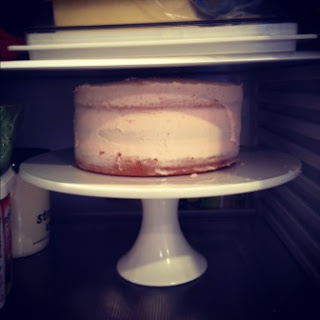
Make sure your cupcakes are completely cold before you ice them.


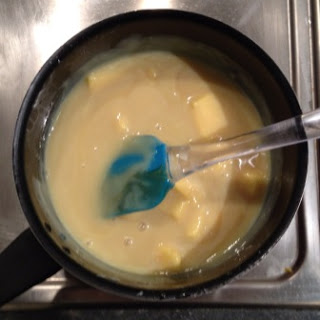
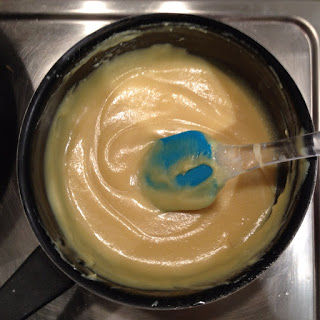
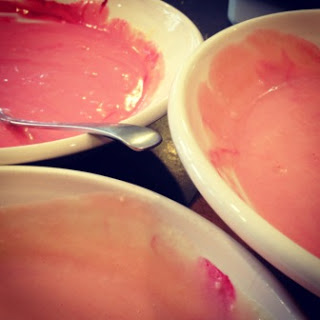
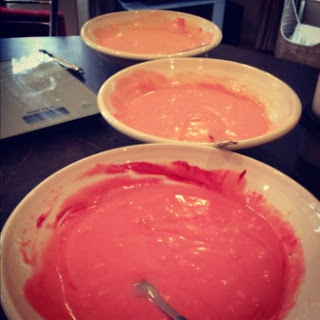
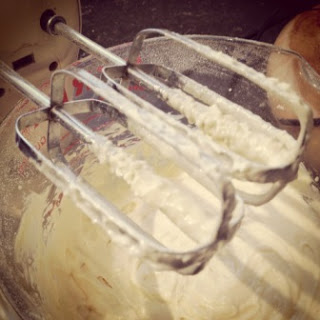
Icing:
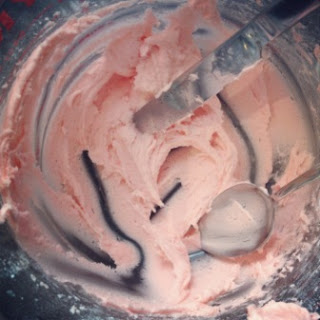
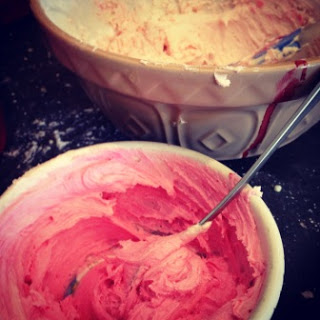
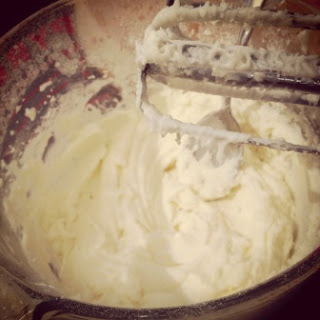
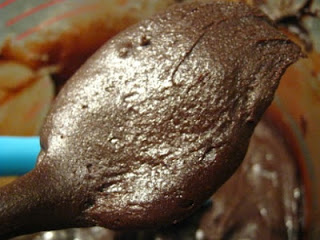
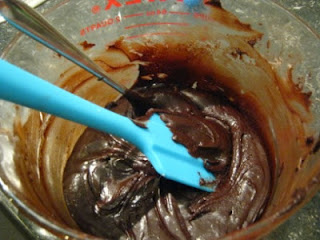
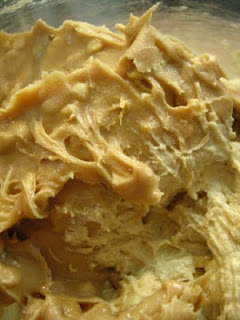
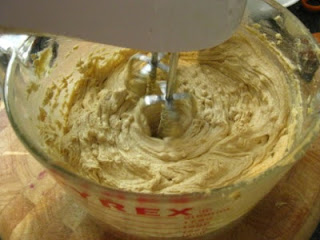
Cream the butter and sugar together with the addition of the milk to loosen it up. You may need more milk or icing sugar if the icing isn't thin or thick enough after you add the caramel. Add in your vanilla and caramel and beat until smooth and fluffy. Make sure your icing is relatively stiff, you don't want it slopping off your cupcake and making a mess.
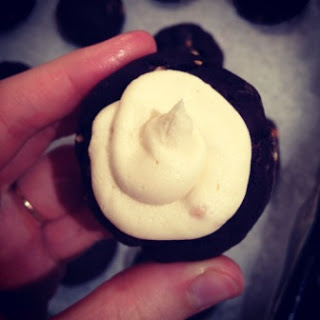
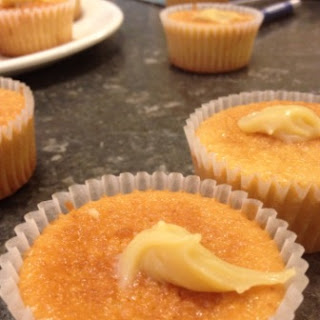
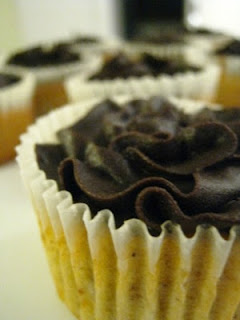
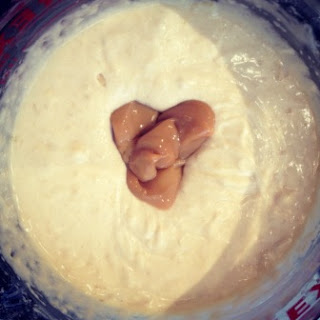
Take the caramel and place a small blob (about 1/4 teaspoon) on each cupcake before you ice them.
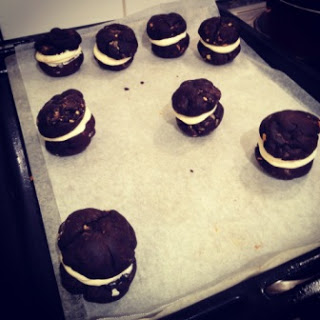
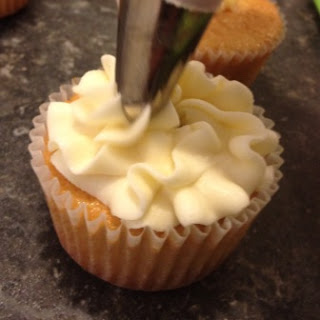
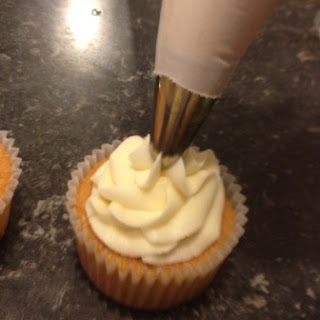
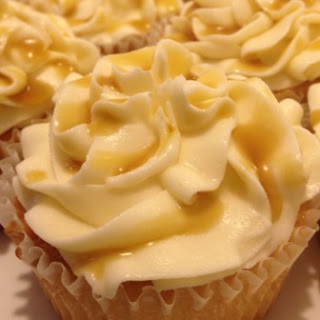
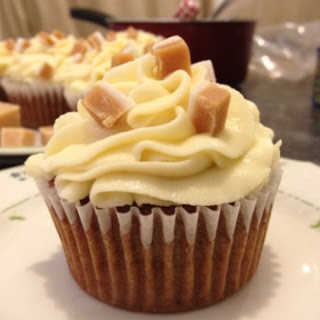
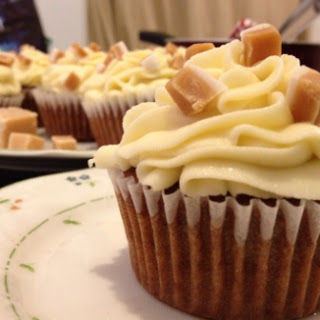
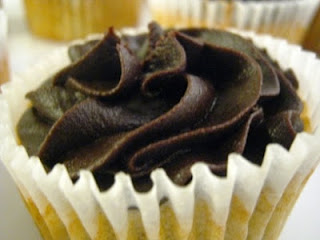
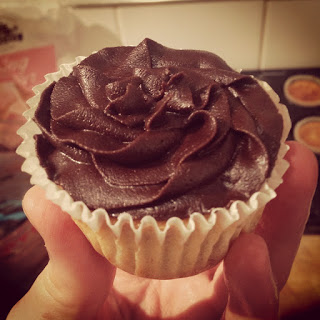
Insert the icing into a piping bag fitted with a 1M nozzle and swirl away! :)

This is what a 1M nozzle looks like


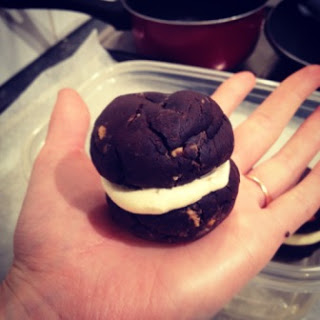
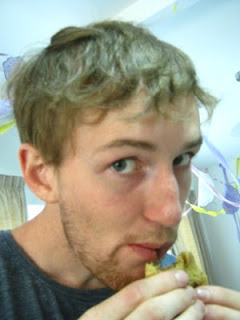
Haha lucky is the person who gets this one :)
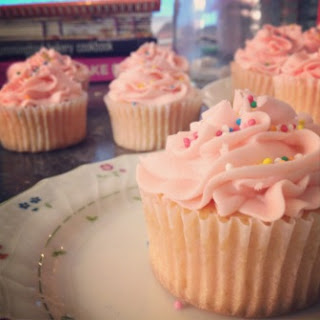
I think these are even better than the plain caramel cupcakes I did last week. Give them a go, you won't regret it :)
TTFN!!
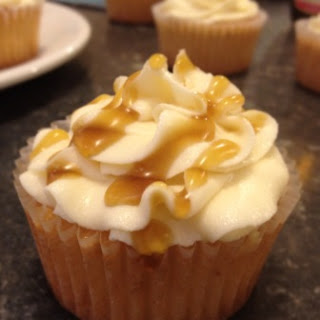
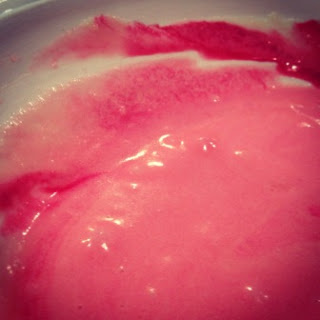
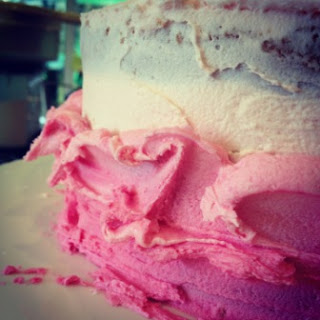
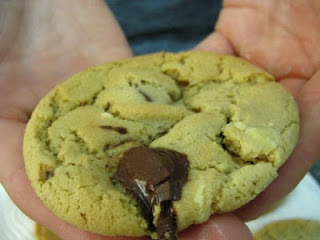
Delicious oozing caramel :)