Good Evening
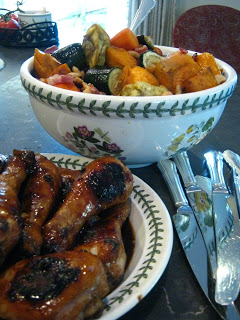
Its 5pm and dinner needs a makin'! So tonight Mum and I are making some yummy barbequed chicken drumsticks and a roast vege salad (plus a raw energy salad from the Ripe Deli cookbook but I am not including that one). Btw we are serving four tonight including Dad and one very very hungry Jack.
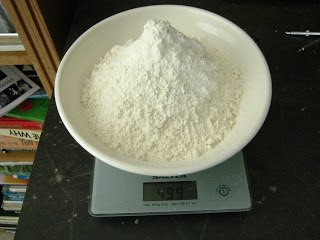
Cooking cheaply as we have all been told is buying meats that are on special and buying produce that is in season. So what I recommend you do is to Google New Zealand (or whatever country you are in) produce calendars. This one here isn't too bad nor does this one which is the Turners and Growers site which is probably more reliable. Anyway the bottom line is that when a fruit or vegetable is in season is is cheaper and of better quality and containing more vitamins and minerals. Also check out local food markets such as the Otago Farmers Market held at the Railway station for some great deals on fresh produce. Especially apples in the winter! $5 a bucket! nom nom. In season produce also means that the food in your fridge has not had to travel for weeks on end to get to you which uses up all sorts of natural resources etc etc.
So firstly lets focus on the chicken.
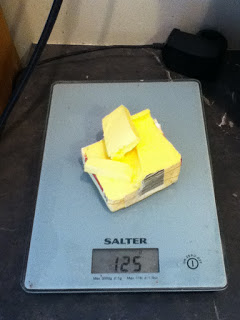
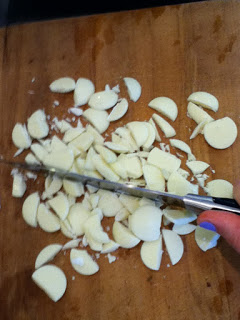
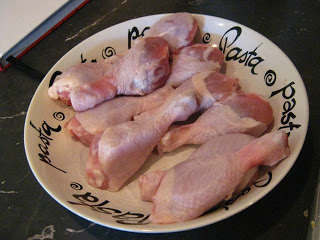
I can't even remember where we got this recipe from, I think it is from Mum's friend Hil. Anyway the ingredients in the marinade you can all buy from an Asian food market and are cheaper there than at the supermarket. The initial outlay might be around $20 but once you have them they are so worth it and last a while too. We chose to use chicken drumsticks as they are the cheapest part of the bird you can get. Usually we use chicken thighs but it really doesn't matter. The thighs are just more tender.
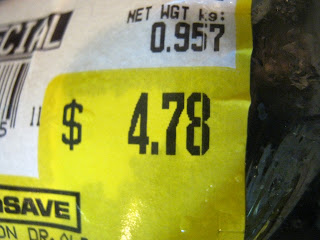
But look at that! almost a kilo of chicken drum sticks for $4.78! In that pack we got 10 of them.
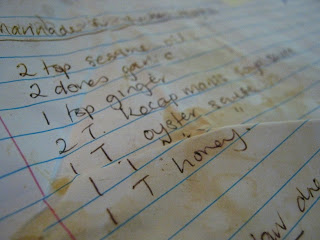
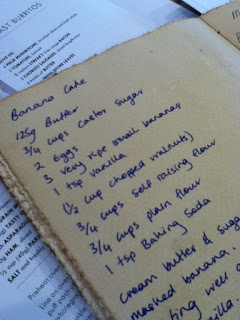
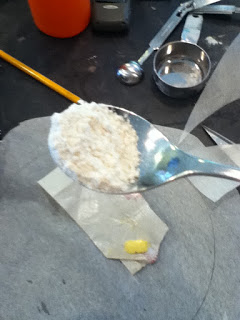
So here is the scrawled out recipe. So on top of the chicken pour on:
2 teaspoons sesame oil
2 cloves of crushed garlic
1 teaspoon crushed/chopped/grated ginger
2 Tablespoons kecap manis (sweet soy sauce)
1 Tablespoon oyster sauce
1 Tablespoon fish sauce
1 Tablespoon honey
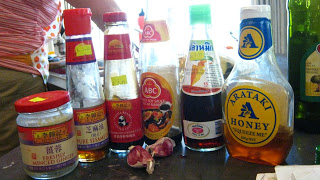
From left: Crushed ginger (Mum can't be bothered buying fresh ginger at the moment), sesame oil, oyster sauce, garlic cloves, fish sauce, honey.
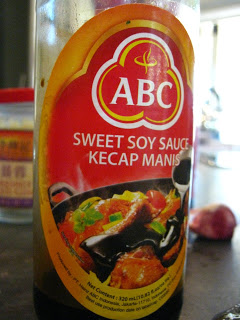
This is the VITAL ingredient. It is dark, sweet and syrupy and rather delicious. It is nothing like the soy sauce that you pop on top of your sushi. You can now buy it at most supermarkets if you aren't near an Asian supermarket.
Oh no! we ran out of kecap manis!
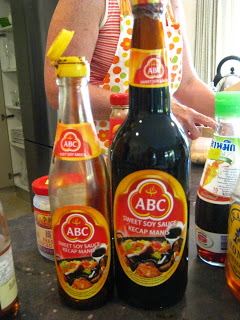
Never fear! Mum has an even larger bottle stashed in the pantry.
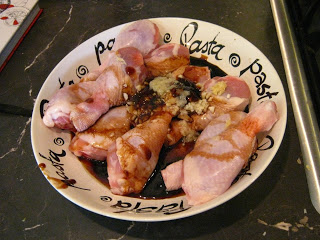
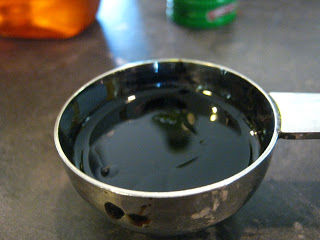
So yeah, pop it all on the chicken
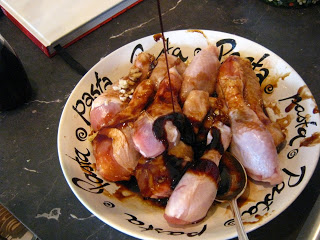
Add a bit more kecap manis for good luck!
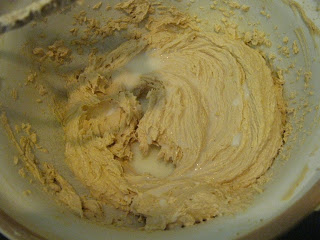
Bam! marinade complete! Now pop this in the fridge whilst you prepare the vegetables or pop them straight on the barbie. If you are super on to it you could make this in the morning and let it absorb the delicious sauce over the course of the day so are all ready for you to cook when you get home from your four hour micro lab at 6pm! Now if you don't have a barbecue I suggest you become friends with the neighbours that do! :) A quick food safety tip!: before you cook them on the hot plate I suggest you pop them in the microwave and nuke them for a few minutes. Also microwave the left over marinade left in the bowl for 2 minutes and then pour over the chicken drums to make them extra saucy!
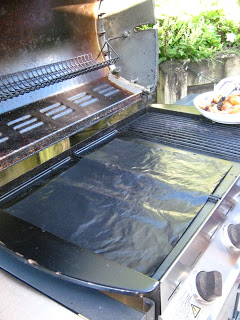
We have this nifty non stick Teflon sheet that you put on top of your hot plate so that you don't have to clean the barbie and you don't have to use oil.
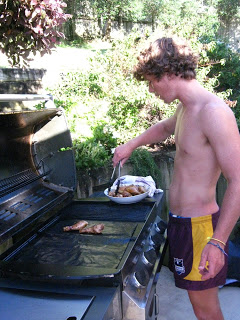
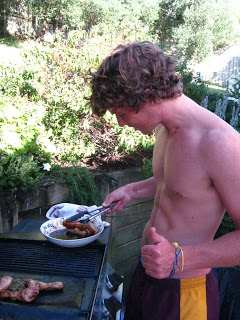
Jack pretending to cook
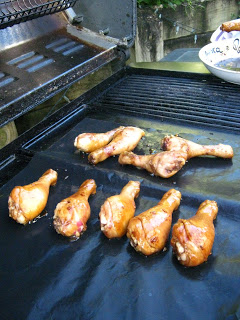
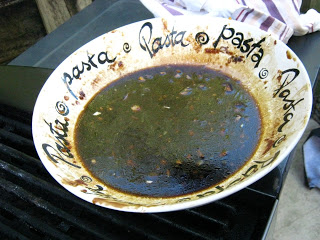
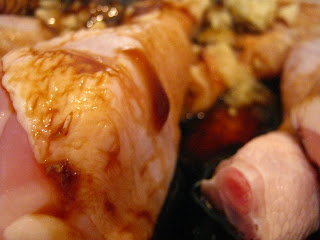
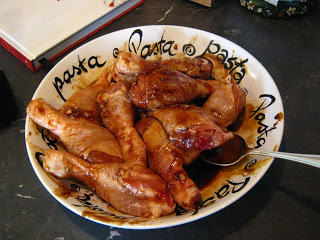
You see how there is quite a bit of marinade left over, this is amazing poured back over the chicken (once cooked in the microwave of course!)
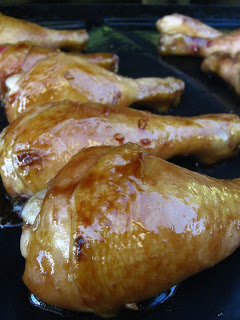
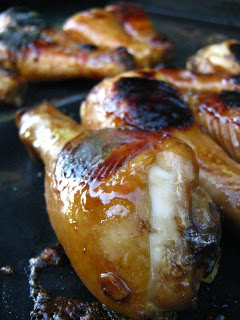
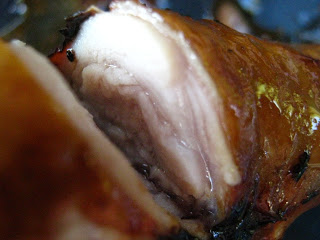
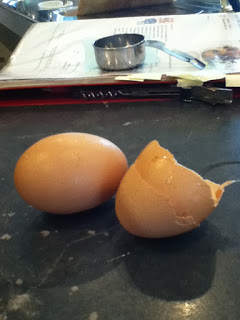
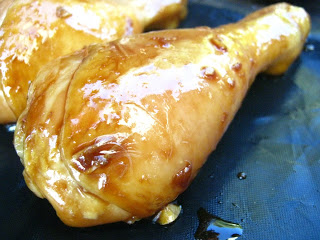
Slice open the fattest piece of chicken and check that the inside meat is not pink (unlike the photo above) and the juices run clear. I dunno about you but I quite like a bit of charring on my chicken, it gives it that nice barbecued taste. It's just the fatty skin charring that you weren't going to eat anyway!
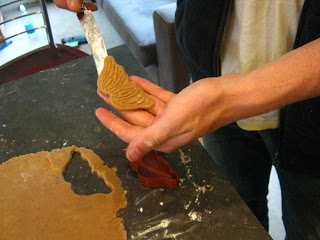
Ok now for the vegetables. This salad is inspired by the wonderful Ripe Deli cookbook.

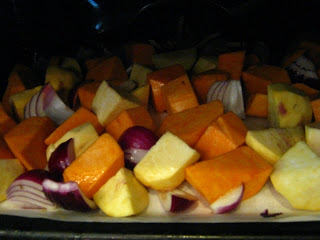
The first lot of vege cooking
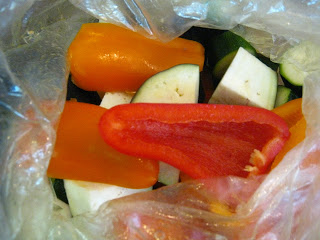
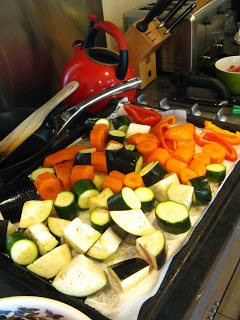
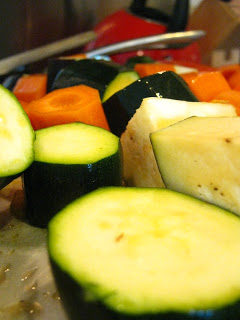
Second lot of vegetables; capsicum, aubergine, corgette and carrot

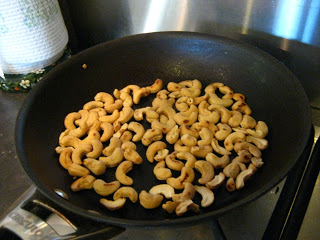
Toasting the cashews so they are nice and crunchy

Tossing the first lot

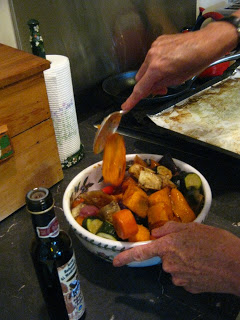
Now for the rest of the vege

Transfer into a serving bowl
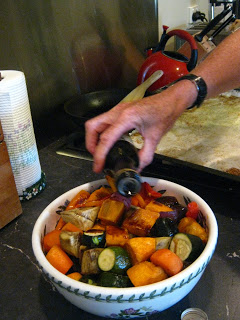
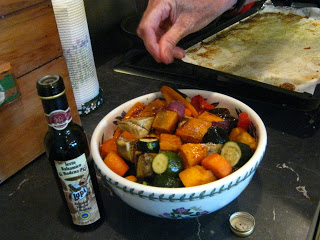
Drizzle over some balsalmic
Sprinkle over some sea salt
Toss
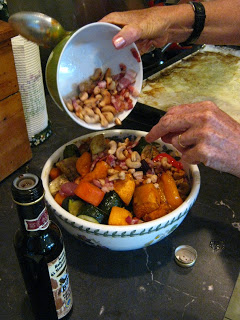
Sprinkle over the bacon and cashews
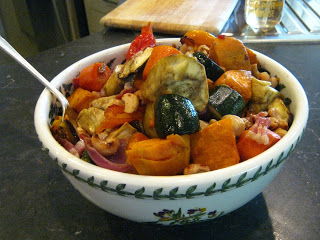
And voila! Done!
Its 5pm and dinner needs a makin'! So tonight Mum and I are making some yummy barbequed chicken drumsticks and a roast vege salad (plus a raw energy salad from the Ripe Deli cookbook but I am not including that one). Btw we are serving four tonight including Dad and one very very hungry Jack.
Cooking cheaply as we have all been told is buying meats that are on special and buying produce that is in season. So what I recommend you do is to Google New Zealand (or whatever country you are in) produce calendars. This one here isn't too bad nor does this one which is the Turners and Growers site which is probably more reliable. Anyway the bottom line is that when a fruit or vegetable is in season is is cheaper and of better quality and containing more vitamins and minerals. Also check out local food markets such as the Otago Farmers Market held at the Railway station for some great deals on fresh produce. Especially apples in the winter! $5 a bucket! nom nom. In season produce also means that the food in your fridge has not had to travel for weeks on end to get to you which uses up all sorts of natural resources etc etc.
So firstly lets focus on the chicken.
I can't even remember where we got this recipe from, I think it is from Mum's friend Hil. Anyway the ingredients in the marinade you can all buy from an Asian food market and are cheaper there than at the supermarket. The initial outlay might be around $20 but once you have them they are so worth it and last a while too. We chose to use chicken drumsticks as they are the cheapest part of the bird you can get. Usually we use chicken thighs but it really doesn't matter. The thighs are just more tender.
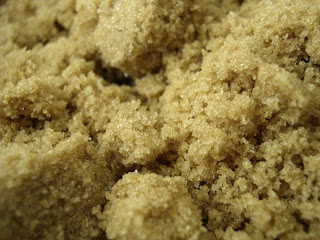
But look at that! almost a kilo of chicken drum sticks for $4.78! In that pack we got 10 of them.
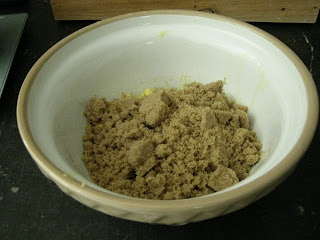
So here is the scrawled out recipe. So on top of the chicken pour on:
2 teaspoons sesame oil
2 cloves of crushed garlic
1 teaspoon crushed/chopped/grated ginger
2 Tablespoons kecap manis (sweet soy sauce)
1 Tablespoon oyster sauce
1 Tablespoon fish sauce
1 Tablespoon honey
From left: Crushed ginger (Mum can't be bothered buying fresh ginger at the moment), sesame oil, oyster sauce, garlic cloves, fish sauce, honey.
This is the VITAL ingredient. It is dark, sweet and syrupy and rather delicious. It is nothing like the soy sauce that you pop on top of your sushi. You can now buy it at most supermarkets if you aren't near an Asian supermarket.
Oh no! we ran out of kecap manis!
Never fear! Mum has an even larger bottle stashed in the pantry.
So yeah, pop it all on the chicken
Add a bit more kecap manis for good luck!
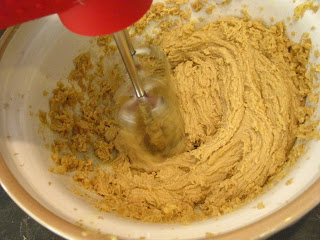
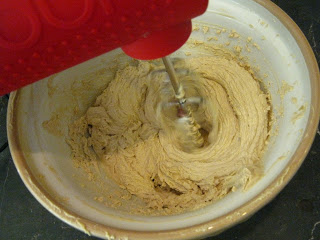
Bam! marinade complete! Now pop this in the fridge whilst you prepare the vegetables or pop them straight on the barbie. If you are super on to it you could make this in the morning and let it absorb the delicious sauce over the course of the day so are all ready for you to cook when you get home from your four hour micro lab at 6pm! Now if you don't have a barbecue I suggest you become friends with the neighbours that do! :) A quick food safety tip!: before you cook them on the hot plate I suggest you pop them in the microwave and nuke them for a few minutes. Also microwave the left over marinade left in the bowl for 2 minutes and then pour over the chicken drums to make them extra saucy!
We have this nifty non stick Teflon sheet that you put on top of your hot plate so that you don't have to clean the barbie and you don't have to use oil.
Jack pretending to cook
You see how there is quite a bit of marinade left over, this is amazing poured back over the chicken (once cooked in the microwave of course!)
Slice open the fattest piece of chicken and check that the inside meat is not pink (unlike the photo above) and the juices run clear. I dunno about you but I quite like a bit of charring on my chicken, it gives it that nice barbecued taste. It's just the fatty skin charring that you weren't going to eat anyway!
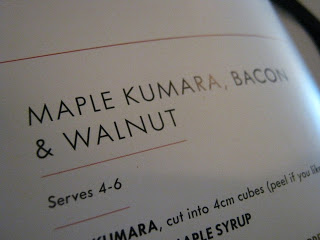
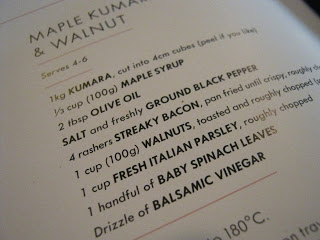
Ok now for the vegetables. This salad is inspired by the wonderful Ripe Deli cookbook.
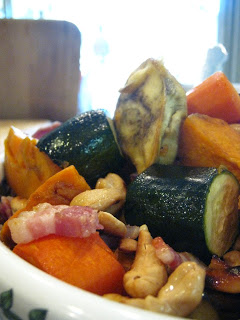
Now we don't actually follow the recipe here but we do use the bacon, cashews and maple syrup. You can leave out the nuts and bacon if you are feeling a bit poor they are not vital.
Ok what you will need for an amount shown below:
2 orange kumara
2 red kumara
2 red onions
3 corgettes
2 capsicum
3 carrots
1 aubergine (aka eggplant)
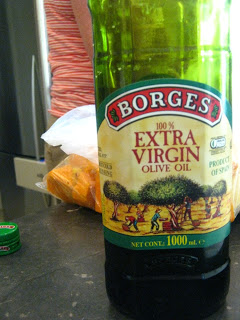
splash of olive oil (1/4 cup is more than enough)
a drizzle of maple syrup (no more than 1/4 cup)
handful of cashew nuts (optional) toasted in an oil less pan
a few rashers of streaky bacon (optional)
a few handfuls of baby spinach leaves (again optional if its on special)
one plastic bag
salt and cracked pepper
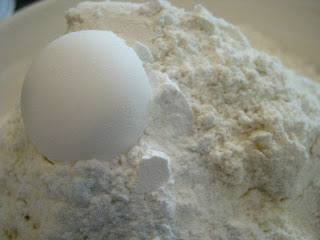
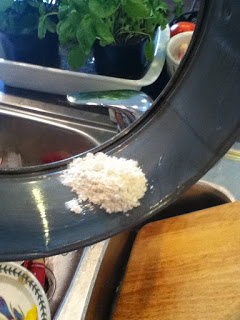
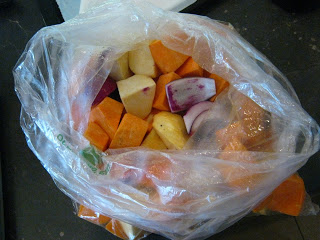
Ok so peel and chop your kumara and onions, pop into the plastic bag, pour in the half the oil and then shake the vegetables around to cover them in oil. Pour onto a baking tray, drizzle with maple syrup and then bake at 180 degrees for half an hour or until the vegetables are almost cooked through. drizzle a bit more of the maple syrup on top. Then toss the chopped corgettes, capsicum, carrots and aubergine in the other half of the oil and squeeze these on the tray to finish off for another half an hour. Mum just cooked them in two separate lots because there wasn't room on the tray. Once the vegetables are all cooked pop into a serving bowl, toss through the bacon, cashews and spinach if you wish and then drizzle with some balsamic vinegar. Yum yum!
This is an easy way of evenly coating a lot of vegetables with only a small amount of oil
The first lot of vege cooking
Second lot of vegetables; capsicum, aubergine, corgette and carrot
Toasting the cashews so they are nice and crunchy
Tossing the first lot
Drizzle some more
Transfer into a serving bowl
Drizzle over some balsalmic
Sprinkle over some sea salt
Toss
Sprinkle over the bacon and cashews
 |
| Add caption |
And that my friends is the Edmonds Family's dinner for tonight (along with a rather groovy looking beetroot salad).
We had a lot of left overs in the salad department so if you are cooking for less or for a group of girls you may decide to use less vegetables. Remember this is cooking and not baking so it doesn't matter if you alter the recipe slightly to suit your taste. The oil amounts are just guidelines, you could use other oils such as rice bran. Up to you or what you have available. For the salad you can add in parsnips and pumpkin later in the year.
See you soon!