Hello!


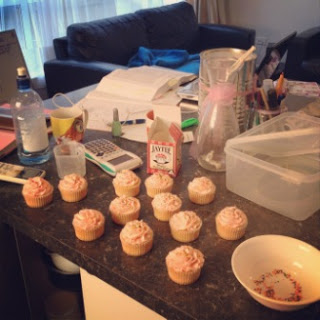
It is that beautiful time of year when exams and final assigments worth far too much of one's final grade are quick around the corner. Now I tend to avoid the library at all times during this season, unless it is to deliver friday bakery almond croissants to a stressed out Alix. The idea of rushing stampeding to the library to get a special seat or a seat at all stresses me out. I therefore spend my study time at home where I am only metres away from my beloved kettle and box of tea bags. But for those of you who camp out at that crazy central, malicious med or scary science library you will be in need of soul comforting and brain fuelling snacks to get you through.
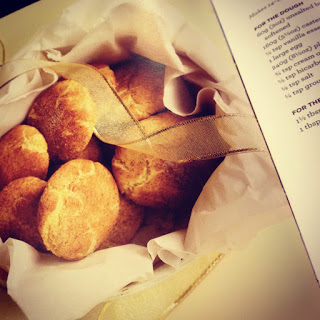
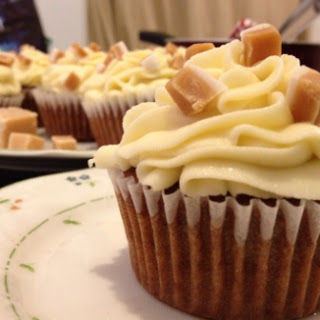
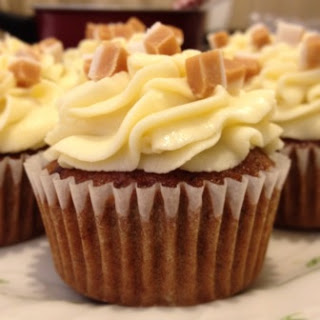
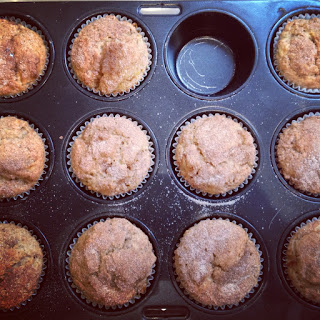
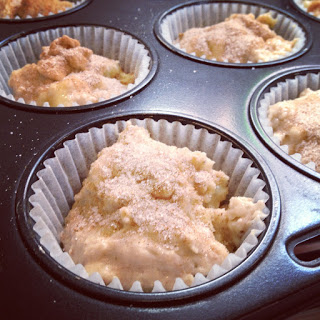
Back home, my Mum makes my brother big batches of chocolate muffins for his school lunches (yes my brother is 18). She wraps them up individually in glad wrap and pops them in the freezer so they stay fresh. I decided to do the same with these banana cinnamon muffins for when Alix begins her month long disappearing act.
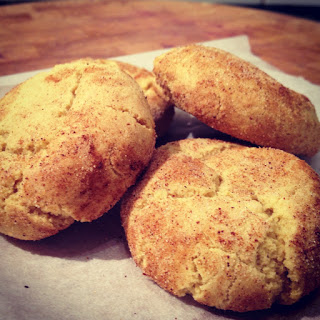
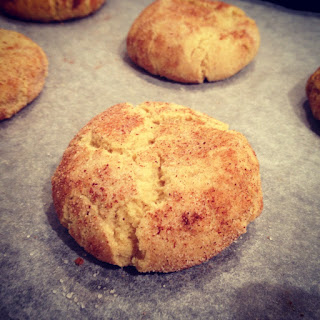
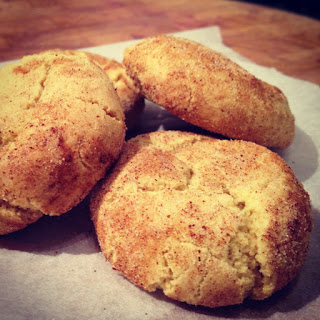
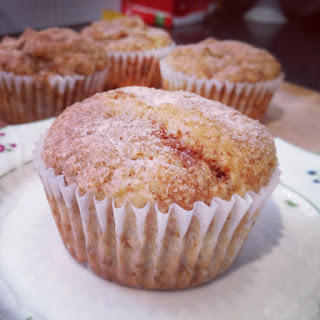
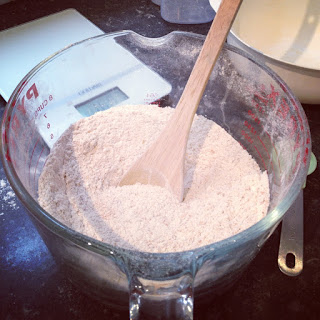
This recipe is relatively low fat and low sugar (as far as muffins are concerned anyway). They have the goodness of bananas in them too. When I was making these I ran out of plain flour so I substituted in some wholemeal flour, so there is a wee bit of fibre in there too. You could probably increase the amount to around half if you wanted to. I think I added 100g or so. I also didn't feel like buying buttermilk for the sole purpose of making these muffins. As a substitute I used low fat vanilla yoghurt mixed with a bit of milk. This gives both the acidity and texture you need. You could even add nuts or chocolate chips if you wanted. These ones are topped with sugar and cinnamon which gives them that amazing crunch to the top.
This is inspiring me to do an exam muffin series, haha maybe i'll do some delicious bran and fruit muffins next.
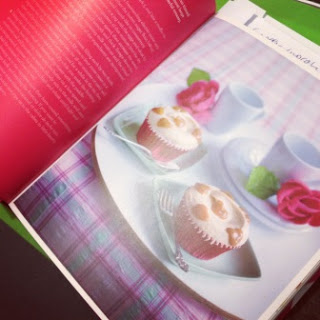
I got this recipe from my Hummingbird bakery cookbook, it has a whole muffin section so there will definitely be more muffin posts.
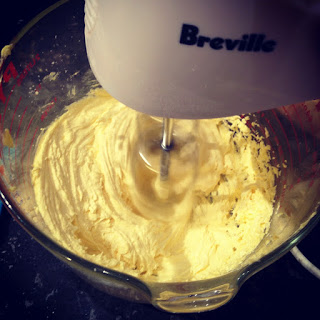
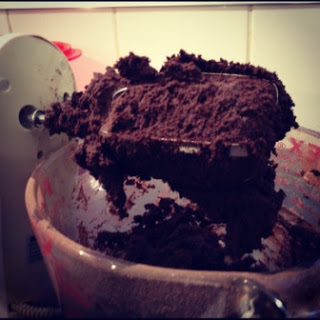
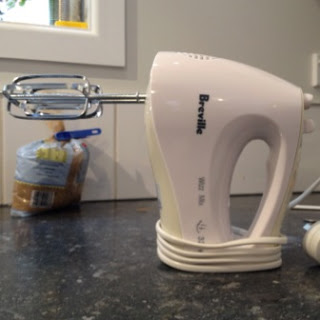
Now the method in the book said to beat everything, beat everything quite a lot. Now I don't know about you but when I was little and my Mum taught me to make muffins she said you need to mix the liquids and the dries separately. Then when you add them together only stir with a spoon as much as you need for everything to be combined (ie no flour pockets). When you over mix the muffin mixture the gluten becomes over worked and air pockets form in the finished product. I followed my own muffin making instinct and went with what my Mummy told me and they turned out just fine.
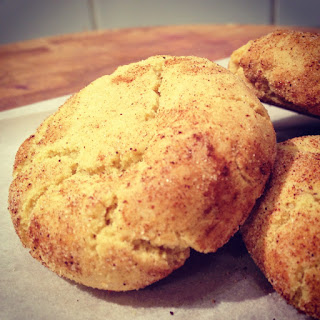
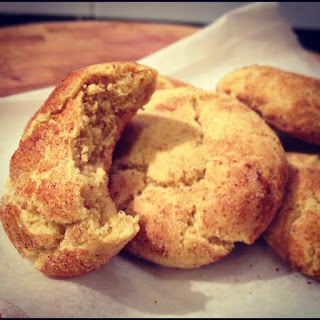
Banana and Cinnamon Muffins
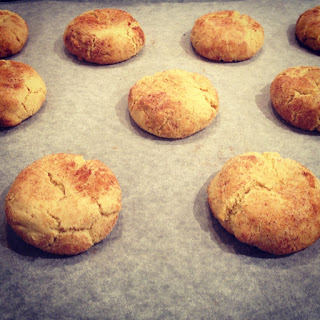
(makes around 20 medium sized muffins)
350g plain flour
3/4 teaspoon salt
1 1/2 teaspoons baking powder
1/2 teaspoon baking soda
2 teaspoons ground cinnamon plus extra to sprinkle
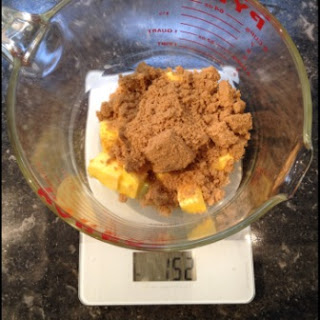
160g castor sugar plus extra to sprinkle
375ml buttermilk (or 275g plain or vanilla yoghurt + 100ml milk)
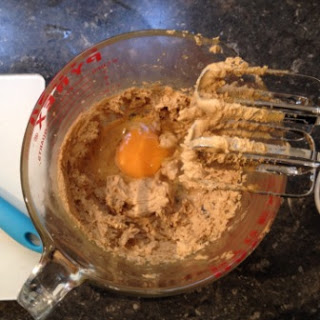
1 egg
1/2 teaspoon vanilla extract
70g unsalted butter
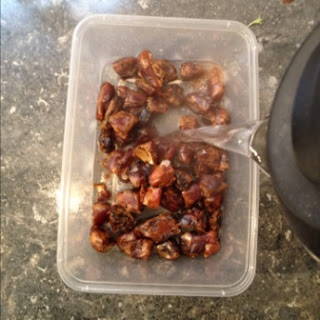
400g mashed banana
Preheat your oven to 170 degrees bake.
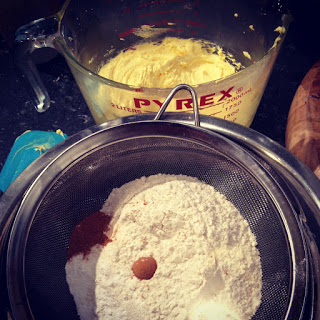
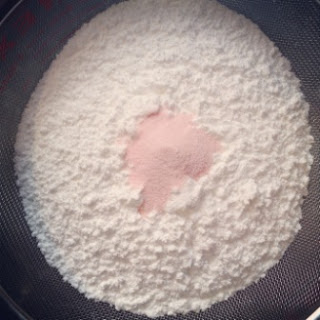
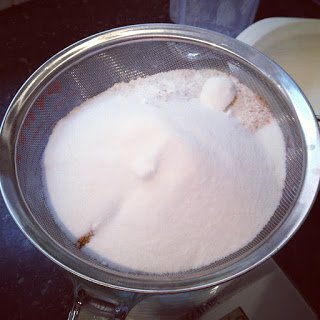
Sieve together the flour, salt, baking powder, baking soda, cinnamon and sugar. Give it a stir to mix it all up then make a well in the centre. Set aside.
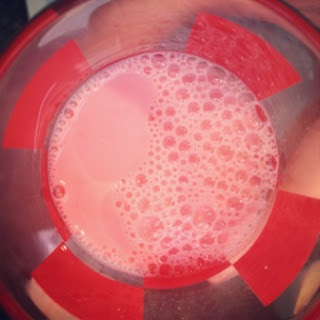
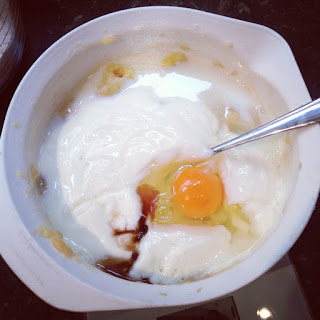
In a separate bowl, whisk together the egg, buttermilk (or yoghurt and milk), the melted butter, the vanilla and the mashed banana.
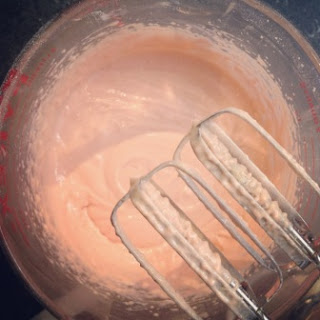
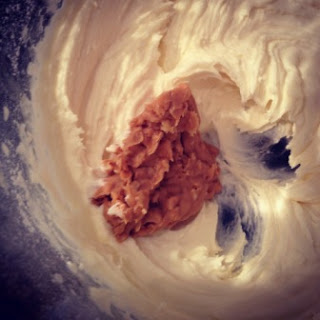
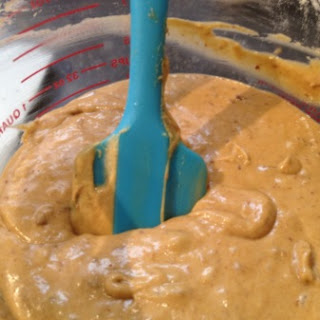
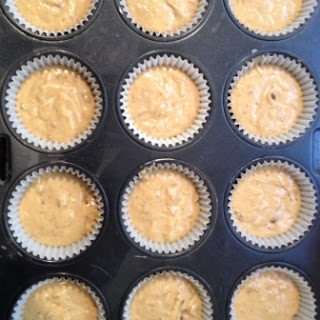
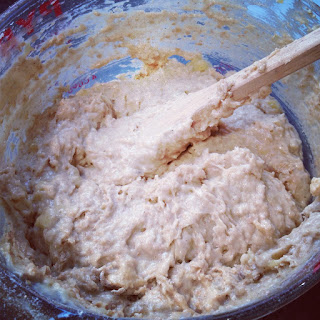
Pour this wet mixture into the well of the dry mixture. Using a wooden spoon, stir the batter until evenly combined and all flour pockets have been incorporated. Do not over mix or use a hand beater.
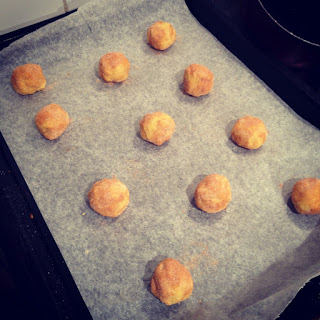
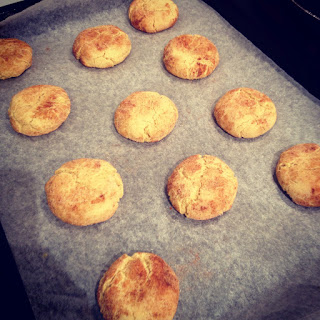
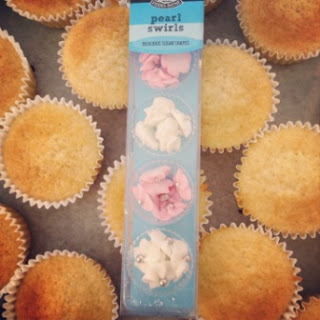
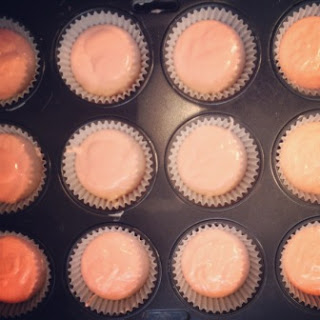
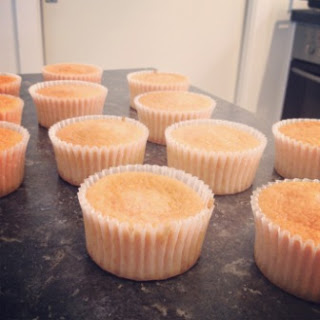
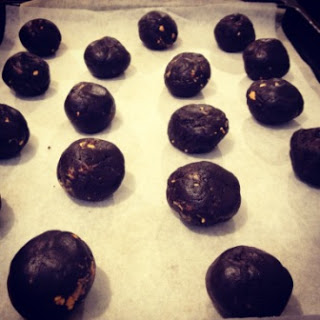
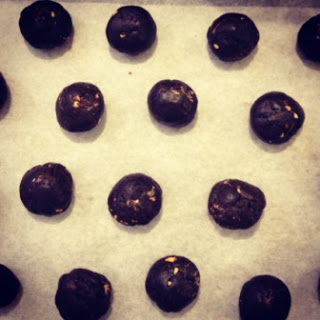
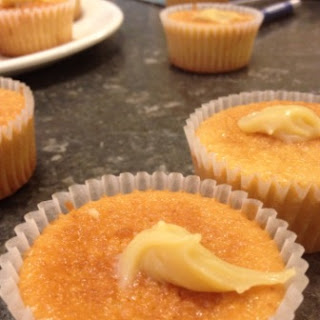
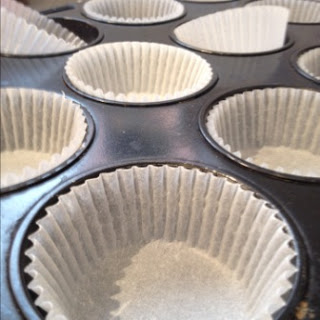
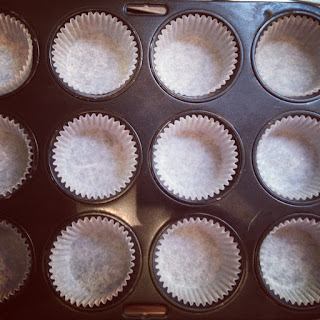
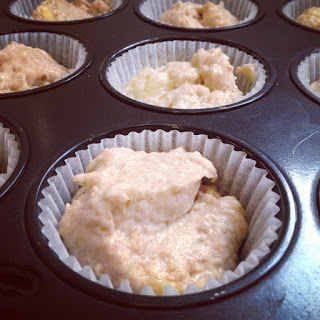
Line muffin trays with paper cases and spoon fill them until 3/4 full (I like that overhanging muffin top bit that goes nice and crunchy). Mix together some castor sugar and cinnamon and sprinkle over the tops of the muffins.
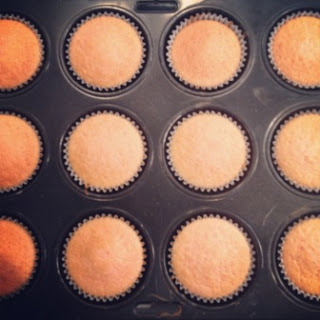
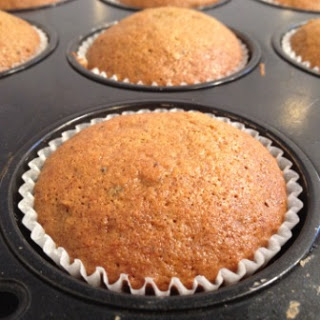
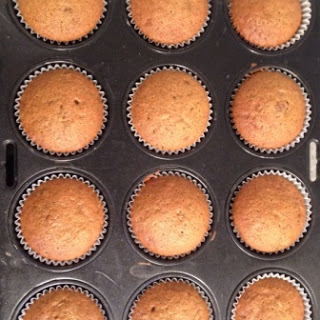
Bake for 20 minutes or until the top springs back when pressed.
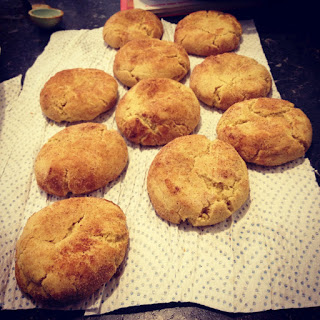
Wait a few minutes before eating them as I find the muffin tends to stick to the paper when they are too fresh out of the oven.
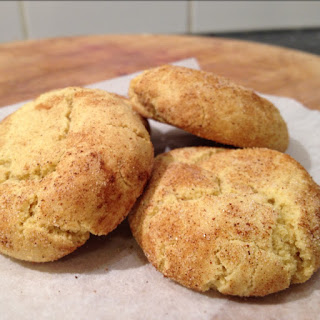
Enjoy!
Sophie x