I don't make enough cakes. It's always cupcakes, slices, biscuits but no decent discs of great cake.
I am aiming to change that.
The only problem with cakes is that you kind of need a reason to bake a cake and a significant number of people so that you don't eat the whole thing by yourself.
I found out the other day that I got into the honours program for my food innovation degree. I thought that was a good excuse as any to bake a cake. I had dreams of the whole family sitting around the table to eat cake.
Alas that is not the life of the modern day working family.
I had also made chicken and sundried tomato fettucine for dinner to be ready at 6ish. My brother and I waited and waited but the parentals did not turn up. We gave up waiting and had our portions just us. Then finally at 7ish Dad walked in. Then nearing 7.30 Mum walked in. There goes the family dinner.
Oh and then Dad complained that we had eaten all the dinner. No Dad, that is what half of the chicken mixture looks like. Exactly half. Aah then their were complaints that their fettucine wasn't cooked. We thought we were doing them a favour, afterall who likes half cold stodgy pasta?
Then I watched in agony as Dad attempted to boil water and cook the fettucine, asking every thirty seconds whether it was cooked or not.
They say girls marry their fathers.
I will certainly not be marrying a man who does not know when his pasta is al dente.
Right, where was I? Aaah Cake.
Right so the time that everyone had come home, Jack's and my stomach had empties sufficiently to fit in some delicious cake. Unfortunately Mum and Dad at this exact time were beached like whales on the couch full of creamy pasta and nursing their food babies. They did not feel like cake.
Epic failure.
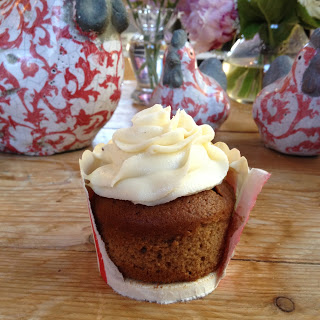
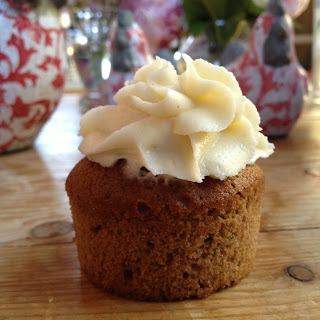
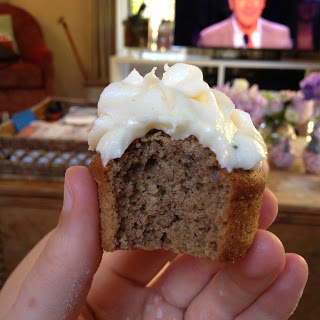
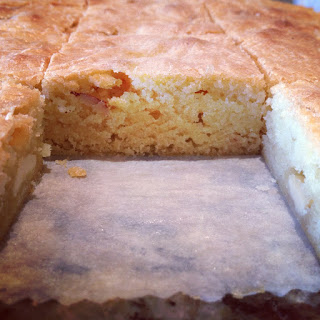
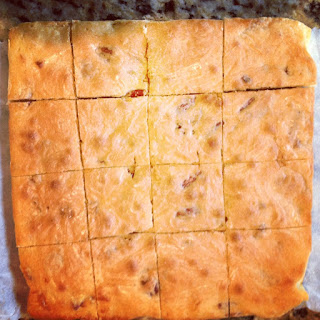
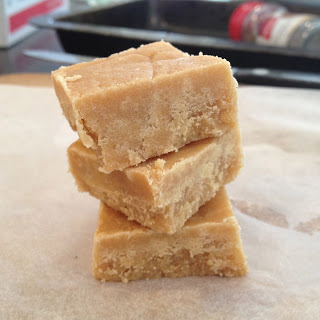
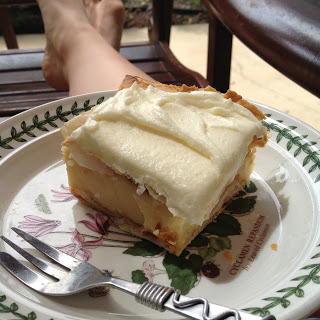
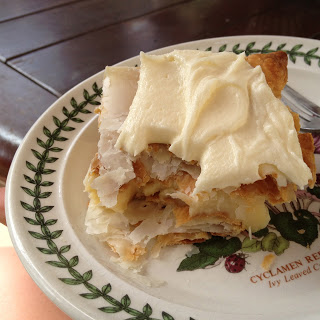
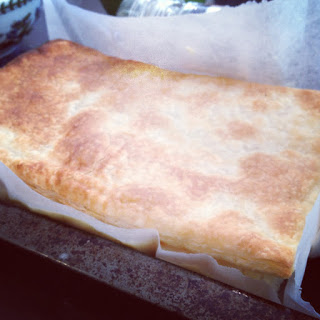
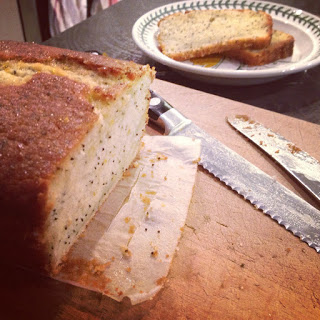
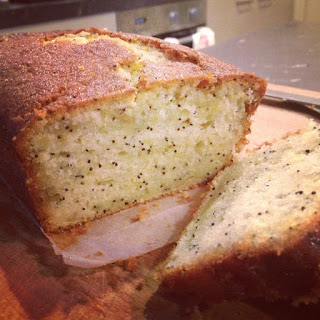
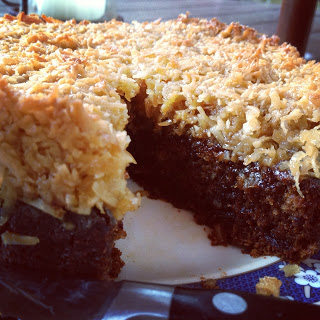
So I ate cake by myself. It was just as delicious as if I was eating it with company. Also no one could judge me whilst I ate a second piece. Mmmm so moist was this cake.
Oh yes, what type of cake did I make?
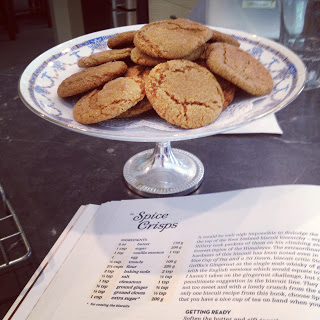
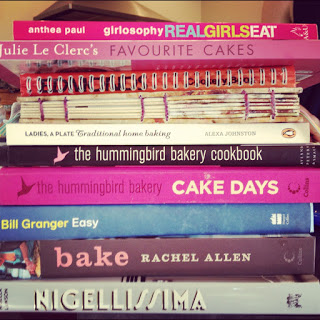
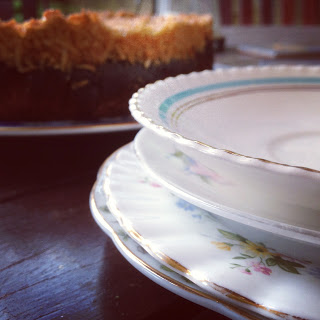
I recently purchased Julie Le Clerc's book; Favourite Cakes. It is full of wonderful looking cakes, from chocolate cakes to syrup cakes to cheesecakes to celebration cakes. The best part is that it only cost me $20. Win!
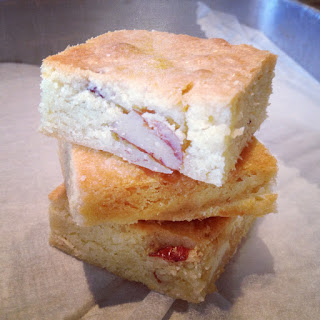
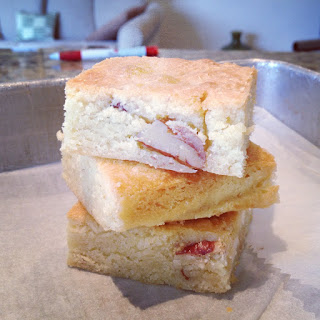
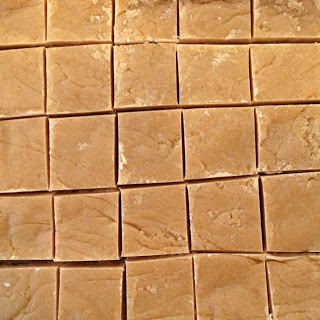
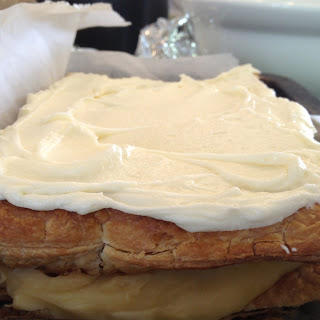
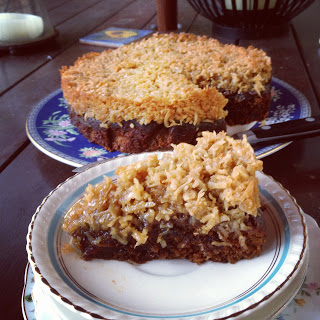
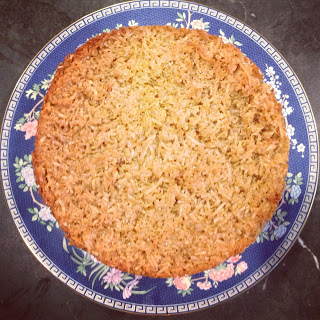
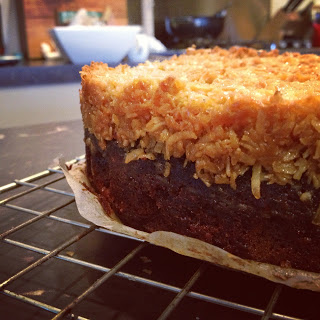
I love dates, they are so great. So anything with dates in it I naturally love also. I also love that delicious caramelly coconut topping that sometimes makes an appearance on top of slices or cakes.
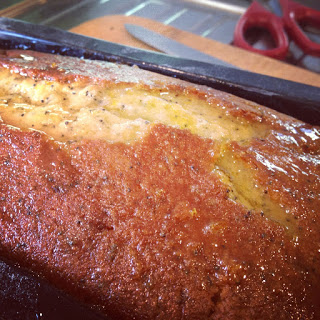
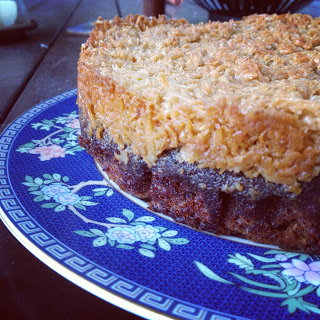
This magical cake had both dates and the magical coconut topping! What a match made in heaven!
Mum used to make a cake similar to this one except it also had apple in it. She used to make them before she got all boring and worky and Mum and Dad actually had friends come over for lunches and the like. Seriously it was a delicious cake, who wouldn't have friends willing to come over at every possible moment if you can make a cake like that?
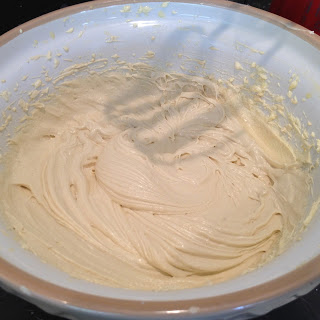
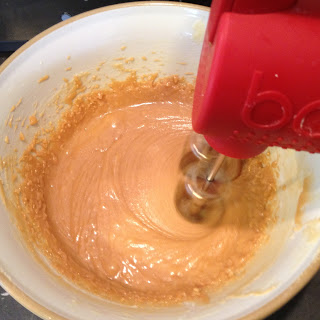
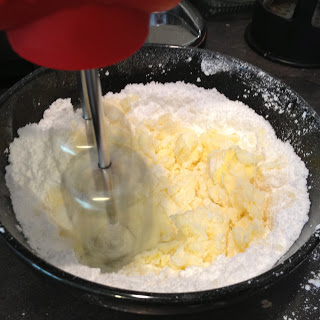
When I started making this cake I thought the recipe was a bit odd. The cake batter only called for 50g of butter, and you were supposed to cream this with a great deal more sugar. I tried to cream the two but it just wasn't working for me. I decided to add 20 more grams of butter. That seemed to do the trick.
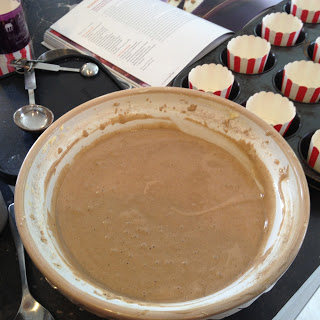
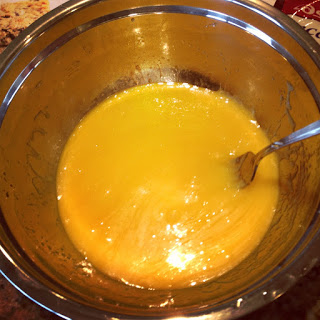
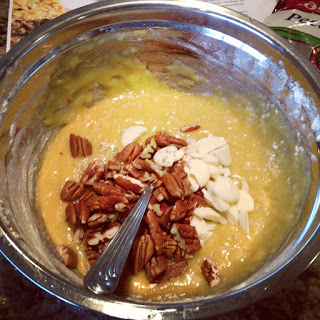
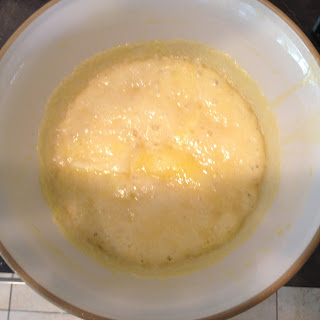
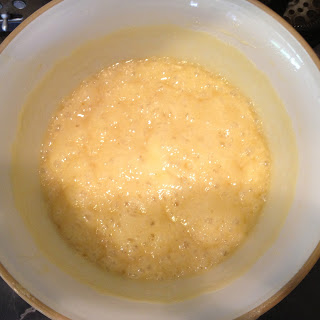
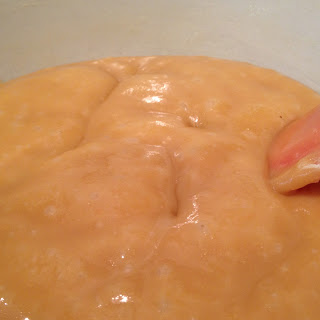
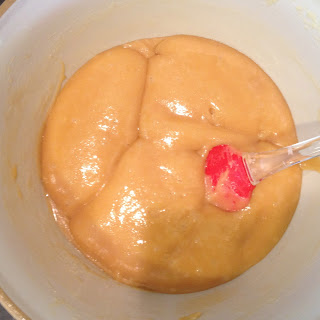
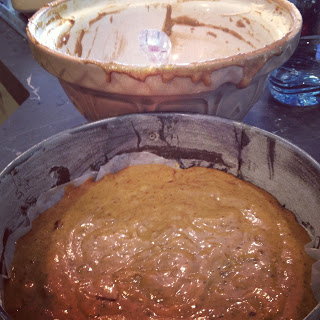
So once all the egg, butter and sugar was fluffed together, you then had to ruin this beautiful aerated emulsion by pouring in all the dates and their cup of hot soaking water turning the fluff into a sloopy (yes sloopy) mess. Arrg??? so much confusion.
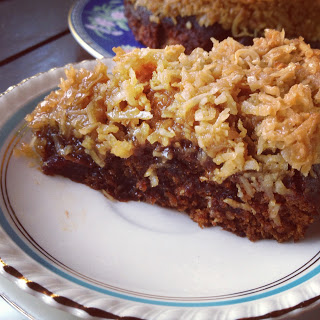
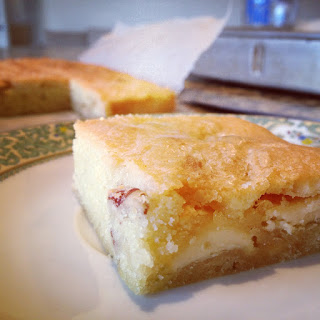
Anyway the end result was absolutely devine! Well worth making. It is very rich so I don't suggest you have it after a heavy meal such as our cream laden fettucine. The topping is supposed to have orange blossom water but unfortunately I felt too poor to go and buy some. If you do have some, add a tablespoon or so into the topping and let me know how it turns out! I also am having a bit of a thing with making things nice and spicy. The recipe said to add just cardamom but I went ahead and added some nutmeg, cinnamon and ginger. I think it is just the time of year when everything is nice and spicy, why not let this cake join in on all of the fun?
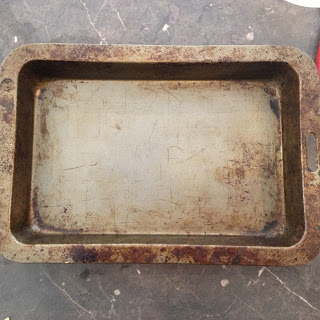
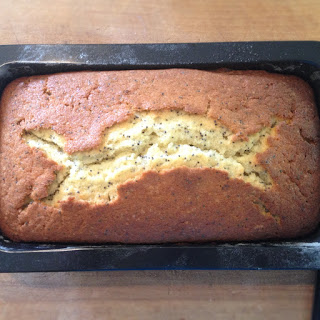
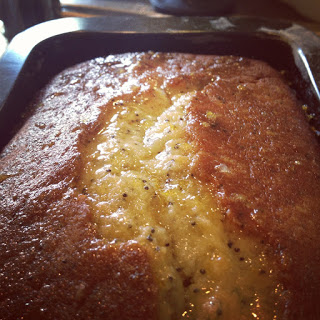
Also, just to note that I used a 22cm tin rather than the 20cm. This means my cake was a little flatter than it was supposed to be. It just meant a greater topping to cake ratio haha.
Arabian Date Cake
Adapted from Julie Le Clerc's Favourite Cakes
Makes a 20cm cake.
170g pitted dried dates, chopped
1 cup water
1 teaspoon baking soda
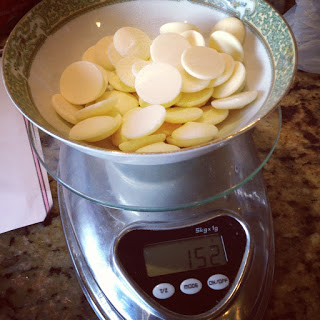
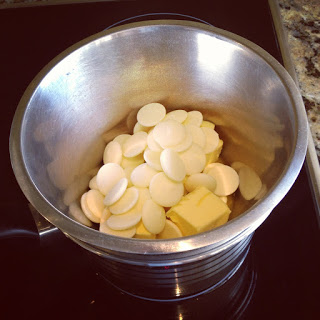
70g butter, softened
3/4 cup firmly baked soft brown sugar
1 egg
1 cup plain flour
1 teaspoon baking powder
2 teaspoons ground cardamom
1/4 teaspoon ground cinnamon
1/4 teaspoon ground nutmeg
1/4 teaspoon ground ginger
Topping:
50g butter
2 tablespoons cream
1/2 cup firmly packed soft brown sugar
1 1/2 cups of long threaded coconut.
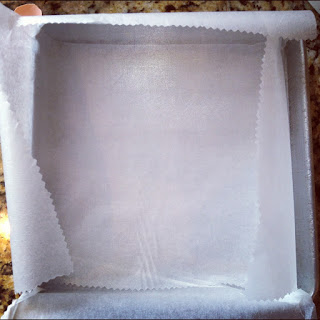
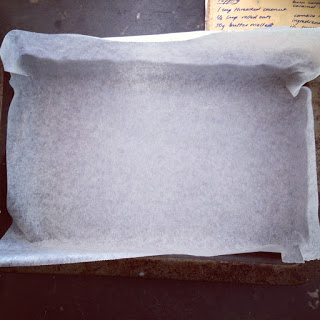
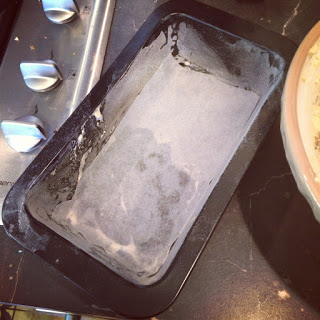
Preheat the oven to 180 degrees on bake and prepare a 20cm spring form tin with baking paper.
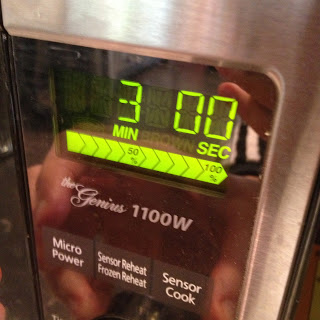
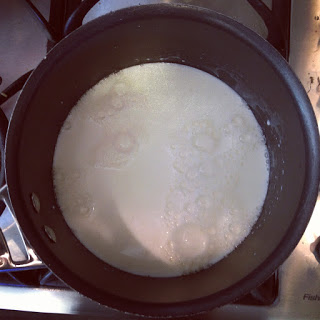
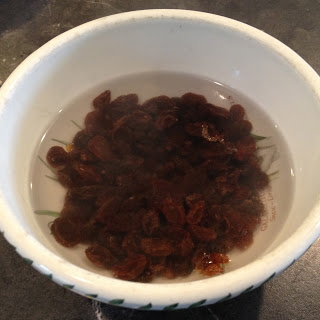
Place the dates, water and baking soda in a sauce pan and bring to the boil, turn down the heat and leave to simmer for 3 minutes. Set aside to cool.
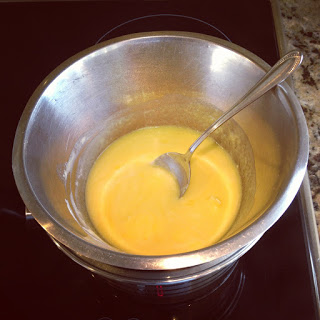
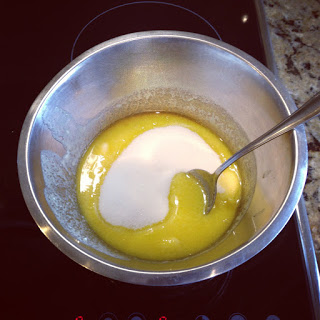
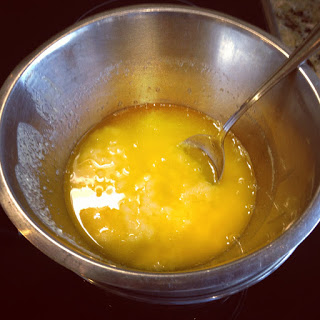
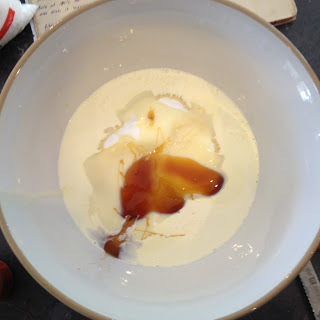
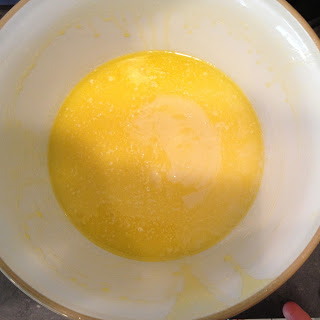
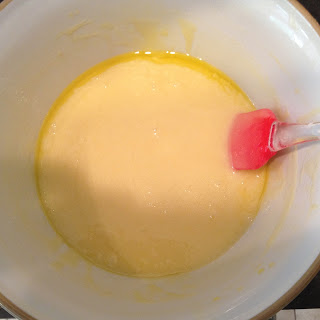
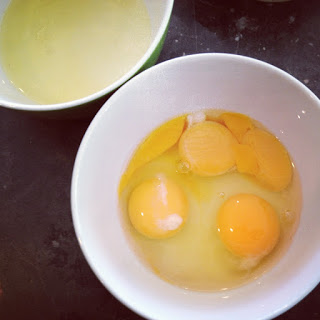
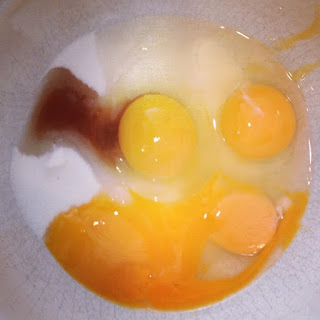
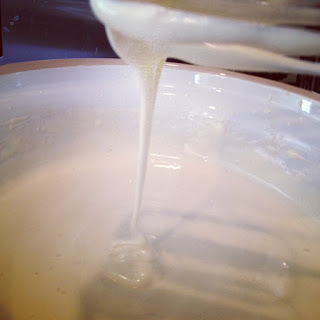
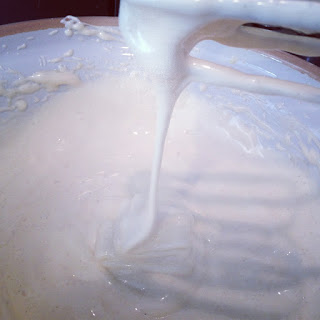
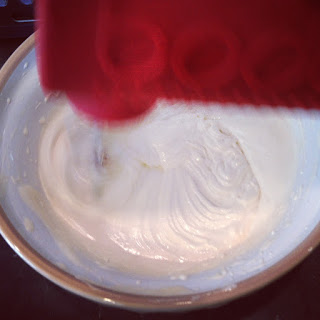
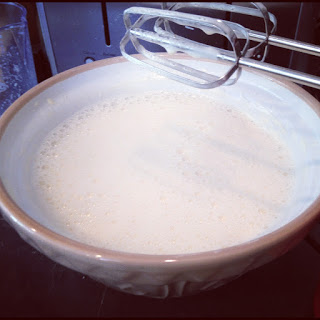
Cream together the butter and sugar until pale and fluffy. Add in the egg and beat until nice and volumous.
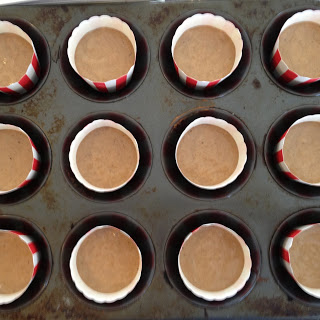
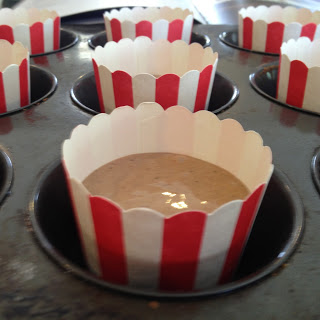
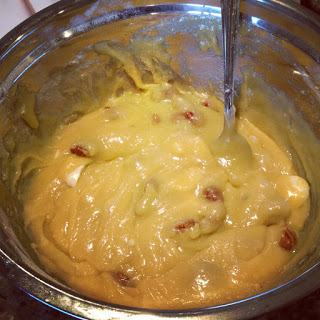
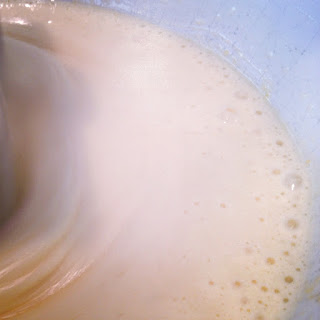
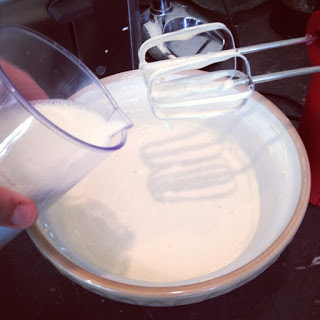
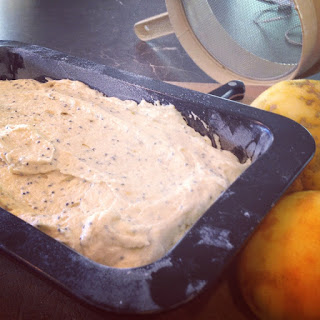
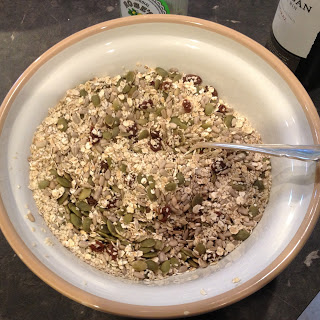
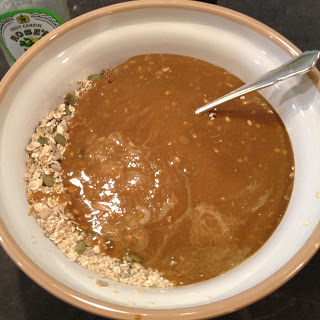
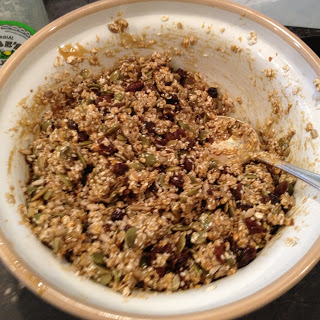
Stir in the cooled date mixture forming a sloppy and sloopy mixture.
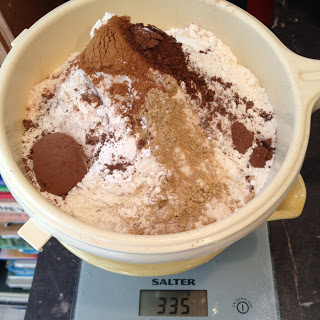
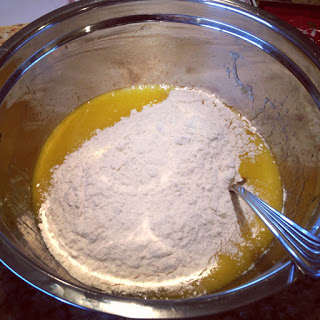
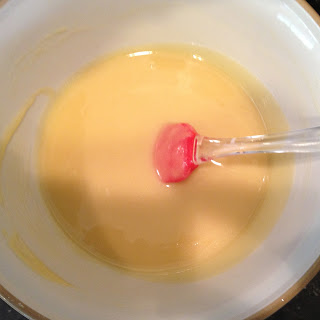
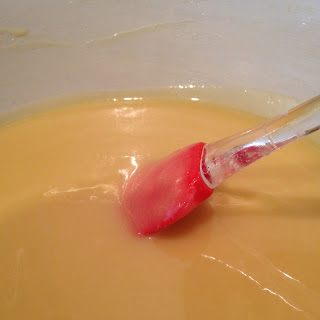
Sift in the flour, baking powder, cinnamon, cardamom, ginger and nutmeg and stir gently to incorporate into the mixture.
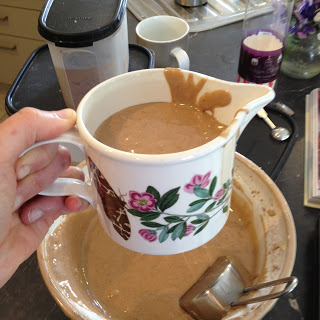
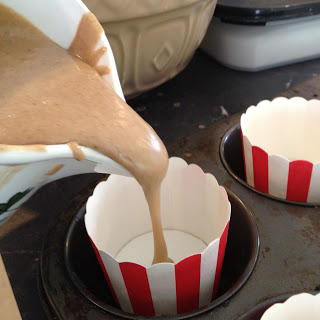
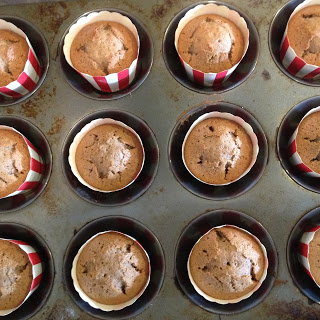
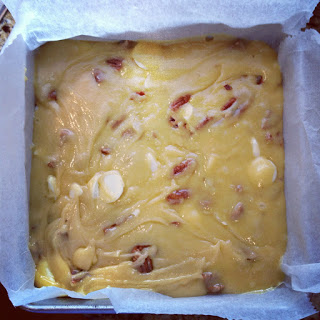
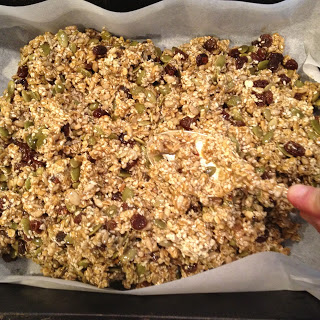
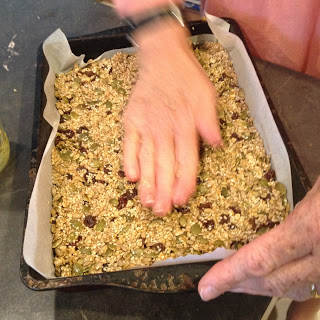
Pour the mixture into the prepared tin and bake for 40 minutes or until a skewer, when inserted, comes out clean. Remove the cake from the oven whilst you prepare the topping.
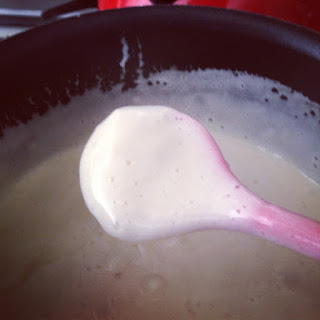
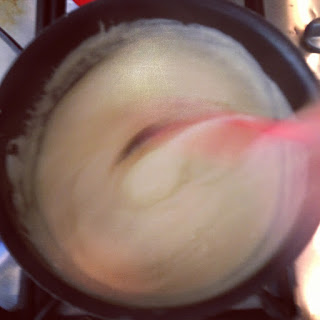
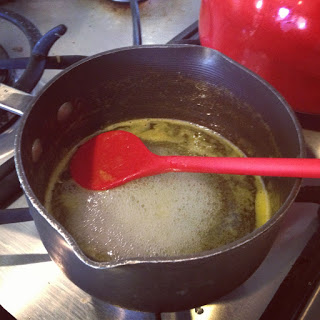
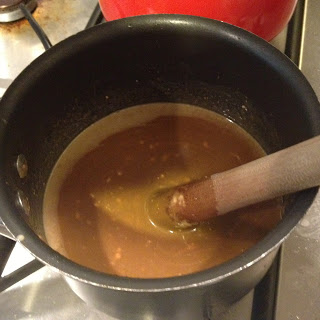
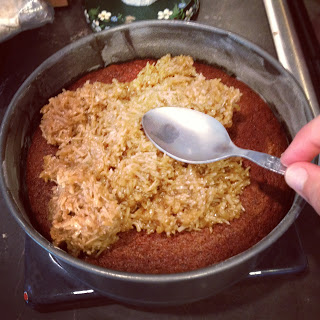
In a small sauce pan, melted together the cream, butter and sugar. Heat until a medium dark to golden colour is formed. Stir in the coconut.
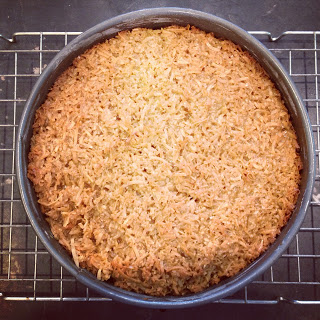
Spoon this mixture over the top of the cake evenly and then return the cake to the oven for another 15 minutes so that the topping turns a wonderful golden brown.
Remove from the oven and leave to cool completely in the tin before serving.
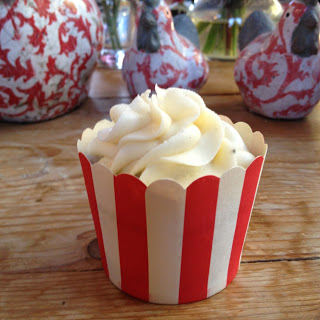
Serve with a nice big dollop of whipped cream. That would be great.
Enjoy!
I am aiming to change that.
The only problem with cakes is that you kind of need a reason to bake a cake and a significant number of people so that you don't eat the whole thing by yourself.
I found out the other day that I got into the honours program for my food innovation degree. I thought that was a good excuse as any to bake a cake. I had dreams of the whole family sitting around the table to eat cake.
Alas that is not the life of the modern day working family.
I had also made chicken and sundried tomato fettucine for dinner to be ready at 6ish. My brother and I waited and waited but the parentals did not turn up. We gave up waiting and had our portions just us. Then finally at 7ish Dad walked in. Then nearing 7.30 Mum walked in. There goes the family dinner.
Oh and then Dad complained that we had eaten all the dinner. No Dad, that is what half of the chicken mixture looks like. Exactly half. Aah then their were complaints that their fettucine wasn't cooked. We thought we were doing them a favour, afterall who likes half cold stodgy pasta?
Then I watched in agony as Dad attempted to boil water and cook the fettucine, asking every thirty seconds whether it was cooked or not.
They say girls marry their fathers.
I will certainly not be marrying a man who does not know when his pasta is al dente.
Right, where was I? Aaah Cake.
Right so the time that everyone had come home, Jack's and my stomach had empties sufficiently to fit in some delicious cake. Unfortunately Mum and Dad at this exact time were beached like whales on the couch full of creamy pasta and nursing their food babies. They did not feel like cake.
Epic failure.
So I ate cake by myself. It was just as delicious as if I was eating it with company. Also no one could judge me whilst I ate a second piece. Mmmm so moist was this cake.
Oh yes, what type of cake did I make?
I recently purchased Julie Le Clerc's book; Favourite Cakes. It is full of wonderful looking cakes, from chocolate cakes to syrup cakes to cheesecakes to celebration cakes. The best part is that it only cost me $20. Win!
I love dates, they are so great. So anything with dates in it I naturally love also. I also love that delicious caramelly coconut topping that sometimes makes an appearance on top of slices or cakes.
This magical cake had both dates and the magical coconut topping! What a match made in heaven!
Mum used to make a cake similar to this one except it also had apple in it. She used to make them before she got all boring and worky and Mum and Dad actually had friends come over for lunches and the like. Seriously it was a delicious cake, who wouldn't have friends willing to come over at every possible moment if you can make a cake like that?
When I started making this cake I thought the recipe was a bit odd. The cake batter only called for 50g of butter, and you were supposed to cream this with a great deal more sugar. I tried to cream the two but it just wasn't working for me. I decided to add 20 more grams of butter. That seemed to do the trick.
So once all the egg, butter and sugar was fluffed together, you then had to ruin this beautiful aerated emulsion by pouring in all the dates and their cup of hot soaking water turning the fluff into a sloopy (yes sloopy) mess. Arrg??? so much confusion.
Anyway the end result was absolutely devine! Well worth making. It is very rich so I don't suggest you have it after a heavy meal such as our cream laden fettucine. The topping is supposed to have orange blossom water but unfortunately I felt too poor to go and buy some. If you do have some, add a tablespoon or so into the topping and let me know how it turns out! I also am having a bit of a thing with making things nice and spicy. The recipe said to add just cardamom but I went ahead and added some nutmeg, cinnamon and ginger. I think it is just the time of year when everything is nice and spicy, why not let this cake join in on all of the fun?
Also, just to note that I used a 22cm tin rather than the 20cm. This means my cake was a little flatter than it was supposed to be. It just meant a greater topping to cake ratio haha.
Arabian Date Cake
Adapted from Julie Le Clerc's Favourite Cakes
Makes a 20cm cake.
170g pitted dried dates, chopped
1 cup water
1 teaspoon baking soda
70g butter, softened
3/4 cup firmly baked soft brown sugar
1 egg
1 cup plain flour
1 teaspoon baking powder
2 teaspoons ground cardamom
1/4 teaspoon ground cinnamon
1/4 teaspoon ground nutmeg
1/4 teaspoon ground ginger
Topping:
50g butter
2 tablespoons cream
1/2 cup firmly packed soft brown sugar
1 1/2 cups of long threaded coconut.
Preheat the oven to 180 degrees on bake and prepare a 20cm spring form tin with baking paper.
Place the dates, water and baking soda in a sauce pan and bring to the boil, turn down the heat and leave to simmer for 3 minutes. Set aside to cool.
Cream together the butter and sugar until pale and fluffy. Add in the egg and beat until nice and volumous.
Stir in the cooled date mixture forming a sloppy and sloopy mixture.
Sift in the flour, baking powder, cinnamon, cardamom, ginger and nutmeg and stir gently to incorporate into the mixture.
Pour the mixture into the prepared tin and bake for 40 minutes or until a skewer, when inserted, comes out clean. Remove the cake from the oven whilst you prepare the topping.
In a small sauce pan, melted together the cream, butter and sugar. Heat until a medium dark to golden colour is formed. Stir in the coconut.
Spoon this mixture over the top of the cake evenly and then return the cake to the oven for another 15 minutes so that the topping turns a wonderful golden brown.
Remove from the oven and leave to cool completely in the tin before serving.
Serve with a nice big dollop of whipped cream. That would be great.
Enjoy!