Aka the best chocolate chocolate chip cookies you will EVER make.
The other day I was sitting in my room YouTubing Nigella videos when I came across one for some chocolate chip cookies I had found in one of her books a while back. After scrolling through her website again last night I found the recipe again. My concentration on work was waning. It found me at a time of weakness! I caved and I baked.
Holy mackeral!
My life is complete.
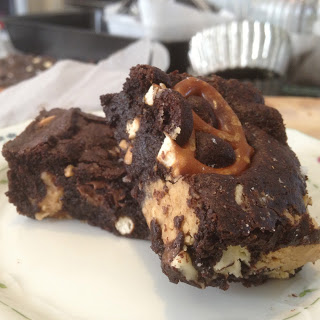
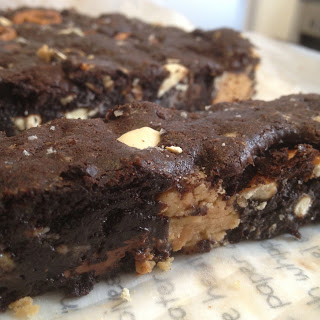
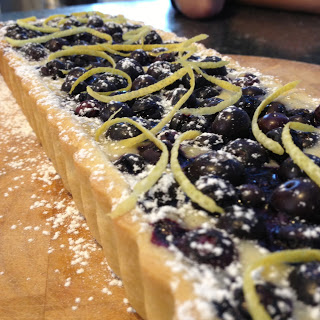
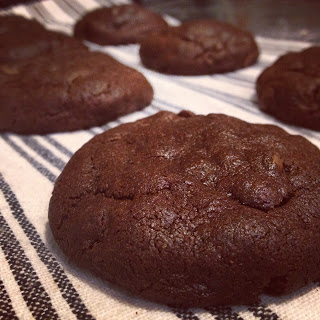
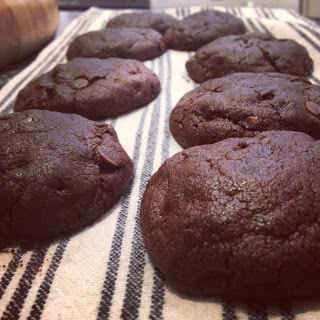
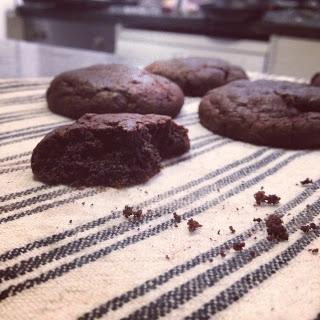
The ultimate cookie recipe is here before you.
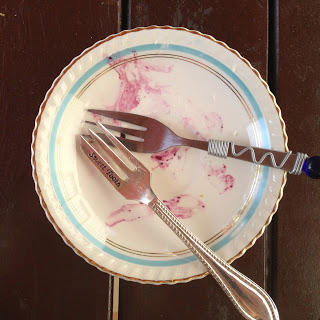
As quickly as you bake them they disappear. That is if they even get to being baked.
Far out.
Sorry, just give me a moment to get over this mind blow.
Right. Focus Sophie. Focus on the cookie. . . nom cookie.
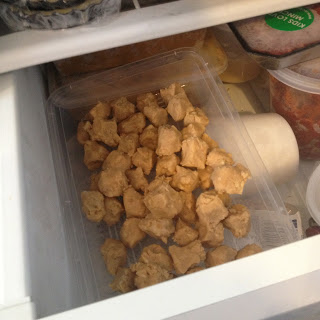
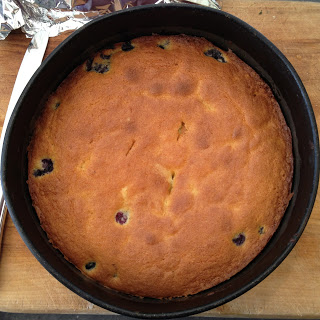
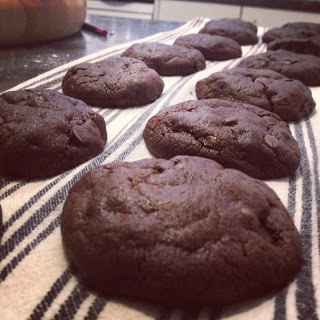
This recipe is supposed to make 12 rather large cookies but I think I managed 16. Probably would have been more had I not eaten so much dough (omg worst food coma of my life).
Here are a few notes on things to do/things I did
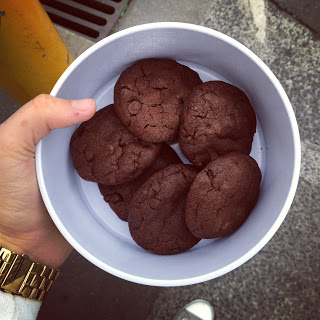
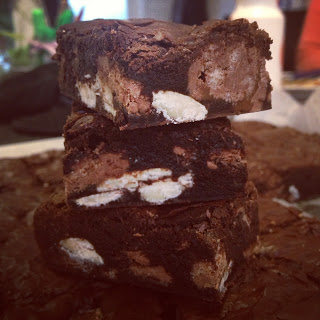
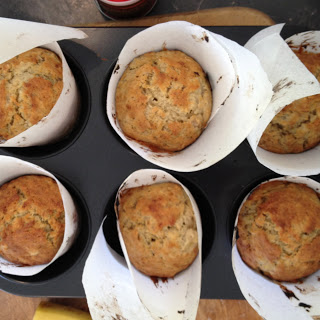
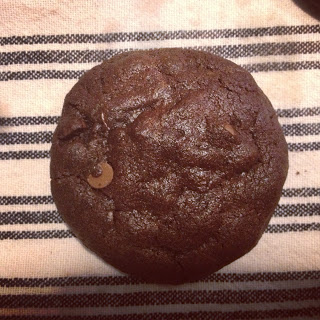
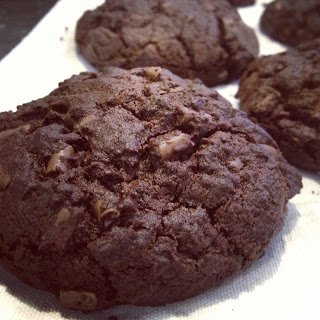
Just an update since this afternoon when I posted this. After my friend Matt and I drank our cider and ate our wedges (it is a Tuesday tradition) we decided that cookies needed to be made. Which means I make cookies and he tells me hilarious stories about everything. So I decided to do a double batch and make 8 large cookies with the ice cream scoop. This is how they turned out.
So much great.

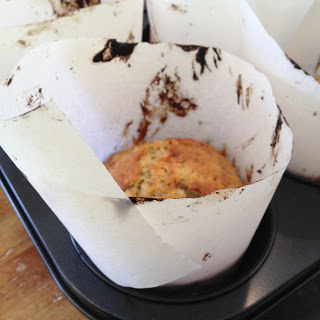
The rest I made small like the first batch I did. The kids he has to tutor over at Knox tonight are gonna love him!
Nunnite!! xx
The other day I was sitting in my room YouTubing Nigella videos when I came across one for some chocolate chip cookies I had found in one of her books a while back. After scrolling through her website again last night I found the recipe again. My concentration on work was waning. It found me at a time of weakness! I caved and I baked.
Holy mackeral!
My life is complete.
The ultimate cookie recipe is here before you.
As quickly as you bake them they disappear. That is if they even get to being baked.
Far out.
Sorry, just give me a moment to get over this mind blow.
Right. Focus Sophie. Focus on the cookie. . . nom cookie.
This recipe is supposed to make 12 rather large cookies but I think I managed 16. Probably would have been more had I not eaten so much dough (omg worst food coma of my life).
Here are a few notes on things to do/things I did
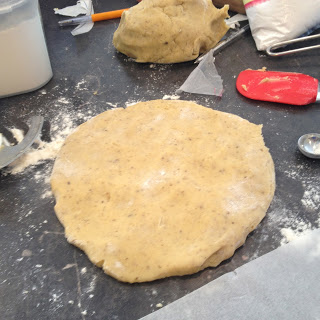
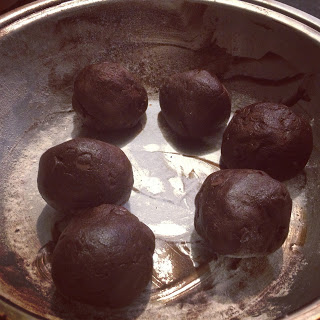
- If you choose not to use the ice cream scoop method, roll the dough into balls and then with a bit of force throw/slap them down onto the baking tray. This will flatten out the bottoms a wee bit.
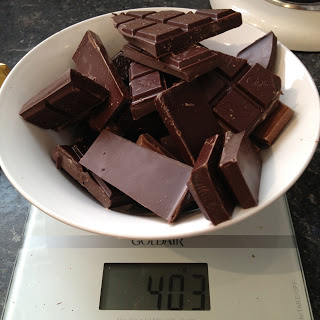
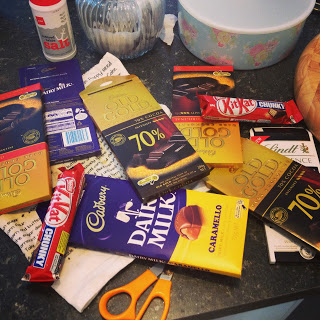
- I only used half the chocolate suggested in the recipe (200g v 400g). This is because I am too poor haha and wanted to save the rest of the chips for another day (probably today to make a second batch).
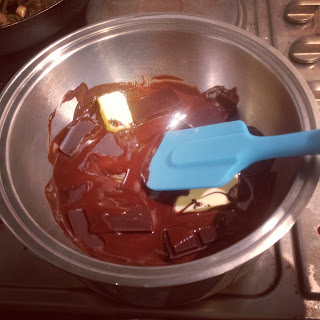
- Pop 5g of extra butter in with the chocolate so that when you take it off the heat it doesn't solidify but instead remains fluid and scrapable.
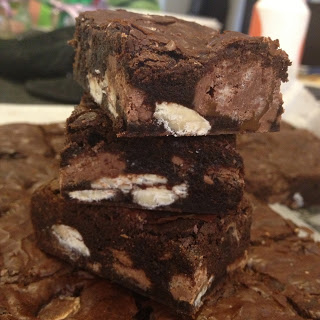
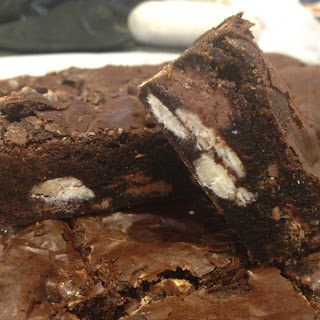
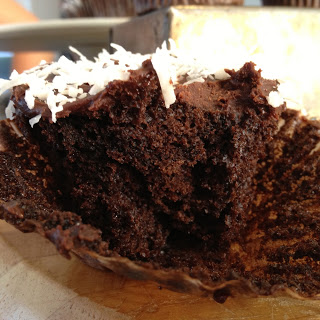
- You want to undercook these. Brown cookies are hard to bake. They are so easy to overcook and then they turn out dry. It is better to under bake them, that way they will definitely turn out fudgy.
- As crazy as it sounds, listen to your baking. When you take these out of the oven you still want to hear a bit of sizzling going on. If they cookies aren't singing, they are overdone.
- The tops should still be a wee bit moist looking.
- Don't eat your body weight in dough. It hurts.
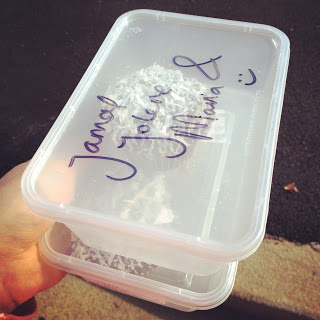
- While your food sci class will love you for it, don't give half of these away haha you will regret it when you are back home having just eaten the last one and wanting more.
- On that note, do give them away. Sophie, stop being so chubs.
Right, shall we do this?
Yes. Yes we should.
Nigella's Totally Chocolate Chocolate Chip Cookies
Adapted from this glorious recipe here
makes 12-16ish
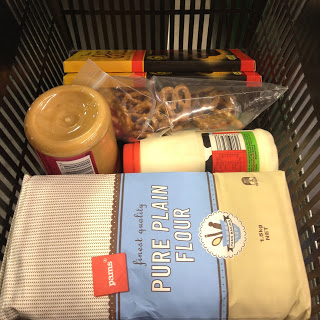
125g butter, softened
5g butter
125g dark chocolate (use at least 70% cocoa solids)
75g soft brown sugar
50g caster sugar
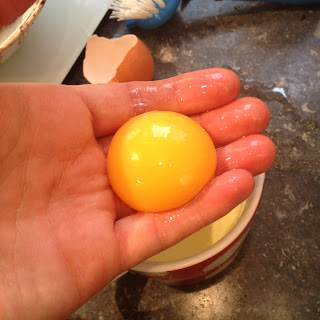
1 cold egg
150g plain flour
30g cocoa
1 teaspoon vanilla
1 teaspoon baking soda
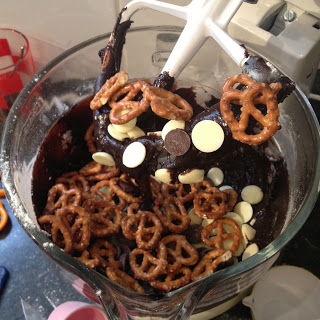
200g (or 400g if you really want) dark chocolate chips
Preheat the oven to 170 degrees on bake.
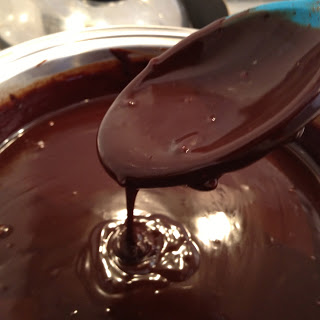
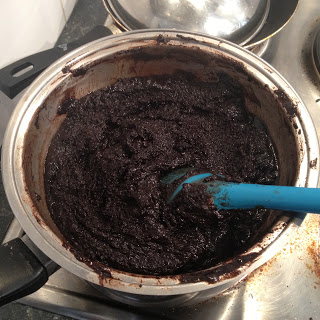
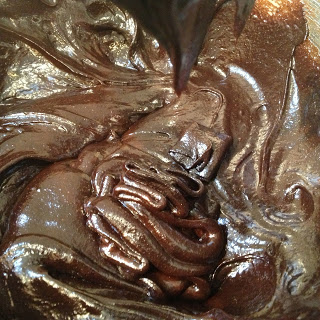
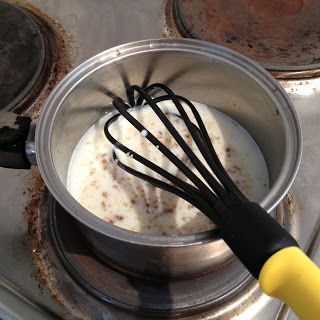
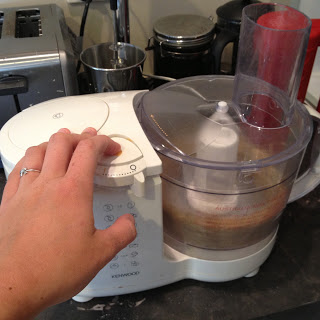
In a double boiler, or a heatproof bowl over a saucepan with a small amount of simmering water in it, melt the dark chocolate and the 5g of butter. Remove from heat once fully melted together.
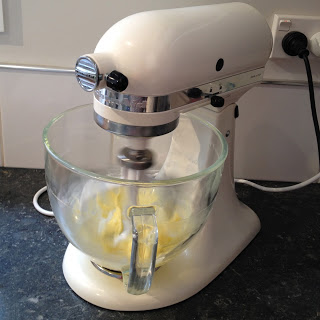
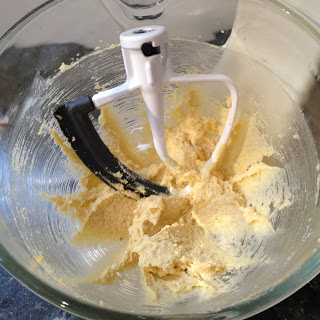
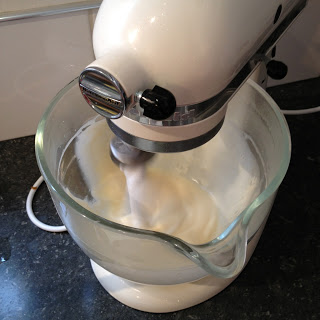
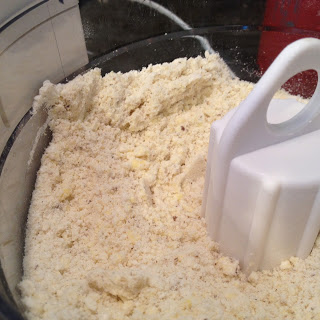
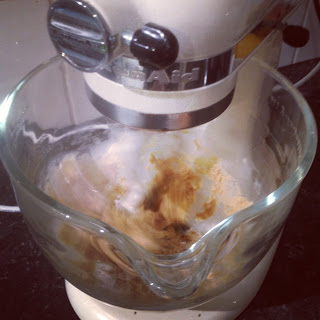
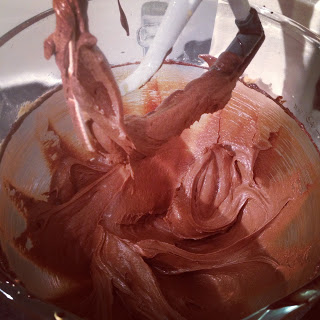
Meanwhile, cream together the butter and the sugars.
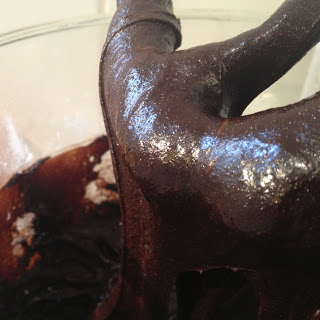
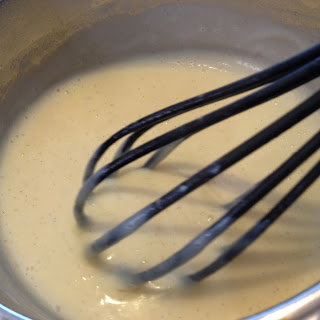
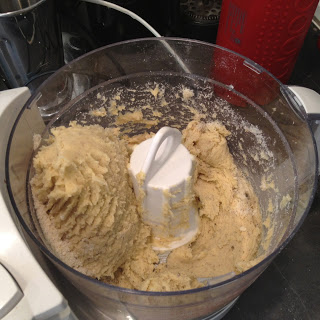
Scrape in the melted chocolate and mix until combined.
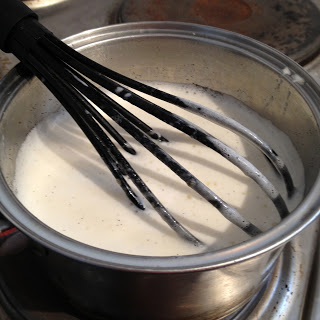
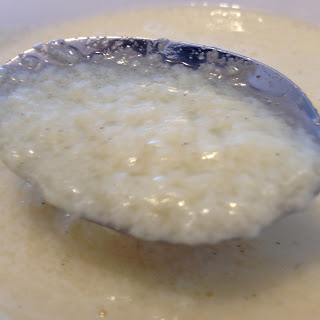
Add in the cold egg and vanilla and beat until beautiful and thick.
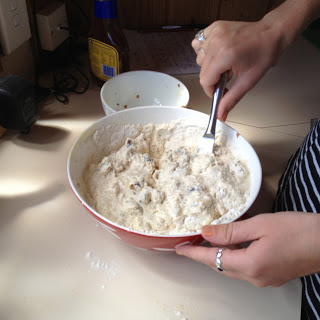
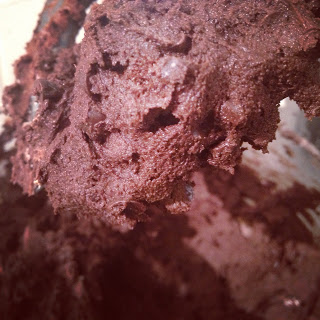
Sieve in the flour, cocoa and baking soda and mix until just combined (over mixing will make the cookies tough).
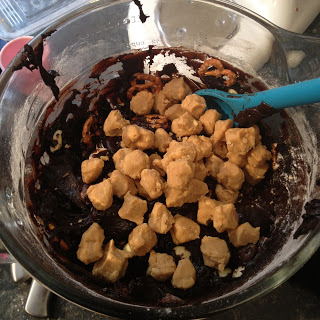
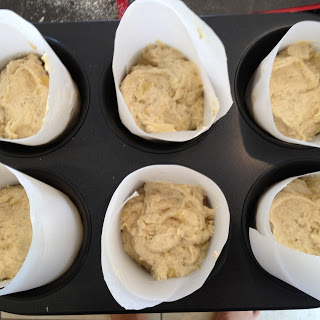
Stir in the chocolate chips.
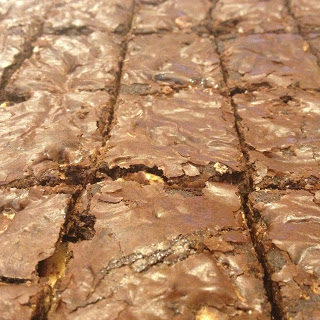
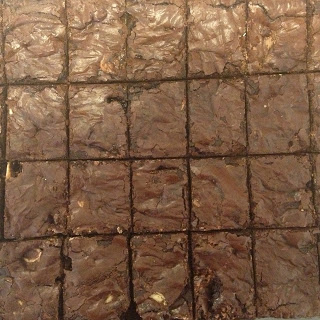
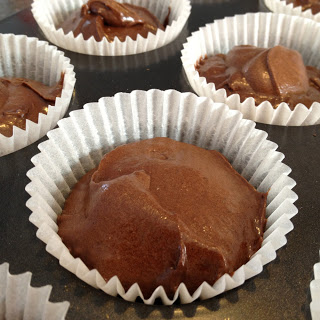
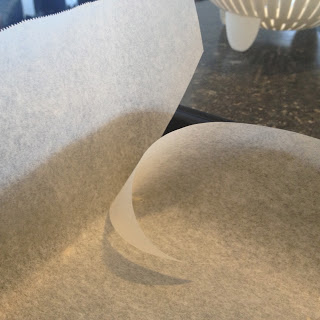
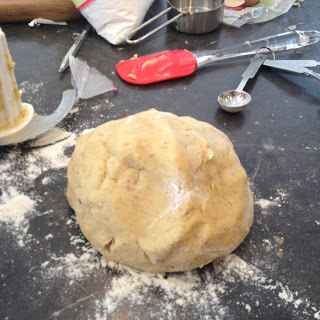
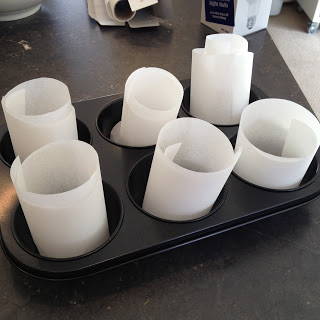
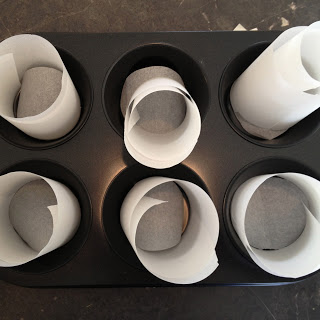
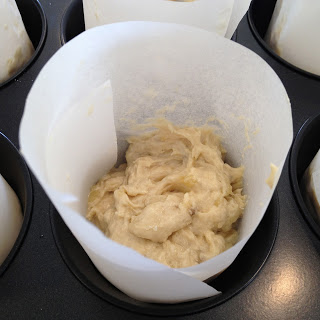
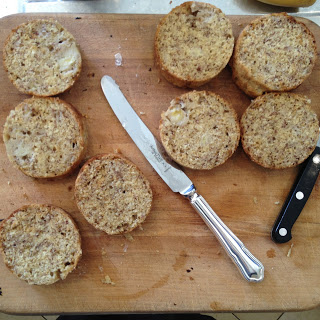
Either use an ice cream or cookie scoop to scoop out mounds onto a baking tray lined with baking paper or roll the dough into balls and slap them onto the tray to flatten the bases out. Don't flatten them with a fork.
If you are making 12 large cookies, bake for 10-12 minutes (see my notes up top about listening to the cookies) but for smaller ones I feel like 8 minutes is the magic number. Again this will depend on your oven. I feel like the oven here at the flat can be a bit cray cray sometimes.
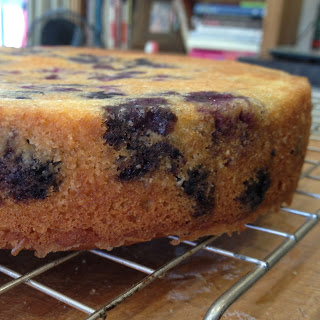
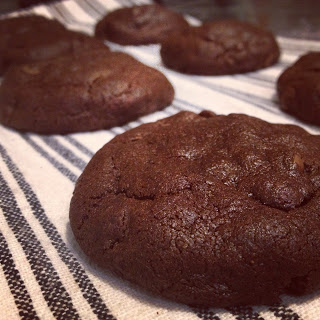
When they come out of the oven, leave them on the tray for a few minutes, they are really delicate and can break really easily if you move them too soon.
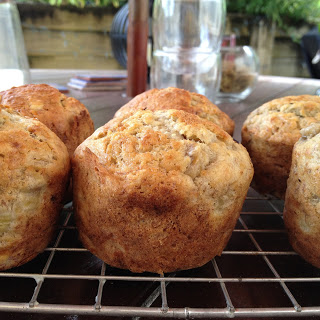
Transfer onto a tea towel or cake rack to cool.
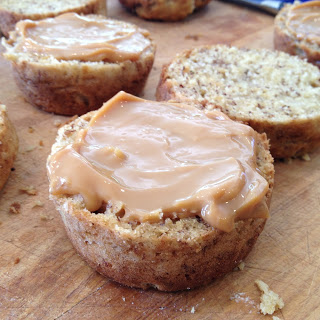
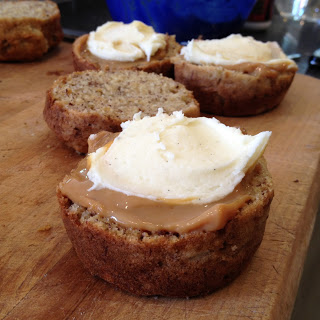
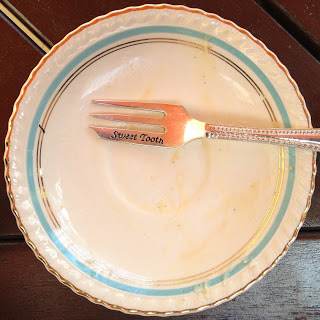
Devour, savour, demolish, destroy . . . share???
Basically, enjoy!!
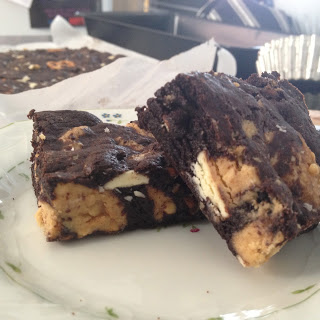
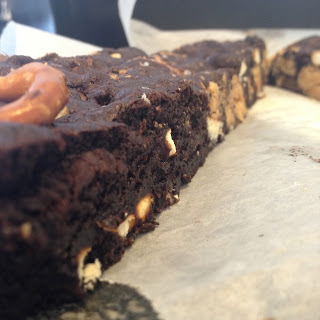
Just an update since this afternoon when I posted this. After my friend Matt and I drank our cider and ate our wedges (it is a Tuesday tradition) we decided that cookies needed to be made. Which means I make cookies and he tells me hilarious stories about everything. So I decided to do a double batch and make 8 large cookies with the ice cream scoop. This is how they turned out.
So much great.
The rest I made small like the first batch I did. The kids he has to tutor over at Knox tonight are gonna love him!
Nunnite!! xx