Hello world!
So this is the alternative to writing up something about product feasibility for this assignment I have to do. I have also run out of Vampire Diaries to watch. I now have to wait a week for a single episode. So I have resorted to following the actors on Twitter. Sad I know.
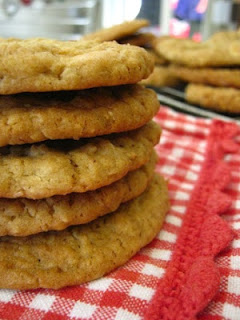
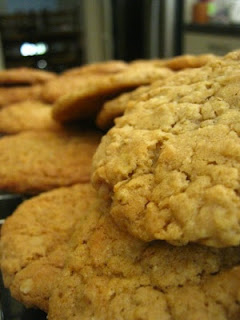
Recently I have had a bit of a biscuit addiction. It has been terrible. It all started when Lucy brought dow four packets of biscuits from home. They were opened one packet at a time and slowly (or in the case of one pack very quickly) they were consumed. Then I started buying my own biscuits and I went rapidly down hill from there. So as it stands I am currently on my first day of biscuit cold turkey. No biscuits for me today. It is 8.23pm and I am going strong. However the other day (as in yesterday) I remembered these date loaves Mum used to make all the time. They were steamed on the stove for an hour in old tin cans and didn't contain any fat (well apart form the like 0.01% in the trim milk). So I got the recipe off her and decided to try them out. The ingredients are simple: Flour, baking soda, golden syrup, milk, ginger and dates. Even though they don't have butter or oil in them they are still extremely moist and cakey. Oh and did I mention they were fat free? (Let's assume that we will burn off the sugar in them and not store that as fat).
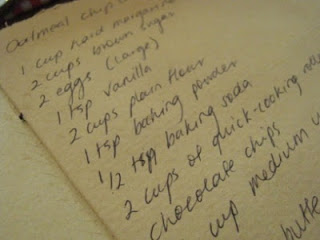
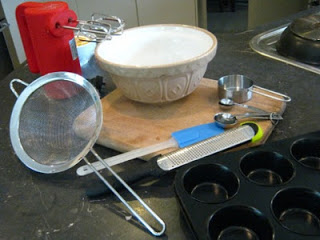
So you will need:
1 cup flour
1 cup sultanas/dates
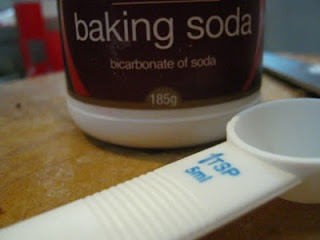
1 teaspoon baking soda
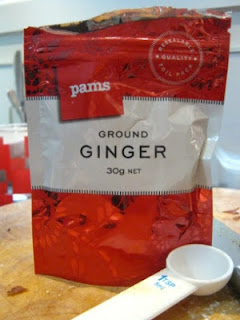
1 teaspoon all spice (sultanas)/ground ginger (dates)
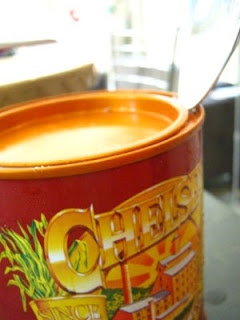
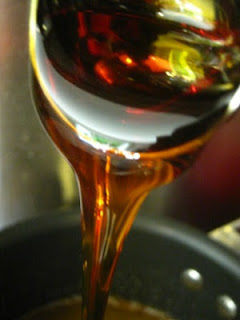
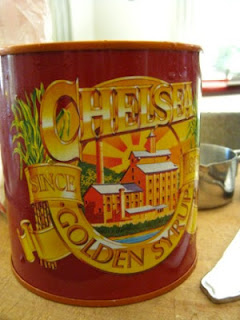
1/2 cup golden syrup
1 cup milk
3 clean tin cans
1 large stock pot with lid
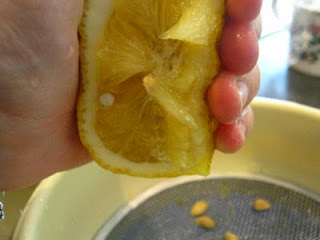
Firstly, soften the fruit by pouring boiling water over the top of them. They will absorb up some of the water, making them juicier.
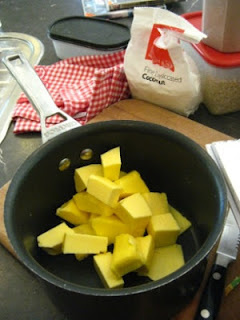
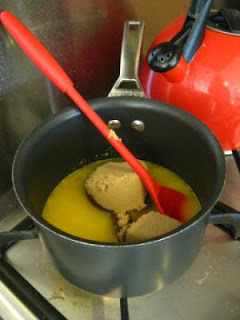
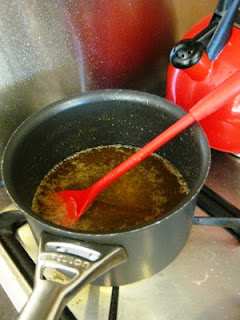
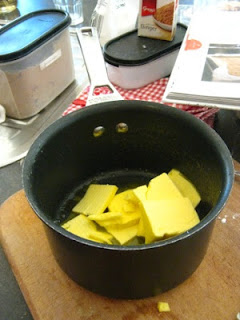
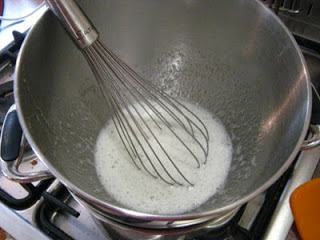
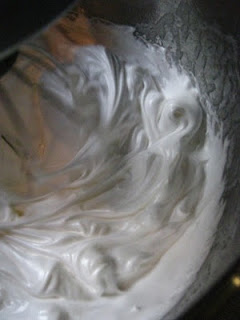
In a saucepan on a low heat, melt the golden syrup and milk together, be careful not to let a skin of milk on the bottom of the pan form so keep stirring.
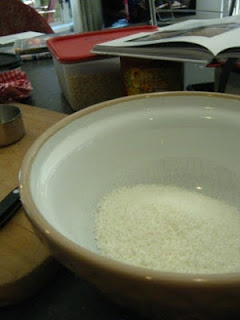
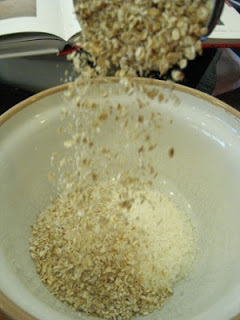
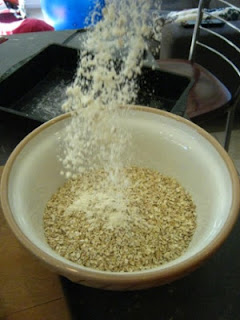
Sift the dry ingredients together. Add the golden syrup and milk mix once it has melted together. Drain and add the fruit then mix well.
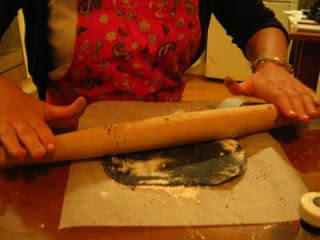
Grease the sides of 3 clean with butter and flour. Cut out circles of baking papers small enough to fit the bottom of the tin.
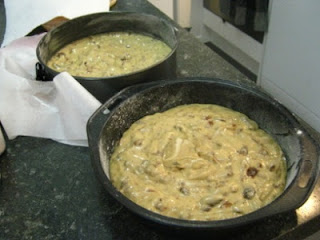
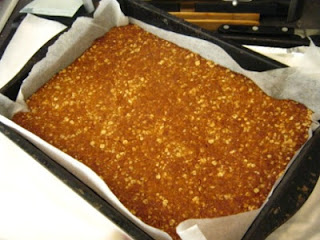
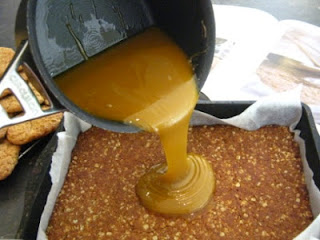
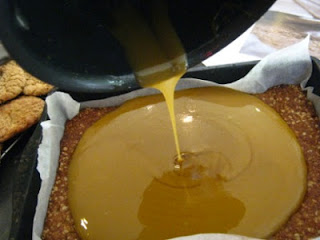
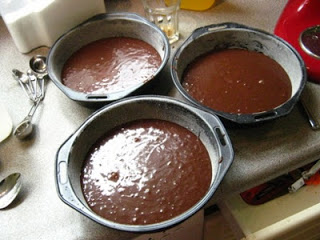
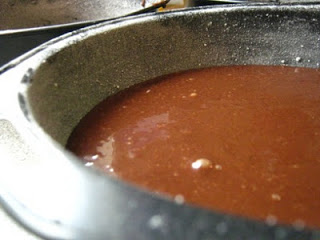
Pour the mixture evenly in to each of the three tins, they should be near 2/3 to 3/4 full.
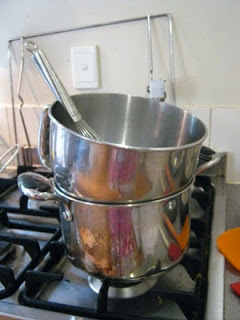
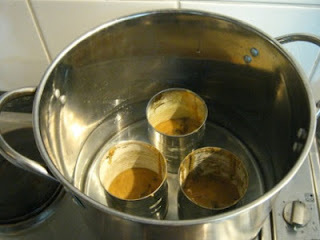
Place enough hot water in your stock pot to reach up to the height that the batter reaches on the inside (remembering that the cans will displace some water when you place them in). Place the cans in the pot, pop on the lid and then leave to simmer on a low heat.
Check (using a skewer) after an hour to see if they are done (the skewer, when inserted should come out clean). If the skewer comes out covered in batter then leave them steaming for an additional 10 minutes to half an hour.
Let them cool for 10 minutes or so then run a knife around the edge of the tin to loosen. Then Bang them upside down onto the bench and they should come out cleanly.
 So here goes the recipe in pictures :)
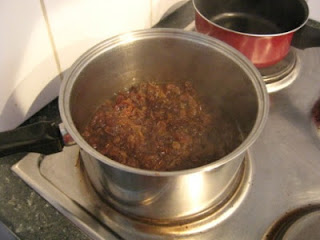
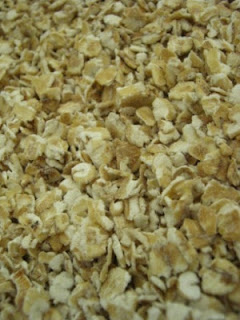
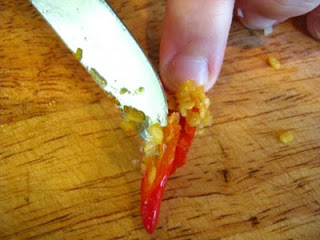
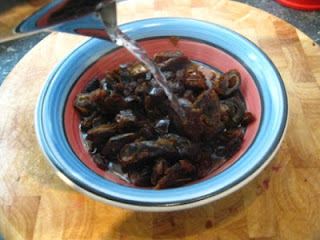 Soften your fruits with hot water.
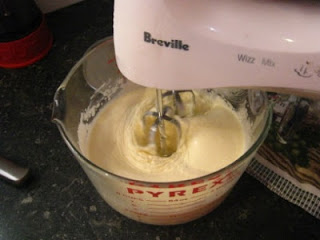
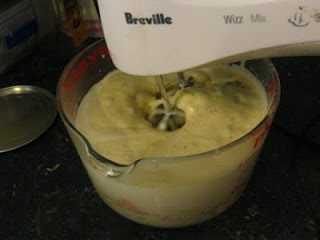
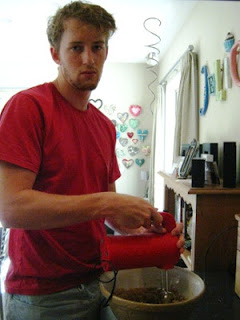
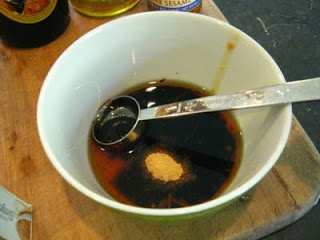
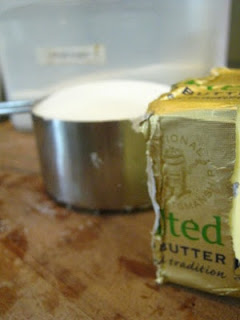
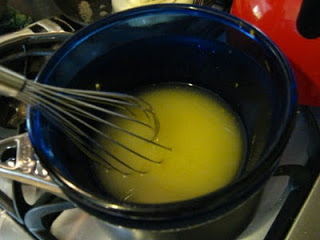
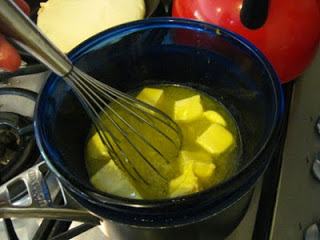
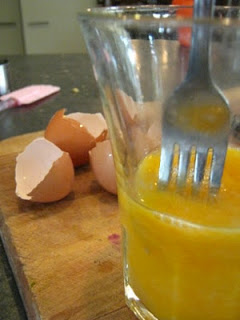
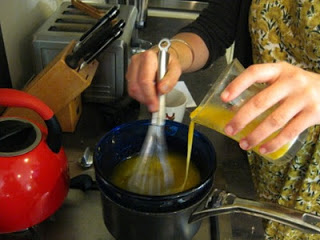
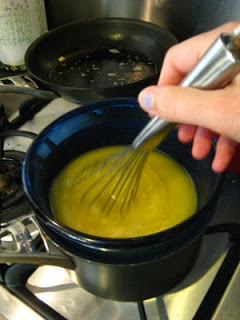
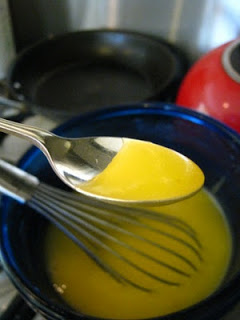
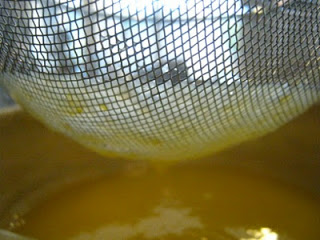
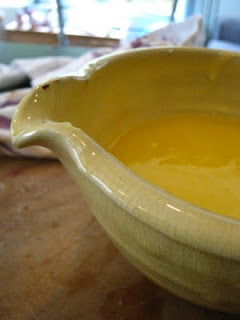
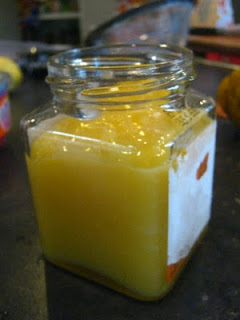
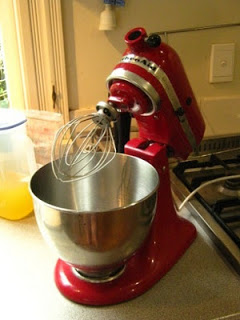
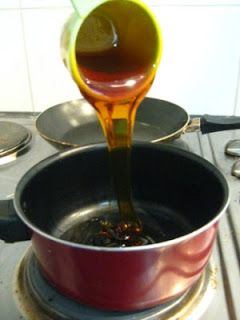 In a saucepan, melt your golden syrup and milk together.

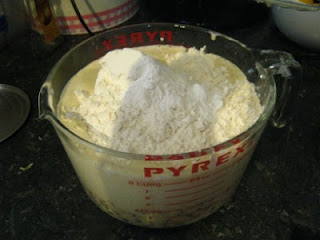
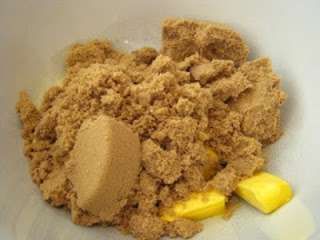
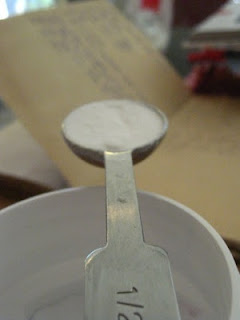
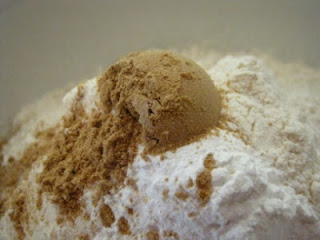
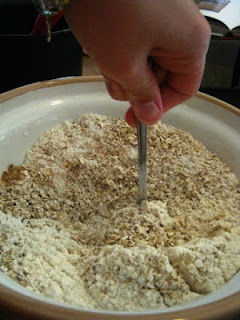
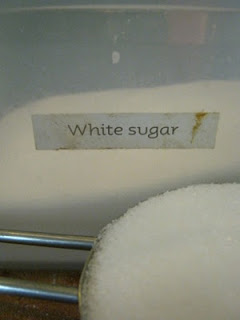
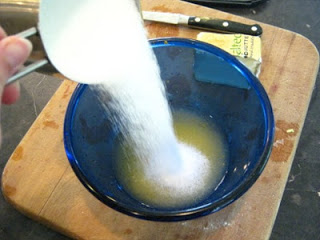
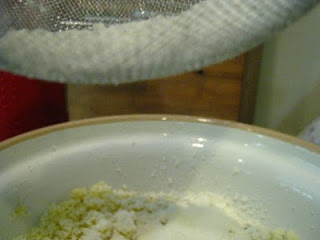
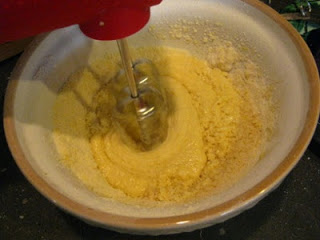
 In a bowl, sift your dry ingredients together.
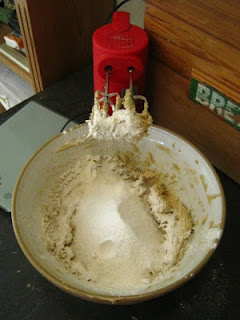
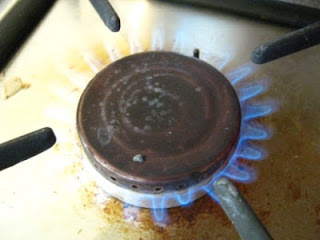
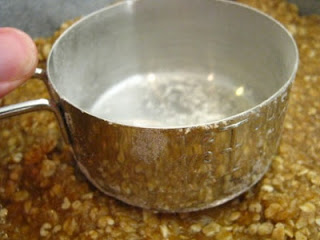
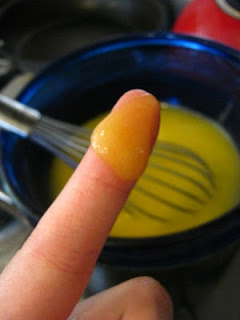
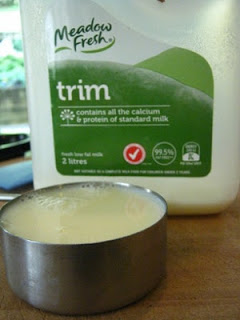
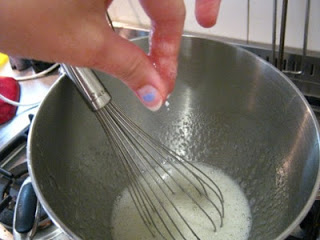
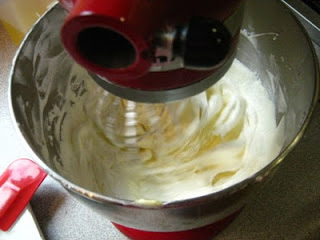
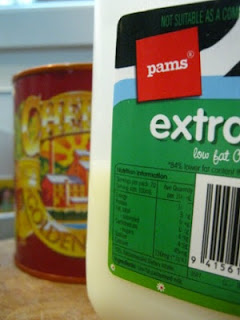
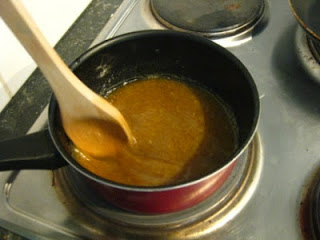 Make sure you keep an eye on your milk.
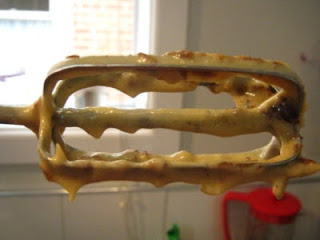
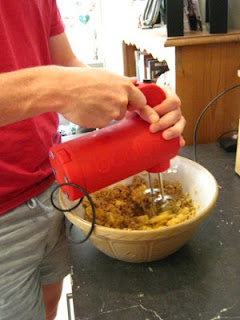
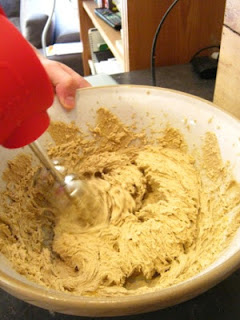
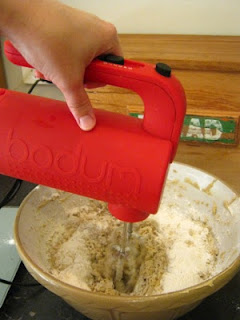
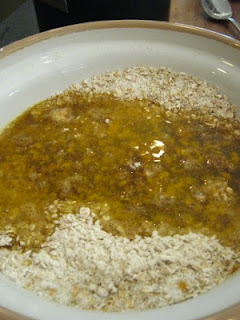
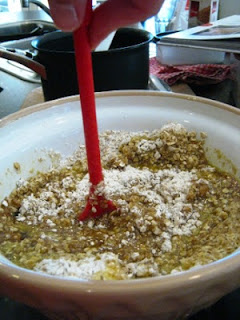
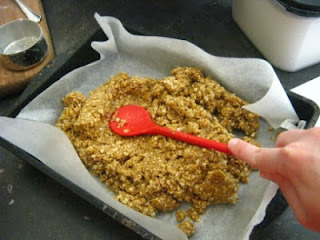
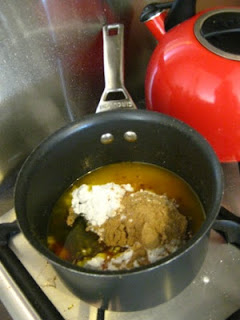
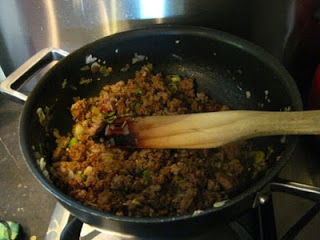
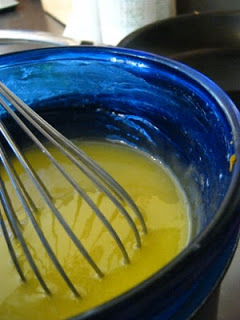
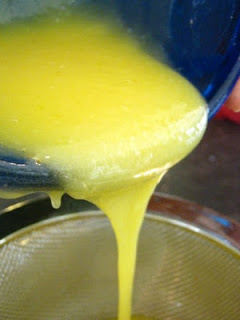
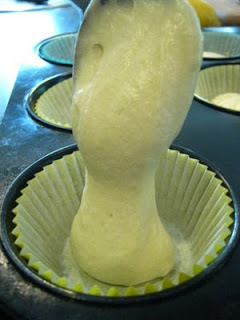
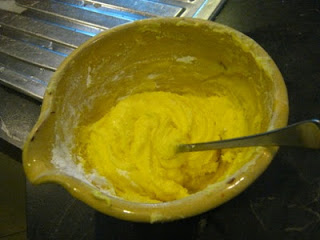
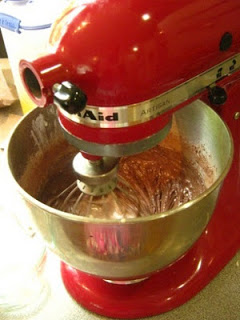
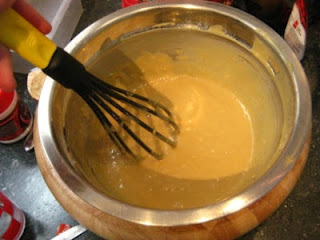 Add the milk and golden syrup mix to the dries and mix well as to remove any lumps.
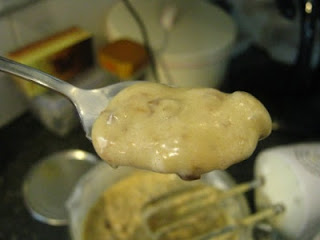
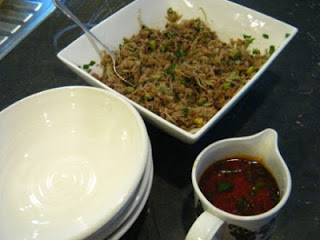
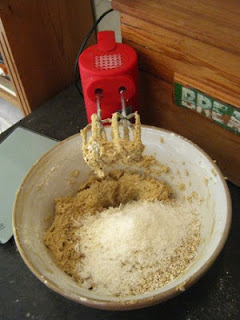
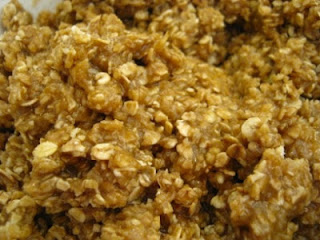
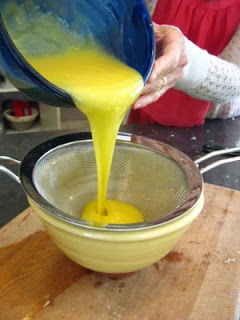
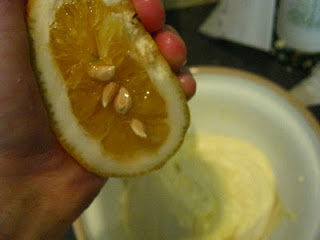
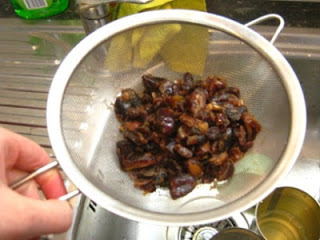 Drain your fruit well and then add those into the mix.
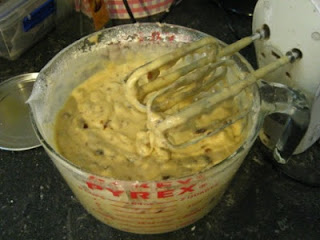
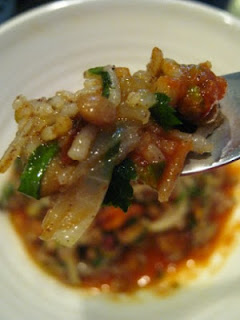
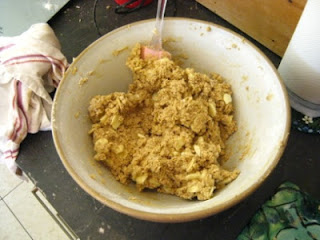
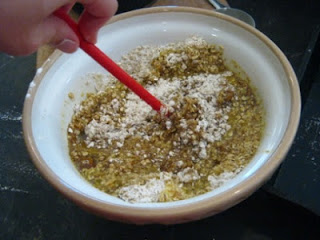
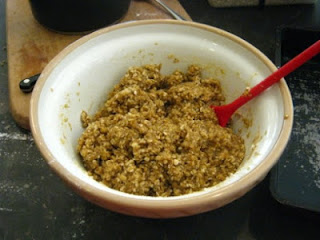
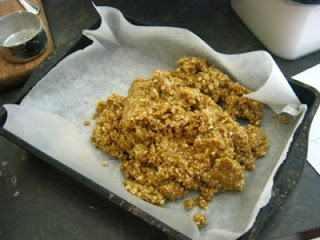
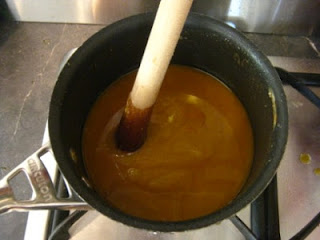
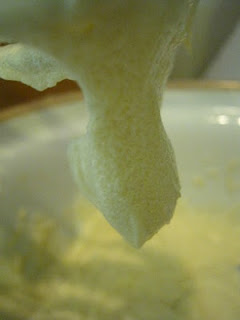
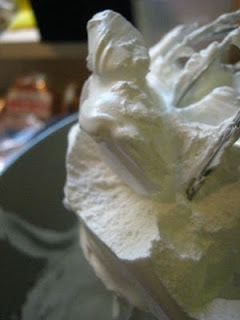
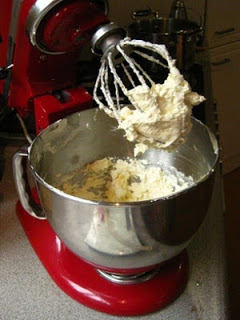
 Mix it all together.
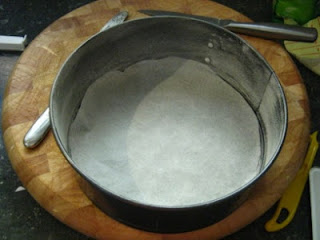
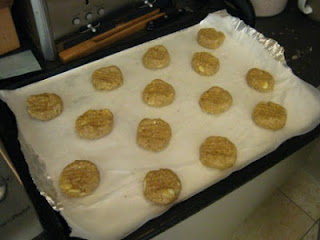
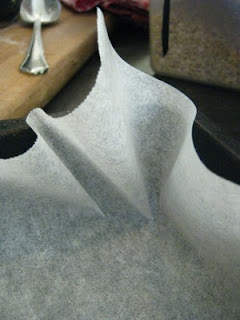
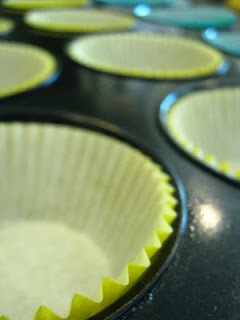
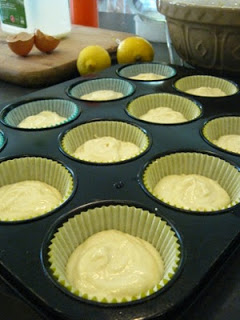
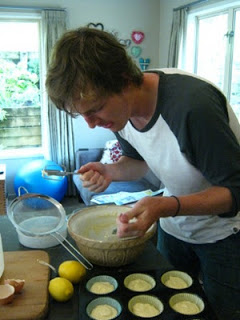
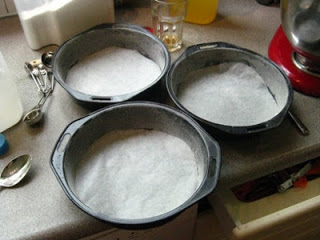
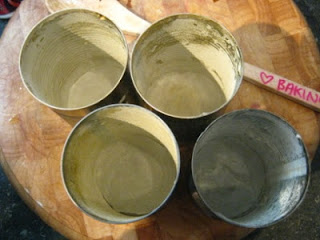
 Line and grease your tins.
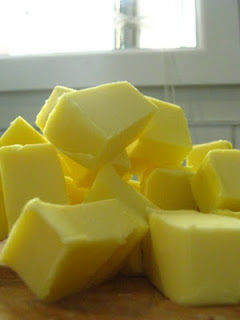
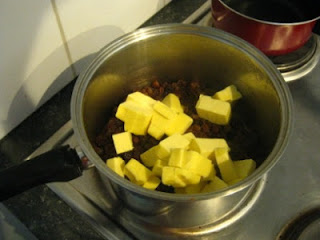
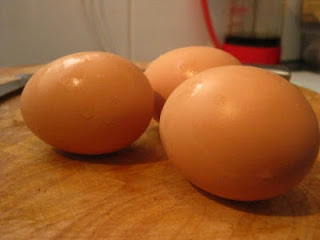
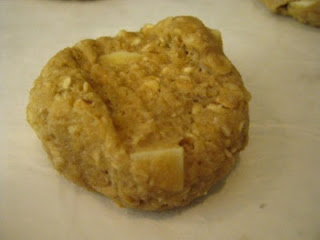
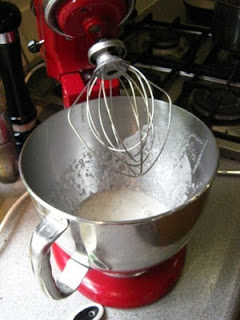
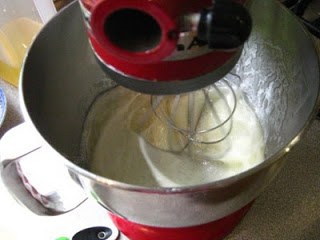
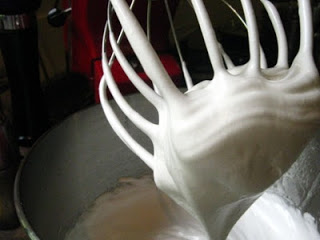
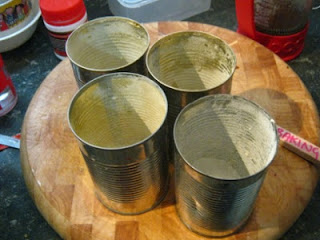
 I had high expectations with four.

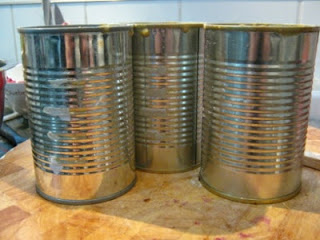
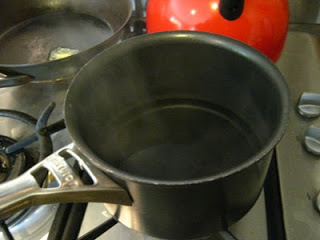
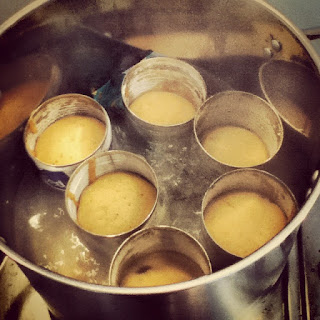
 Prepare your stock pot.
 Pop on the lid and let them be for an hour. Test them after an hour and leave for an additional 10 minutes to half an hour if needed.
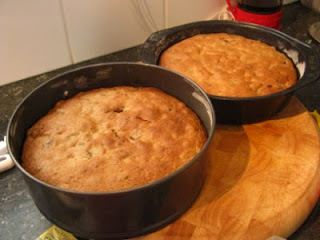
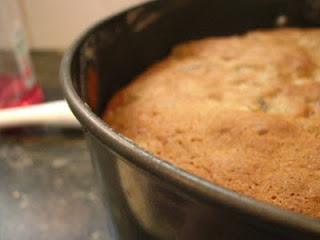
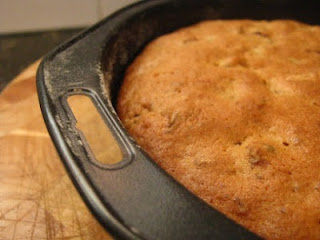
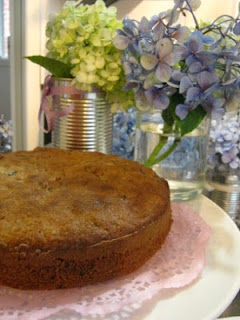
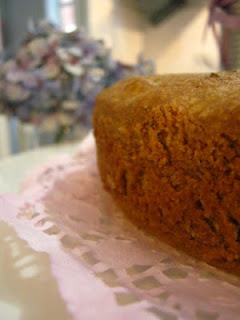
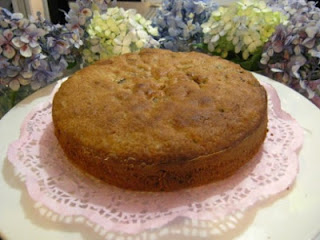
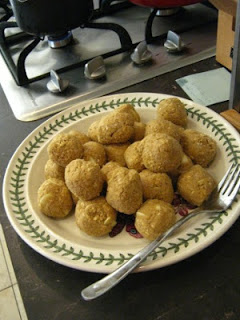
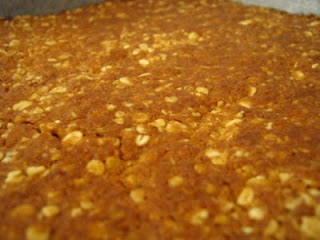
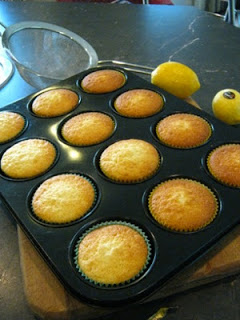
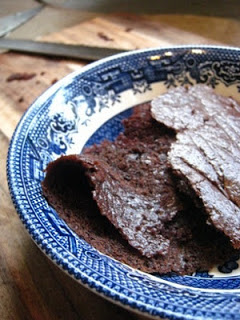
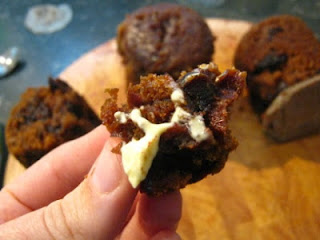
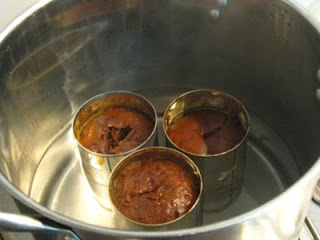 And voila! They are done.
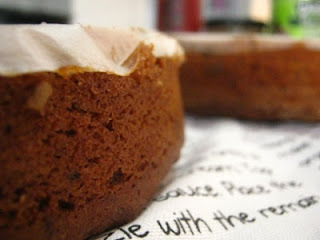
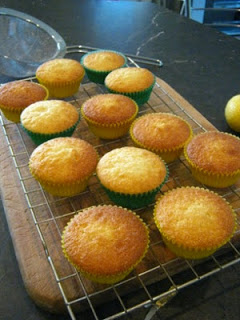
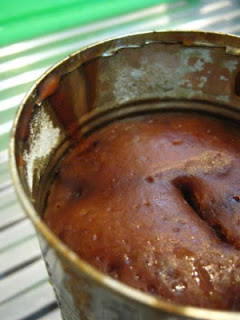 Let them cool for 10 minutes or so then run a knife around the edge of the tin to loosen. Then Bang them upside down onto the bench and they should come out cleanly.
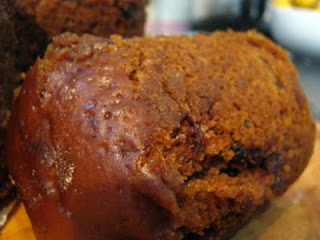

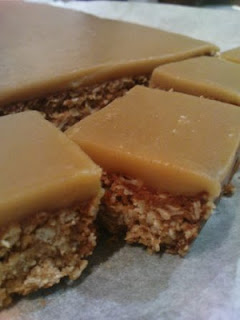
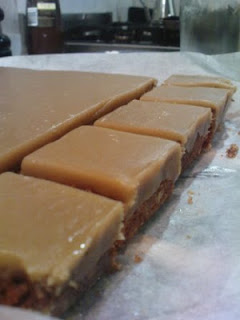
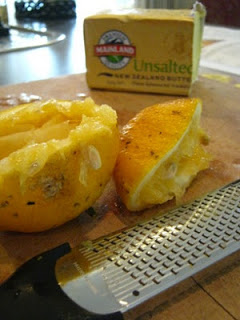
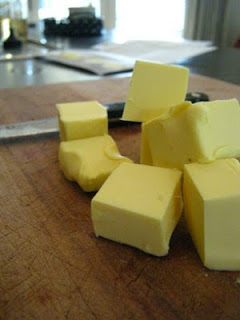
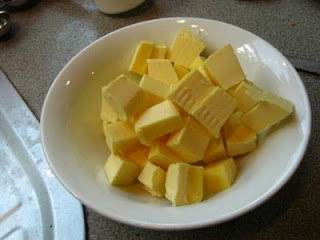
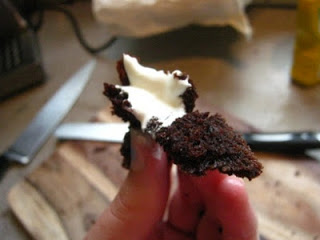
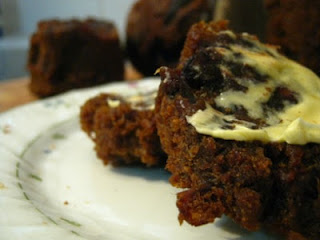
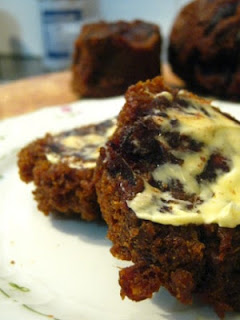
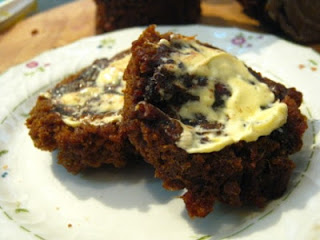
 Slice into pieces and smother with a good dosing of margarine or butter.

And there you have it. Moist tasty date loaves. Fat free (until you cover them in butter), egg free and most importantly, oven free! Yay minimal power expenditure.
Hope you try these out. I am going to have to make them again after Alix, Lucy and I managed to gobbled them all up last night.
Bye!
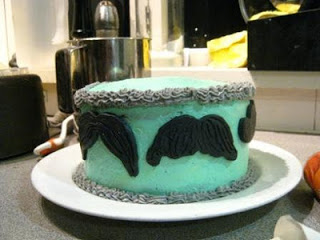
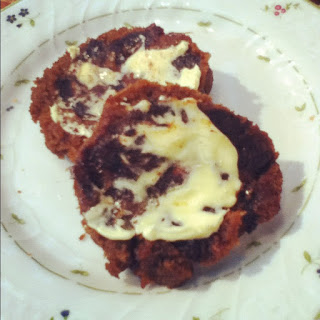
Here is an instagram picture:)
So this is the alternative to writing up something about product feasibility for this assignment I have to do. I have also run out of Vampire Diaries to watch. I now have to wait a week for a single episode. So I have resorted to following the actors on Twitter. Sad I know.
Recently I have had a bit of a biscuit addiction. It has been terrible. It all started when Lucy brought dow four packets of biscuits from home. They were opened one packet at a time and slowly (or in the case of one pack very quickly) they were consumed. Then I started buying my own biscuits and I went rapidly down hill from there. So as it stands I am currently on my first day of biscuit cold turkey. No biscuits for me today. It is 8.23pm and I am going strong. However the other day (as in yesterday) I remembered these date loaves Mum used to make all the time. They were steamed on the stove for an hour in old tin cans and didn't contain any fat (well apart form the like 0.01% in the trim milk). So I got the recipe off her and decided to try them out. The ingredients are simple: Flour, baking soda, golden syrup, milk, ginger and dates. Even though they don't have butter or oil in them they are still extremely moist and cakey. Oh and did I mention they were fat free? (Let's assume that we will burn off the sugar in them and not store that as fat).
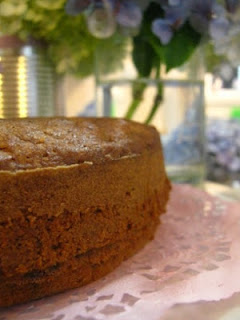
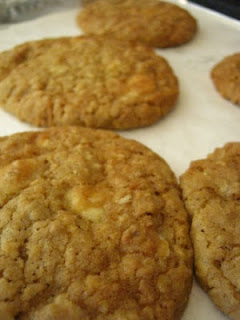
 |
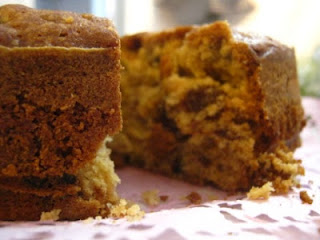
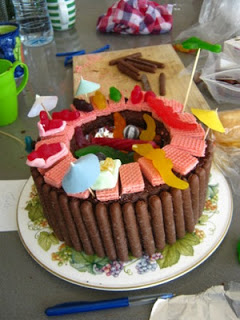
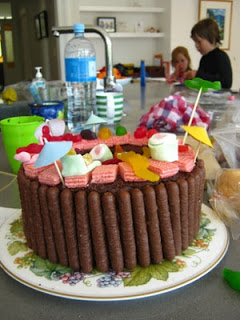
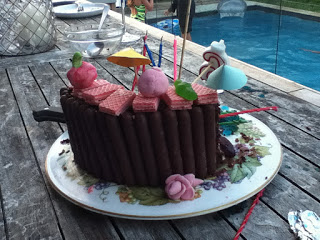
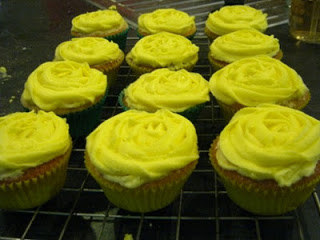
| This was the second batch I made |
So you will need:
1 cup flour
1 cup sultanas/dates
1 teaspoon baking soda
1 teaspoon all spice (sultanas)/ground ginger (dates)
1/2 cup golden syrup
1 cup milk
3 clean tin cans
1 large stock pot with lid
Firstly, soften the fruit by pouring boiling water over the top of them. They will absorb up some of the water, making them juicier.
In a saucepan on a low heat, melt the golden syrup and milk together, be careful not to let a skin of milk on the bottom of the pan form so keep stirring.
Sift the dry ingredients together. Add the golden syrup and milk mix once it has melted together. Drain and add the fruit then mix well.
Grease the sides of 3 clean with butter and flour. Cut out circles of baking papers small enough to fit the bottom of the tin.
Pour the mixture evenly in to each of the three tins, they should be near 2/3 to 3/4 full.
Place enough hot water in your stock pot to reach up to the height that the batter reaches on the inside (remembering that the cans will displace some water when you place them in). Place the cans in the pot, pop on the lid and then leave to simmer on a low heat.
Check (using a skewer) after an hour to see if they are done (the skewer, when inserted should come out clean). If the skewer comes out covered in batter then leave them steaming for an additional 10 minutes to half an hour.
Let them cool for 10 minutes or so then run a knife around the edge of the tin to loosen. Then Bang them upside down onto the bench and they should come out cleanly.
Hope you try these out. I am going to have to make them again after Alix, Lucy and I managed to gobbled them all up last night.
Bye!
Here is an instagram picture:)