Hello from a frosty Dunedin!
Yesterday (Sunday) was a dreary rainy morning (perfect for studying). It also coincided with the last weekend before exams start. Now dearest Alix is beginning to live at the library (gross) so dinner plans are a bit more fend for yourself than usual. A few weeks ago I bought this massive pumpkin down at the farmers market for $2 and it has been sitting getting hacked away at for various things. So since we (mainly Alix) was in need for nutritious food that wasn't in the form of frozen convenience meals I decided to procrastinate and make pumpkin soup. The funny thing is, is that I don't really like pumpkin soup. Never have. One cup and that will do me for the year. Leek and potato is way better. Anyway, I gave Mum a text and she replied (eventually) with basic instructions for her recipe.

Now this soup is more like add a bit of this and a splash of that. If you like garlic, you add more garlic. If you like curry powder, add more :) In the end I also added a few chopped carrots to bulk and thicken it up a bit.
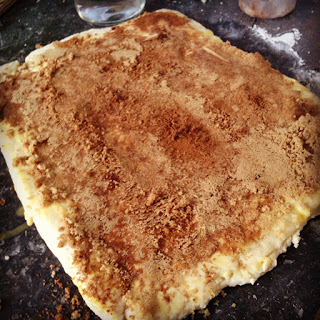
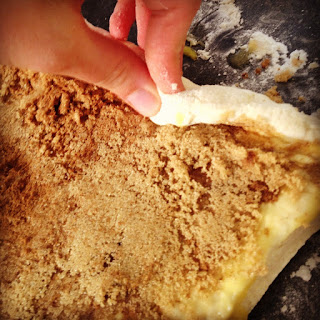
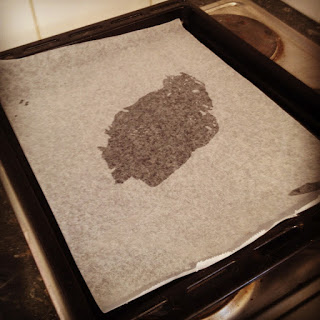
By roasting your pumpkin first, you get a lovely caramelised flavour developing which just makes it extra tasty (if you like pumpkin soup that is). Also roasting garlic in whole cloves with the pumpkin is awesome. When they come out of the oven you can either peel their skin off or squeeze the gooey garlic pulp out into the soup. You don't get the strong bite of garlic, instead a nice subtle roasted flavour. Mmm mm.
Sophie's Mum's Pumpkin Soup
Makes 13-14 cups
What you will need:
A big stock pot
A food processor, blender or stick blender
A plastic bag
1 large pumpkin
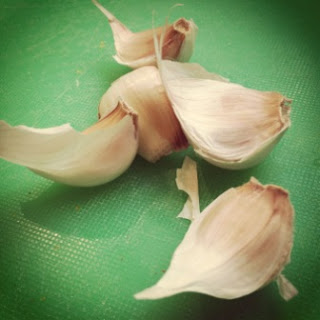
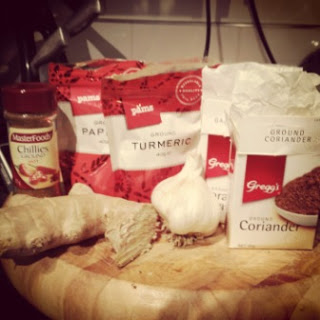
1 bulb of garlic
2 teaspoons curry powder
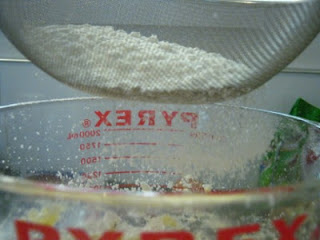
salt and pepper
10-12 cups chicken stock
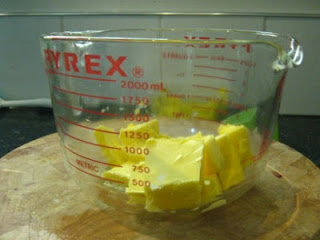
40ish grams of butter
2 onions, diced
(2-3 chopped carrots - optional)
Firstly pierce some holes in the top of your pumpkin skin. Place the pumpkin and a small bowl or mug of water in the microwave and microwave on high for about 10 minutes (checking after five or so). This will soften the pumpkin before you chop it, reducing the risk of pre-exam amputation.
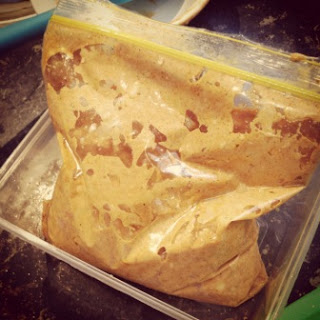
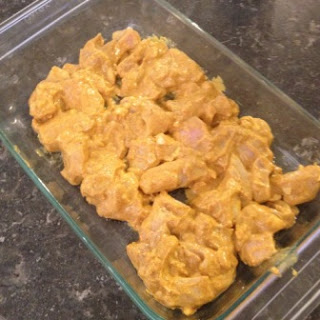
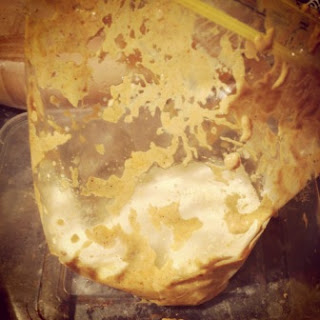
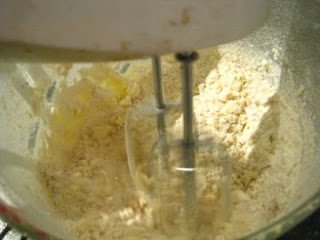
Next, chop the pumpkin up into cubes and place in a plastic bag along with a good shake of salt and a good grind of pepper. Splash in some of your best oil, grab the bag around the top and give it a good shake to coat the cubes with oil. Tip the bag contents onto a roasting tray lined with baking paper.
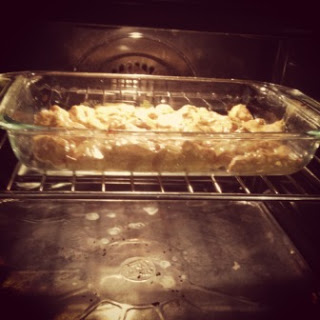
Get your bulb of garlic and split the cloves up and dot them in between the pumpkin pieces.
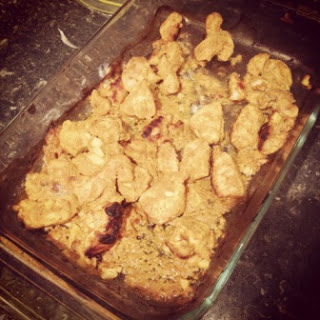
Bake at 180 degrees for around 40 minutes (more until they are slightly black at the tips and soft in the middle).
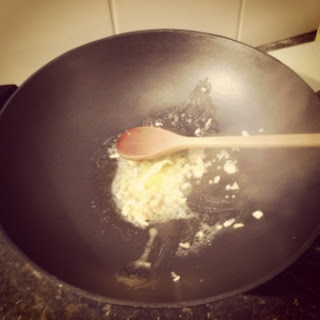
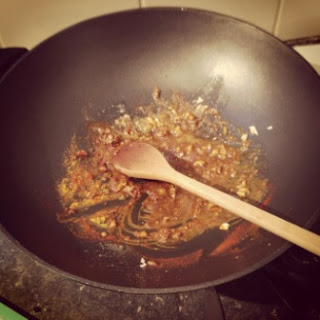
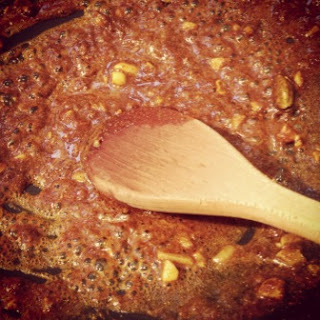
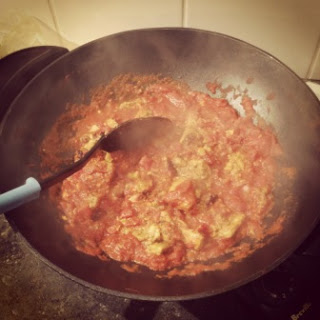
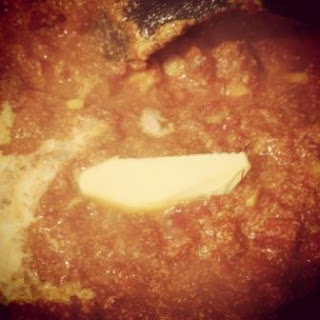
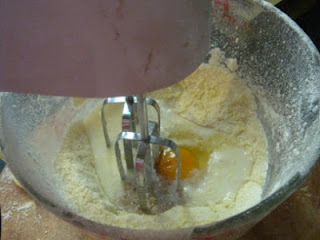
Saute your onion and butter in the stock pot until the onion is translucent. Add the curry powder and stir for a minutes to help develop the flavours. Add your pumpkin cubes and squeeze out the garlic into the pot. Stir to coat the pumpkin in the curry powder.
Add your chicken stock and a few thinly chopped carrots (you can roast those too if you want), then leave to simmer for 45ish minutes (I just left mine simmering away while I did some more study.
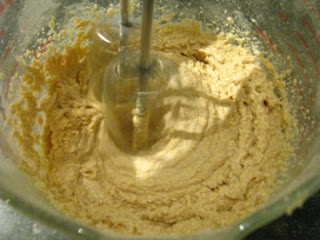
Once the carrots are cooked through and you think it tastes all right, either use a stick blender, food processor or blender to purée it until the soup is more or less smooth. I personally like my thick soups a little bit chunky.
Pop it back into the pop to heat it up again if you are eating it straight away or leave to cool before transferring into a container. If you are planning on putting it in the fridge or freezer make sure it is completely cool before doing so. Won't take too long in a Dunedin flat kitchen and it prevents you raising the temperature of your fridge (which leads to increased growth rates of pathogens and spoilage organisms such as. . . . sorry micro study haha).


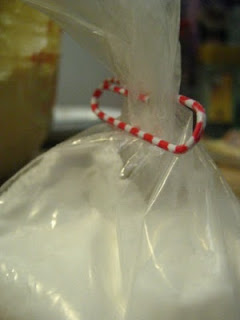
I have all these left over pottles from work which fit a perfect serving size in them. I managed to get 12 pottles plus one mug of soup for me. I cooled them down in a cold water bath in the sink then froze them. That way when we need a quickie dinner we can just pop one from the freezer into the microwave and bam! 5 minutes to a healthier dinner.
Happy studying! (with soup!)

Yesterday (Sunday) was a dreary rainy morning (perfect for studying). It also coincided with the last weekend before exams start. Now dearest Alix is beginning to live at the library (gross) so dinner plans are a bit more fend for yourself than usual. A few weeks ago I bought this massive pumpkin down at the farmers market for $2 and it has been sitting getting hacked away at for various things. So since we (mainly Alix) was in need for nutritious food that wasn't in the form of frozen convenience meals I decided to procrastinate and make pumpkin soup. The funny thing is, is that I don't really like pumpkin soup. Never have. One cup and that will do me for the year. Leek and potato is way better. Anyway, I gave Mum a text and she replied (eventually) with basic instructions for her recipe.
Now this soup is more like add a bit of this and a splash of that. If you like garlic, you add more garlic. If you like curry powder, add more :) In the end I also added a few chopped carrots to bulk and thicken it up a bit.
By roasting your pumpkin first, you get a lovely caramelised flavour developing which just makes it extra tasty (if you like pumpkin soup that is). Also roasting garlic in whole cloves with the pumpkin is awesome. When they come out of the oven you can either peel their skin off or squeeze the gooey garlic pulp out into the soup. You don't get the strong bite of garlic, instead a nice subtle roasted flavour. Mmm mm.
Sophie's Mum's Pumpkin Soup
Makes 13-14 cups
What you will need:
A big stock pot
A food processor, blender or stick blender
A plastic bag
1 large pumpkin
1 bulb of garlic
2 teaspoons curry powder
salt and pepper
10-12 cups chicken stock
40ish grams of butter
2 onions, diced
(2-3 chopped carrots - optional)
Firstly pierce some holes in the top of your pumpkin skin. Place the pumpkin and a small bowl or mug of water in the microwave and microwave on high for about 10 minutes (checking after five or so). This will soften the pumpkin before you chop it, reducing the risk of pre-exam amputation.
Next, chop the pumpkin up into cubes and place in a plastic bag along with a good shake of salt and a good grind of pepper. Splash in some of your best oil, grab the bag around the top and give it a good shake to coat the cubes with oil. Tip the bag contents onto a roasting tray lined with baking paper.
Get your bulb of garlic and split the cloves up and dot them in between the pumpkin pieces.
Bake at 180 degrees for around 40 minutes (more until they are slightly black at the tips and soft in the middle).
Saute your onion and butter in the stock pot until the onion is translucent. Add the curry powder and stir for a minutes to help develop the flavours. Add your pumpkin cubes and squeeze out the garlic into the pot. Stir to coat the pumpkin in the curry powder.
Add your chicken stock and a few thinly chopped carrots (you can roast those too if you want), then leave to simmer for 45ish minutes (I just left mine simmering away while I did some more study.
Once the carrots are cooked through and you think it tastes all right, either use a stick blender, food processor or blender to purée it until the soup is more or less smooth. I personally like my thick soups a little bit chunky.
Pop it back into the pop to heat it up again if you are eating it straight away or leave to cool before transferring into a container. If you are planning on putting it in the fridge or freezer make sure it is completely cool before doing so. Won't take too long in a Dunedin flat kitchen and it prevents you raising the temperature of your fridge (which leads to increased growth rates of pathogens and spoilage organisms such as. . . . sorry micro study haha).
 |
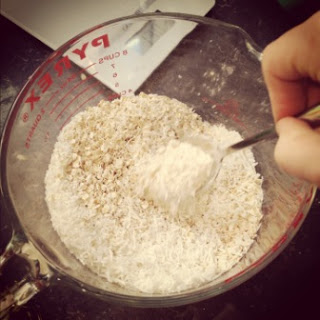
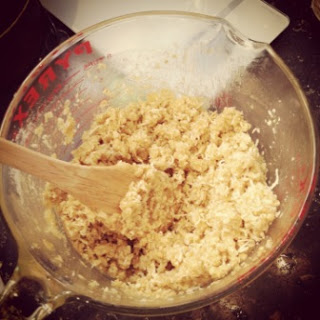
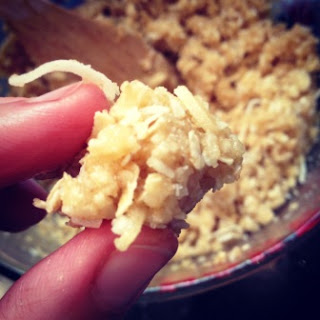
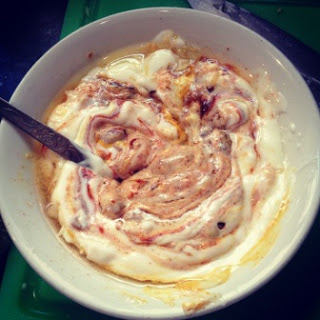
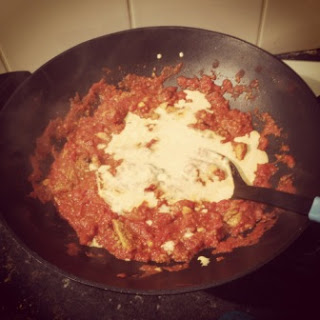
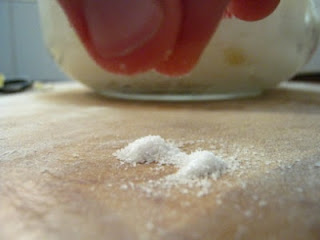
| I am a bit of a garlic lover, I added a few more dried garlic granules to pack some more garlicky punch! |
 |
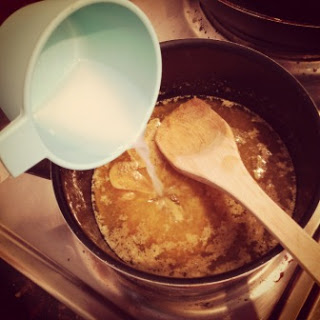
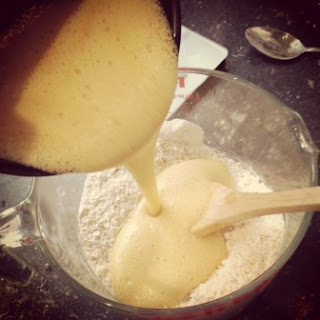
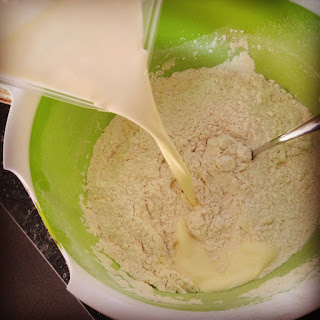
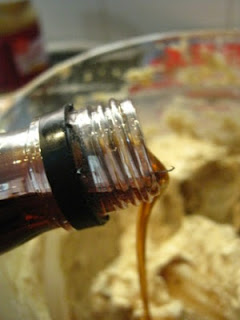
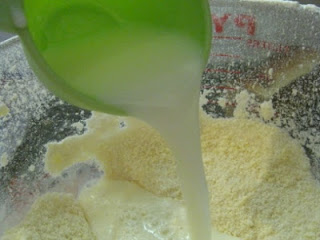
| Ok, so my pouring was a little messy . . |
 |
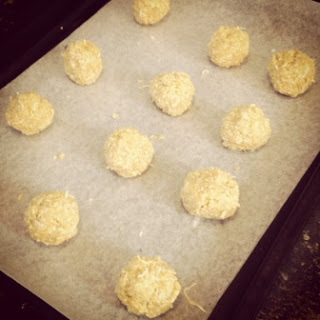
| Water baths cool them down faster |
I have all these left over pottles from work which fit a perfect serving size in them. I managed to get 12 pottles plus one mug of soup for me. I cooled them down in a cold water bath in the sink then froze them. That way when we need a quickie dinner we can just pop one from the freezer into the microwave and bam! 5 minutes to a healthier dinner.
Happy studying! (with soup!)