As mentioned in my last post (which I posted like an hour ago) I have had a rather cupcake oriented day. Yes an hour later I am still in my pajamas. Yes it it 4pm on a Sunday. This is bad. Really bad. It's almost dinner time. For the record I did get up at 8am.
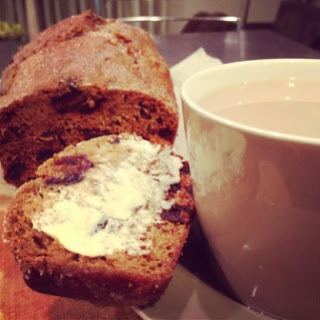
I had too many cupcake flavours that I wanted to try out at once. So I used Chris' thank you party for his helpers for the Cystic Fibrosis NZ street collection he organised to try two of them out.
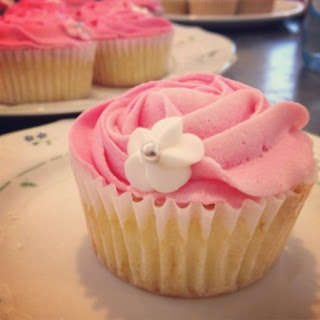
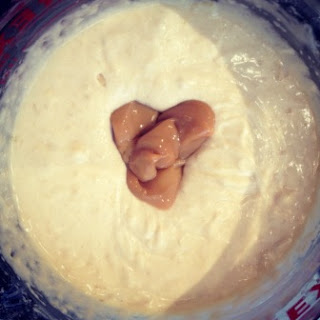
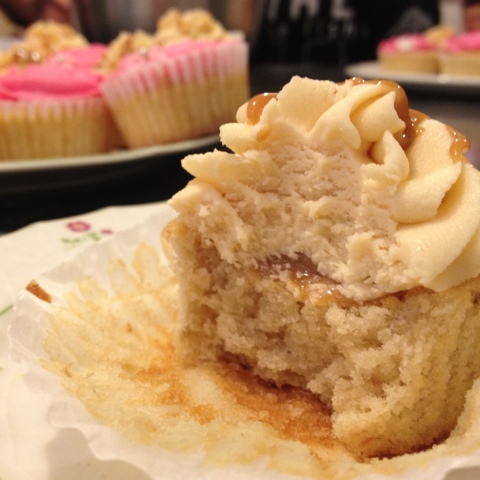
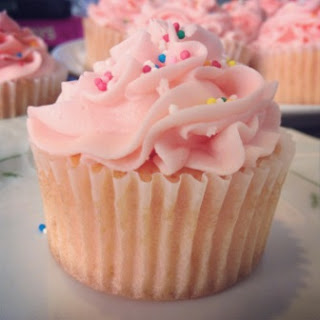
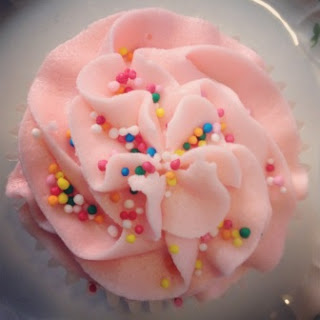
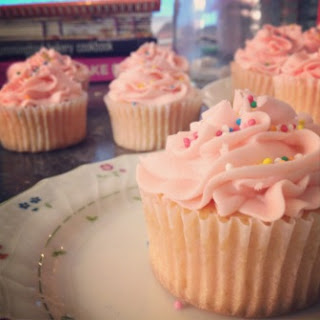
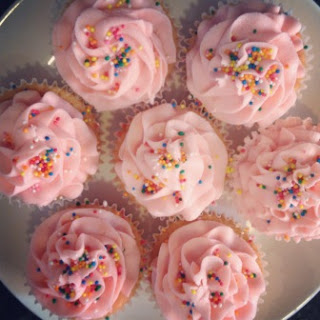
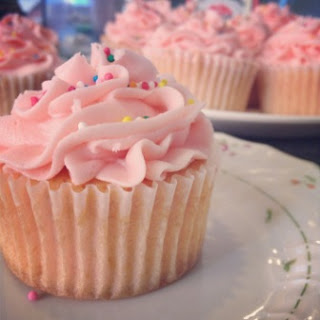
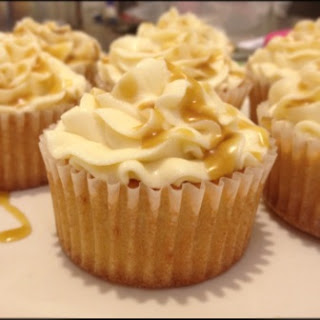
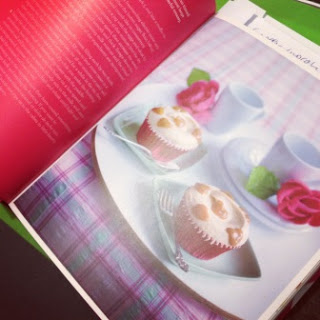
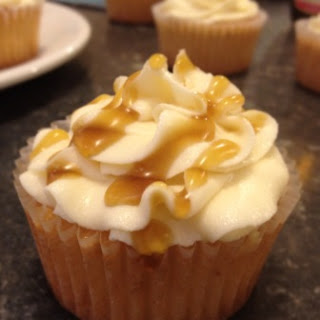
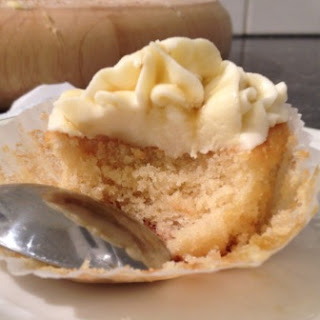
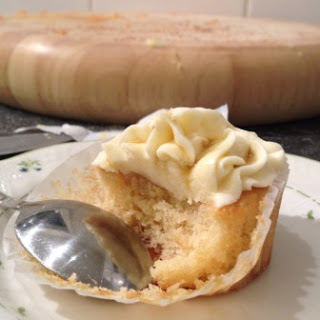
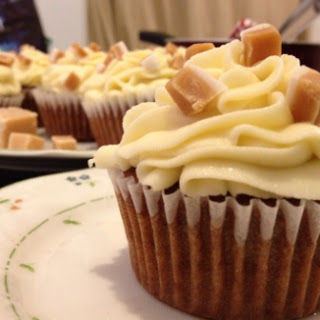
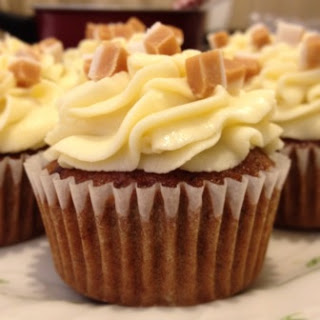
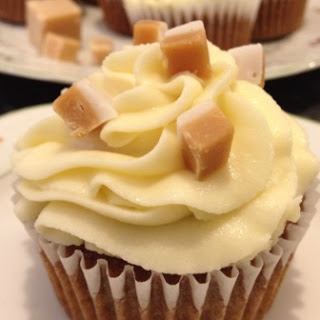
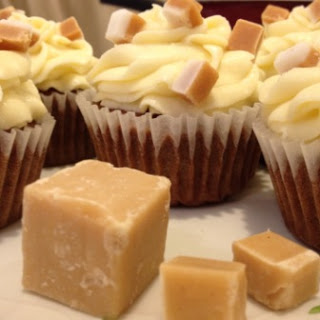
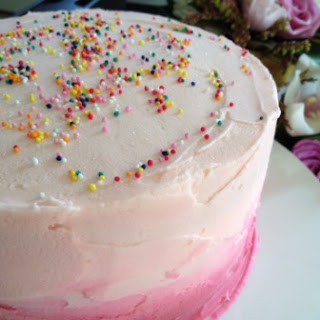
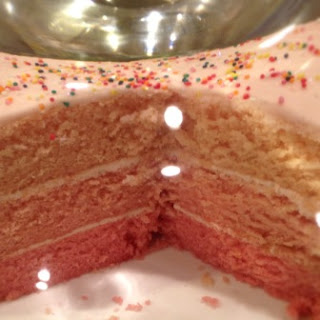
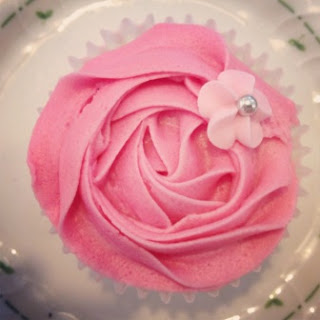
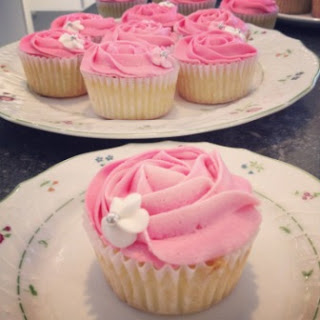
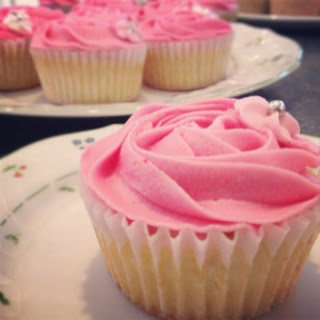
The first one was the banoffee cupcakes and the second ones are these rose cupcakes. The recipe says they are rose but because they use rose water, just like Turkish delight, I associate them with being a Turkish delight flavour rather than a rose flavour.
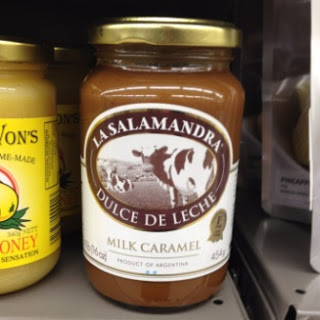
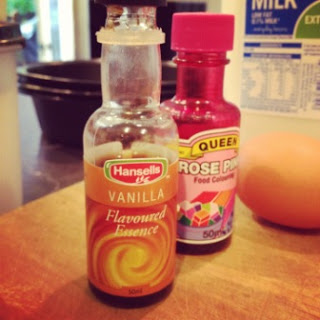
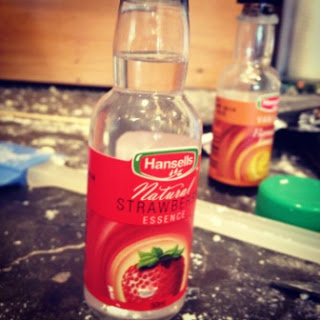
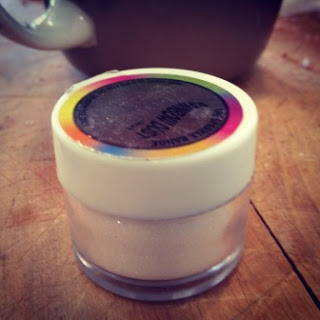
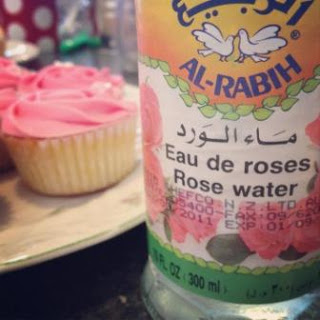
I was really excited to buy some rose water, I found it in the international section of New World, City Centre. It was $8.99 for a 300ml bottle. A bit of a splurge if you are only just trying these out but I think it was well worth it. It lasts for ages and I plan on making Turkish delight in the holidays coming up. And once it is all gone you are left with a really really cool shaped bottle.
Flip I wish I could write essays as fast as I write blog posts.
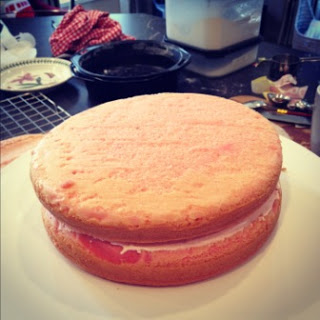
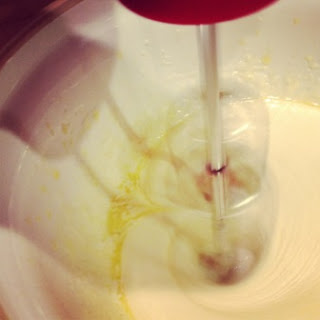
This is really just a vanilla cupcake recipe that has two teaspoons of rose water added to the batter and 2 teaspoons added to the icing. Simple as!
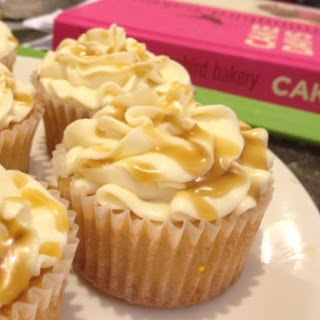
Rose Cupcakes (adapted from the Hummingbird Bakery's Cake Days)
Makes 12
I had too many cupcake flavours that I wanted to try out at once. So I used Chris' thank you party for his helpers for the Cystic Fibrosis NZ street collection he organised to try two of them out.
The first one was the banoffee cupcakes and the second ones are these rose cupcakes. The recipe says they are rose but because they use rose water, just like Turkish delight, I associate them with being a Turkish delight flavour rather than a rose flavour.
I was really excited to buy some rose water, I found it in the international section of New World, City Centre. It was $8.99 for a 300ml bottle. A bit of a splurge if you are only just trying these out but I think it was well worth it. It lasts for ages and I plan on making Turkish delight in the holidays coming up. And once it is all gone you are left with a really really cool shaped bottle.
Flip I wish I could write essays as fast as I write blog posts.
This is really just a vanilla cupcake recipe that has two teaspoons of rose water added to the batter and 2 teaspoons added to the icing. Simple as!
Rose Cupcakes (adapted from the Hummingbird Bakery's Cake Days)
Makes 12
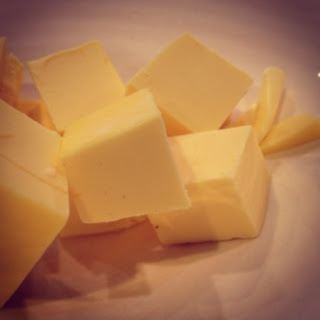
40g butter, softened
140g castor sugar
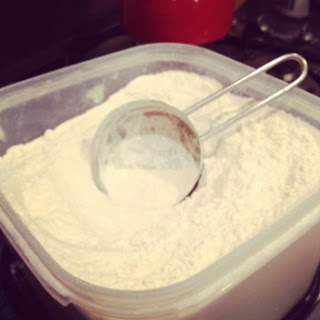
120g plain flour
1 1/2 teaspoons baking powder
1/2 cup whole milk
2 teaspoons rose water
Icing:
300g icing sugar
80g butter, softened
25ml whole milk
2 teaspoons rose water
140g castor sugar
120g plain flour
1 1/2 teaspoons baking powder
1/2 cup whole milk
2 teaspoons rose water
Icing:
300g icing sugar
80g butter, softened
25ml whole milk
2 teaspoons rose water
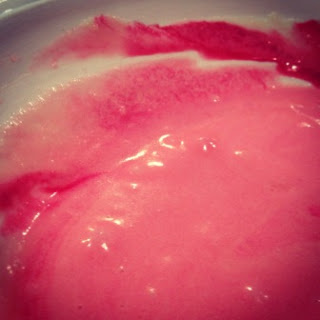
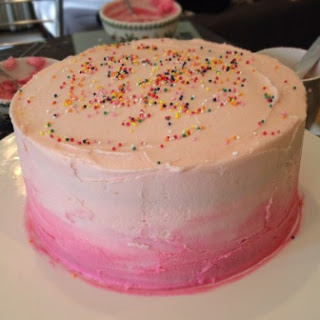
A few drops of pink food colouring
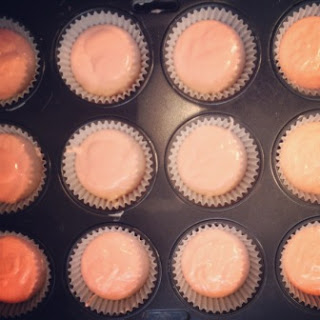
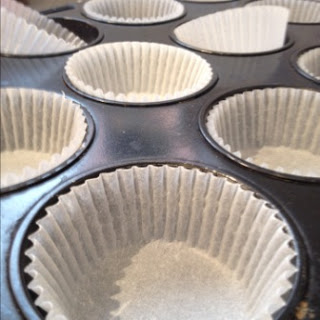
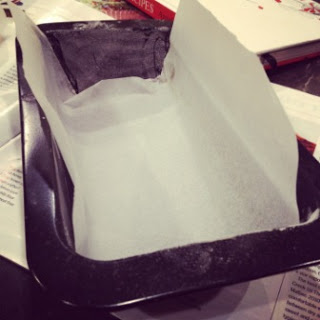
Preheat the oven to 190 degrees bake (or 170 if your oven is fan forced). Line your muffin tray with cupcake cases.
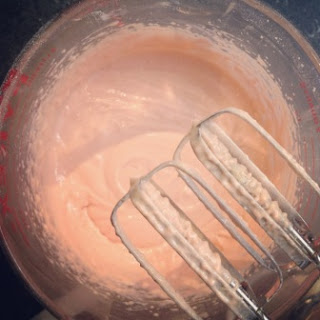
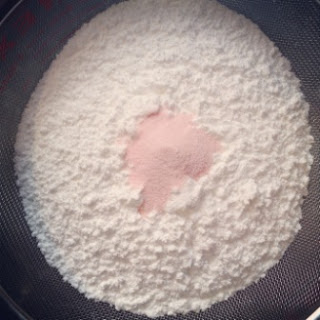
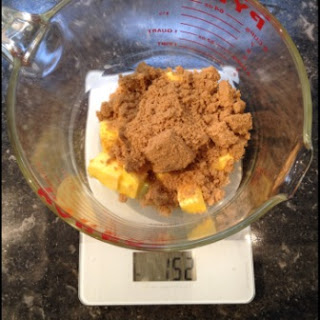
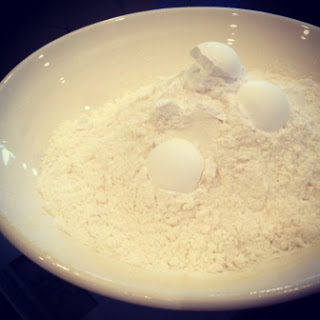
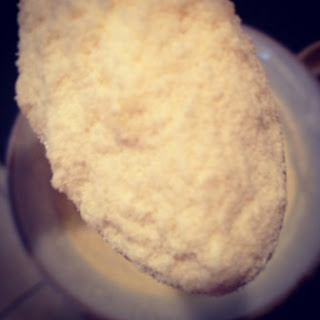
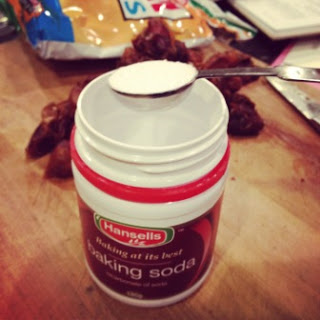
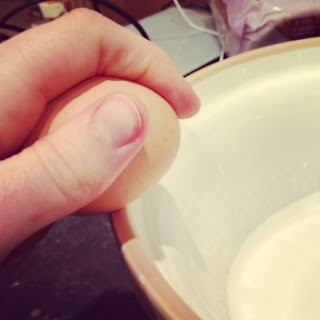
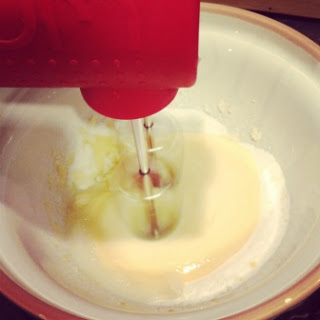
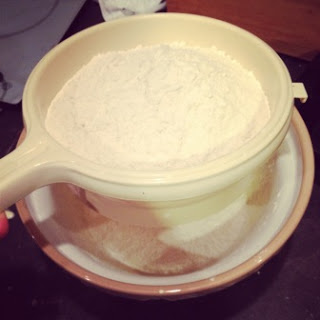
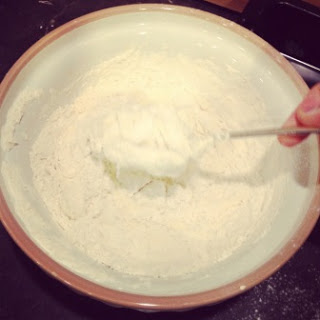
Beat together your butter and sugar until all the butter lumps have been broken down and the consistency is even. Sieve in your flour and baking powder and beat until a sandy consistency is reached.
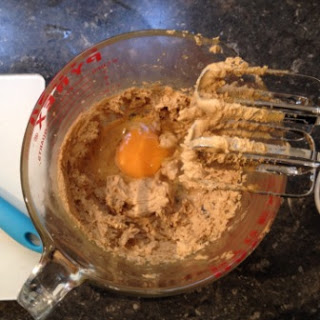
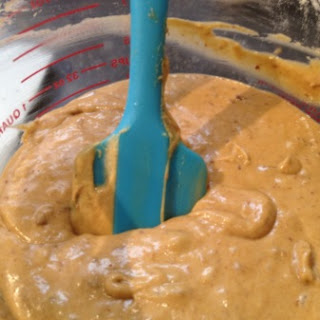
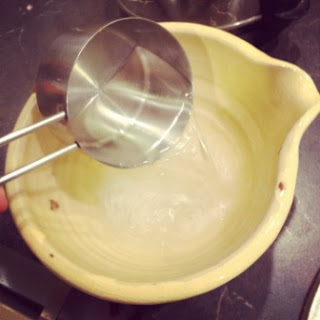
Add in your milk, vanilla and rose water, beat in. Next add your egg and beat until thick and smooth.
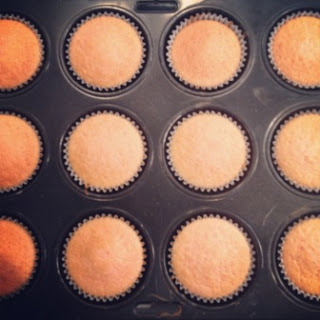
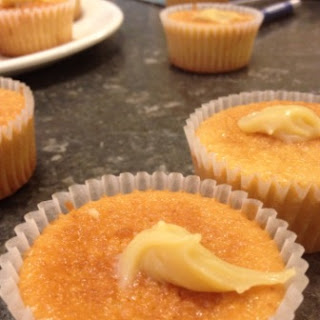
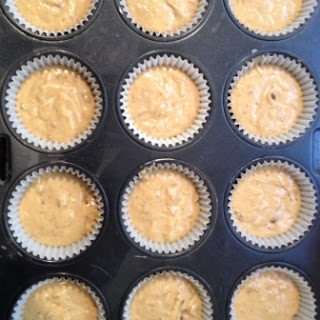
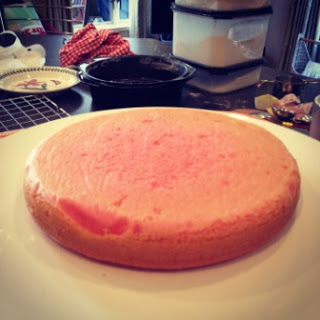
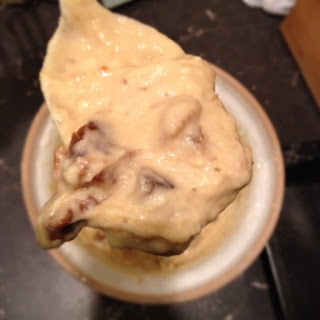
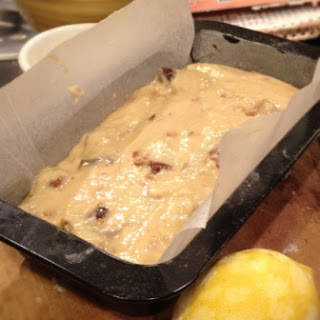
Fill your cupcake cases 2/3 full and bake for 20 minutes or until the sponge springs back when lightly pressed.
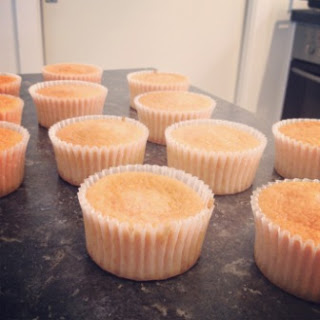
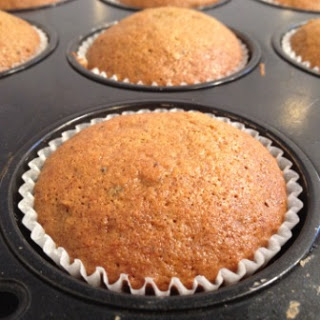
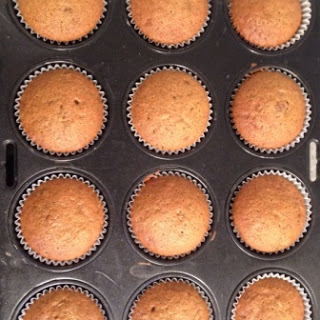
Leave your cupcakes to cool a wee bit before transferring them to a cake rack or a clean tea towel.
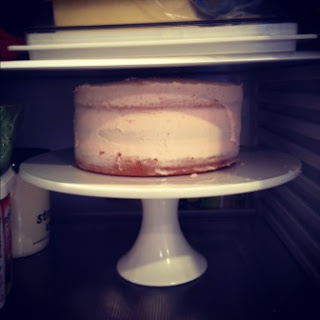
Make sure your cupcakes are completely cold before you ice them.
Preheat the oven to 190 degrees bake (or 170 if your oven is fan forced). Line your muffin tray with cupcake cases.
Beat together your butter and sugar until all the butter lumps have been broken down and the consistency is even. Sieve in your flour and baking powder and beat until a sandy consistency is reached.
Add in your milk, vanilla and rose water, beat in. Next add your egg and beat until thick and smooth.
Fill your cupcake cases 2/3 full and bake for 20 minutes or until the sponge springs back when lightly pressed.
Leave your cupcakes to cool a wee bit before transferring them to a cake rack or a clean tea towel.
Make sure your cupcakes are completely cold before you ice them.
Icing:
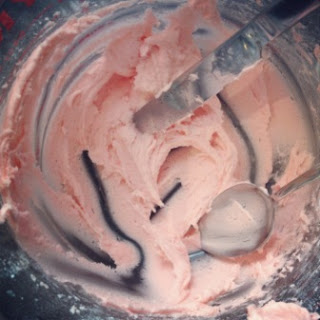
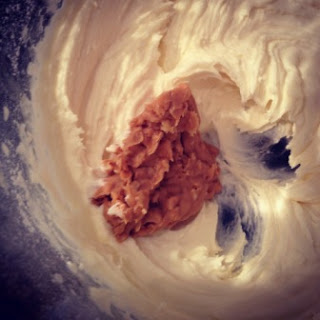
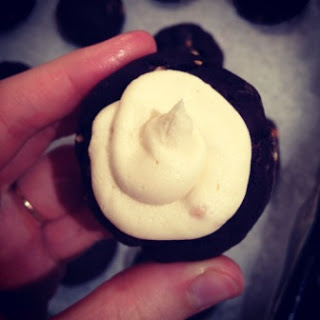
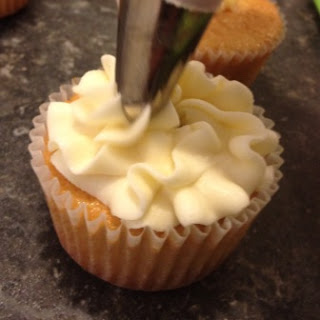
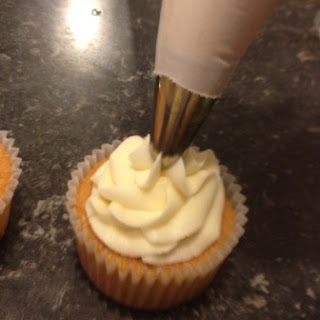
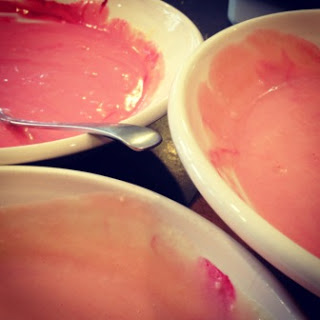
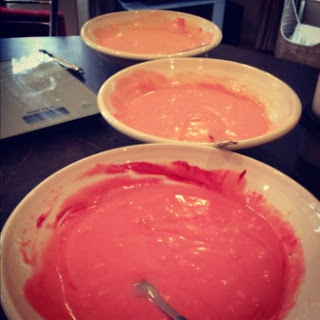
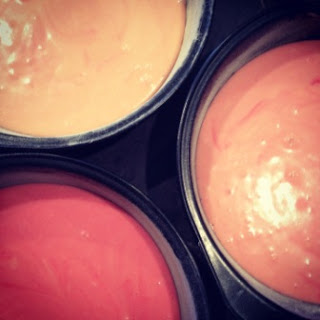
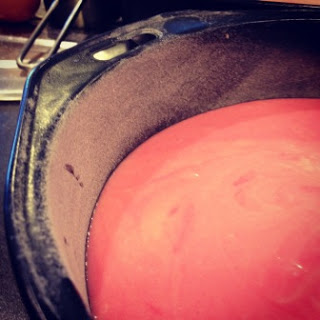
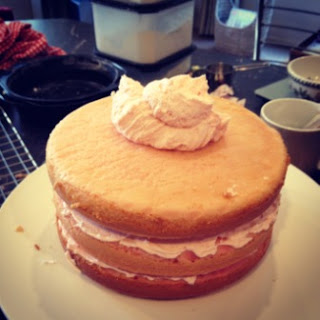
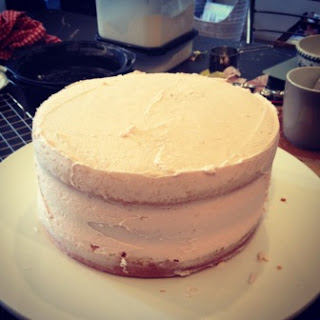
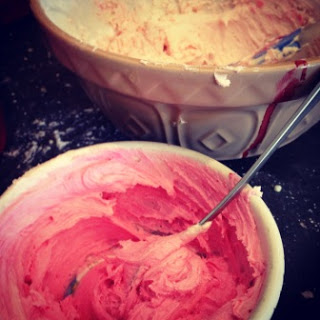
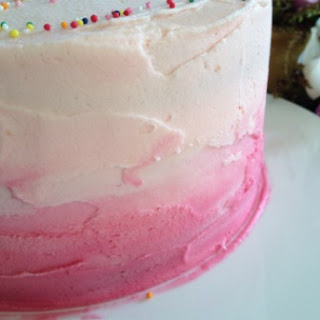
Cream the butter and sugar together with the addition of the milk to loosen it up. You may need more milk or icing sugar if the icing isn't thin or thick enough. Add in your rose water and food colouring and beat until smooth and fluffy. Make sure your icing is relatively stiff, you don't want it slopping off your cupcake and making a mess.
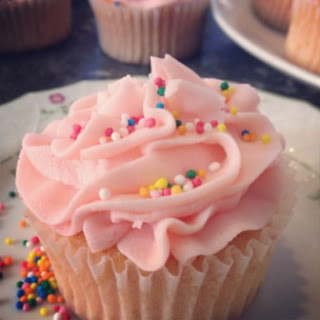
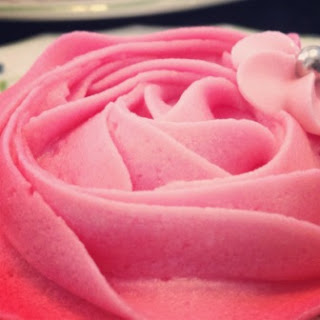
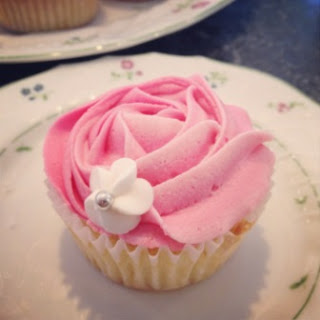
Insert the icing into a piping bag fitted with a 1M nozzle and swirl away! :)
Cream the butter and sugar together with the addition of the milk to loosen it up. You may need more milk or icing sugar if the icing isn't thin or thick enough. Add in your rose water and food colouring and beat until smooth and fluffy. Make sure your icing is relatively stiff, you don't want it slopping off your cupcake and making a mess.
Insert the icing into a piping bag fitted with a 1M nozzle and swirl away! :)
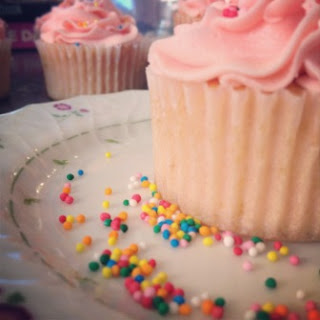
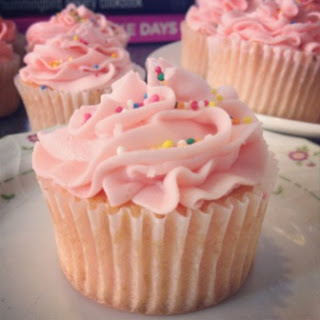
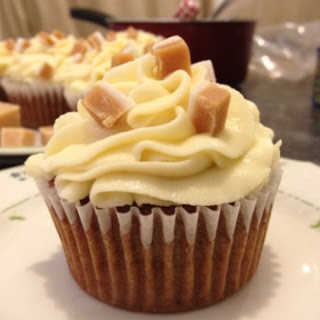
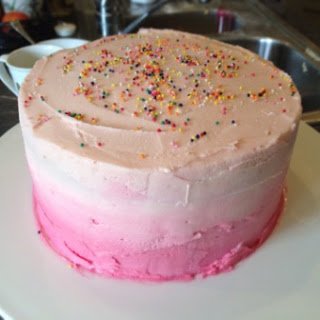
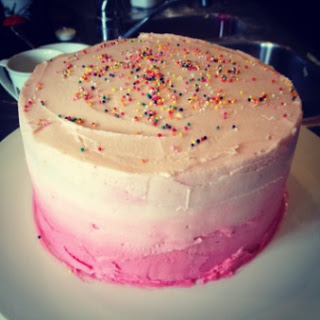
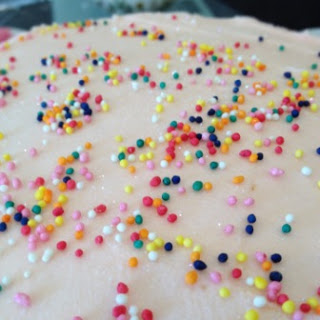
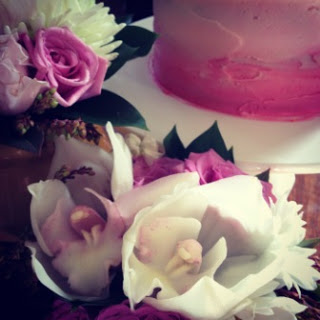
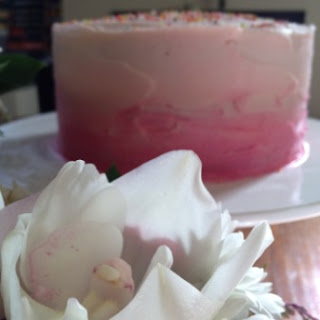
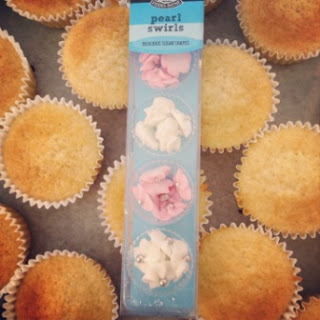
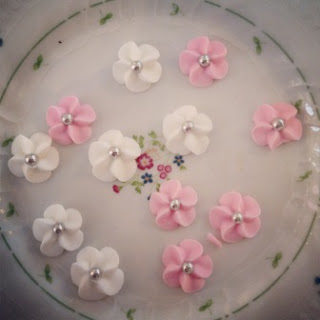
Decorate with anything you wish :) I found those wee flowers at the supermarket.
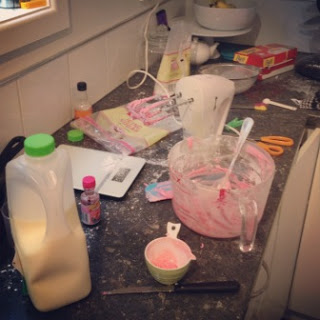 |
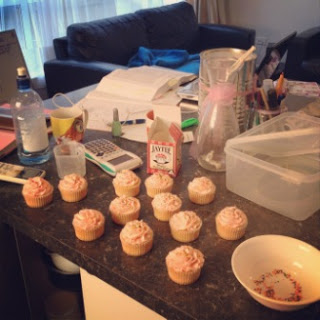
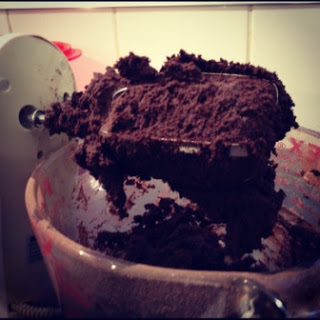
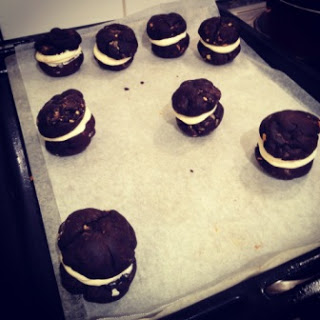
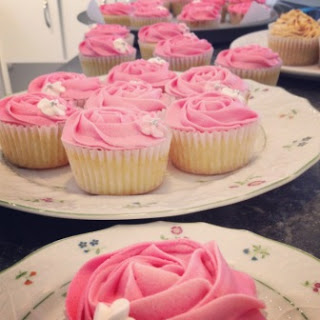
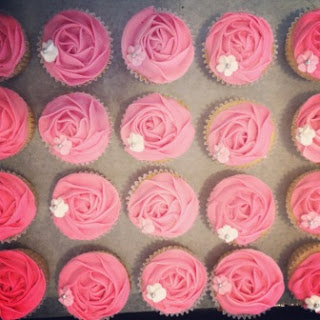
| Things got a bit messy after 50 cupcakes came through my kitchen |
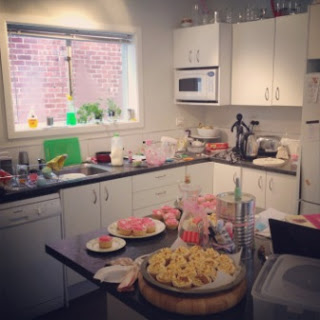 |
| Tidy time I think |
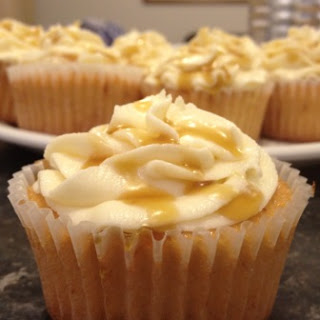
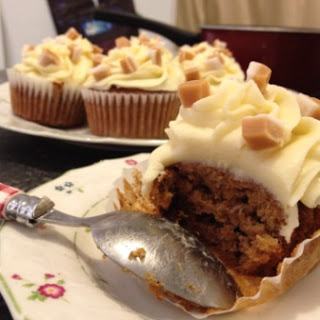
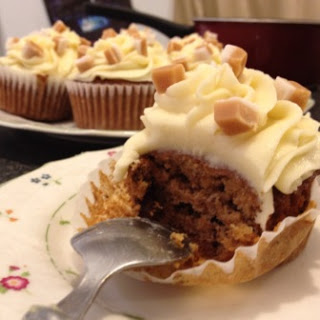
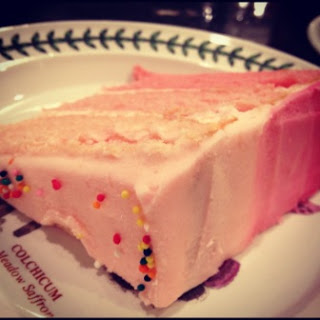
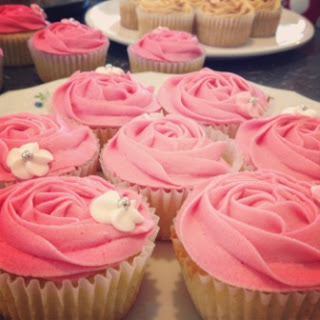
These cupcakes are amazing! If you love that amazing rose flavour of Turkish delight you won't be able to stop eating these :)
TTFN!!