Hello there,
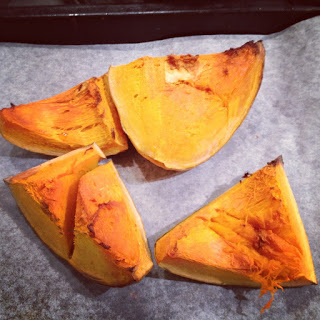
Yesterday I showed you how to make mini pumpkin pies. Knowing how to make these absolutely to-die for pecan versions and not sharing with you is just cruel.
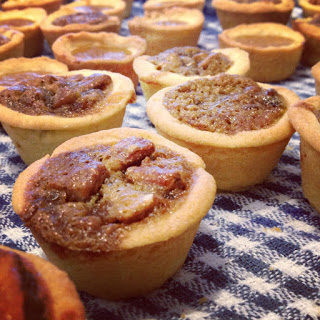
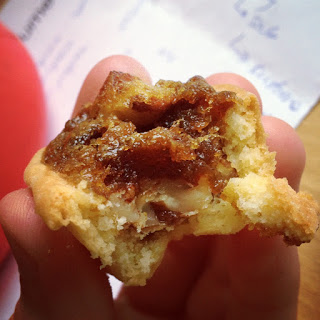
I once tried a pecan pie slice. It was amazing. It was the best thing I had ever tasted. It was nutty and caramelly. Words really cannot describe it's excellence.
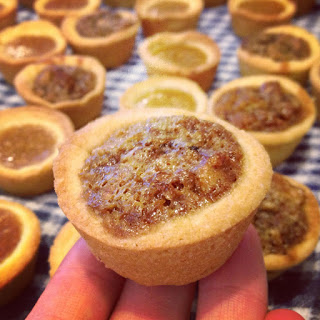
These are definitely worth the hideous amount you pay for pecan nuts (we are talking $6/100g). The best thing about these ones is that you only need one nut per pie. So say you are making 30, you only need 30 nuts. Although I did chop a few up and pop them in the mixture. I don't think you need to do that though.
You will make friends for life with these pies. They are that good. Pretty sure a few boys could be seduced with these things too.
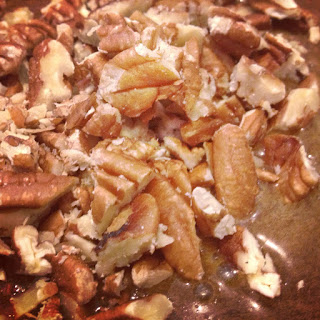
I found a recipe for baby pecan pies on Jo Seagars website which was really simple. I then found another pecan pie variation with dates in them on the Fisher and Paykel blog. I love dates, sure I coudn't afford fresh ones but I could use dried ones to bulk up the pecan pie mixture so I could get more bang for my buck. The dates leant a lovely dark sugary caramel flavour to the pies, more than what the brown sugar lends. I soaked my dates in hot water for a few minutes then chopped them up. This way they became nice and juicy.
As I had far too many things to do, I decided to cheat in the pastry department. I don't have a food processor to help me out and my skills in the pastry department are significantly lacking. I'm sorry. I have let you down.
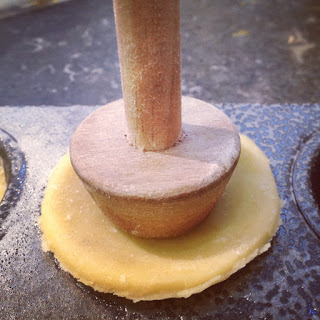
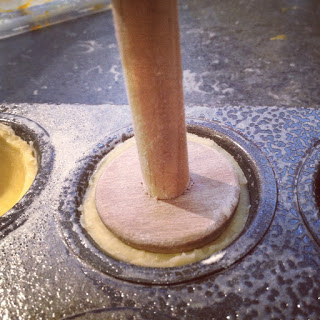
To cut out the pastry to fit the mini muffin trays I used, I used the lid of a marmite jar. The cut out you use needs to have a diameter of 5-6cm. Luckily I was lent the most amazing of tools for helping me line the muffin trays. Before making these I had never seen a tart tamper in my life (probably due to my avoidance of all things pastry). It fit perfectly into the muffin trays and allowed me to press the pastry in evenly and without forming lump or hole. Try spraying your tamper with a bit of baking oil then dipping it in some flour. This will stop it from sticking the the pastry when you press it in. Those little toys are genius!
Luckily Alix prefers the pumpkin pies whilst I am team pecan, so no arguments over who gets the last one there :).
Mini Date and Pecan Pies
Adapted from Jo Seagar's recipe
makes 30
2 sheets, pre rolled sweet crust pastry
24 pecan nuts (1 cup)
1/2 cup dried dates, soaked in boiling water, drained and finely chopped
1 egg
60g butter, melted
1 cup brown sugar
1 teaspoon vanilla
2 mini muffin trays
baking spray
rolling pin (or a bottle of cider haha)
flour for dusting the bench with
5-6cm circle cutter (eg a marmite lid)
a tart tamper (or fingers if aesthetics aren't of the biggest concern)
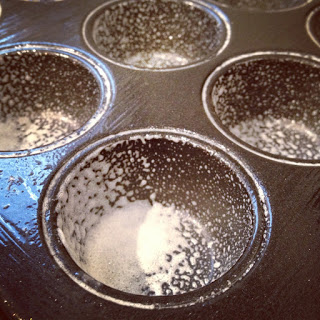
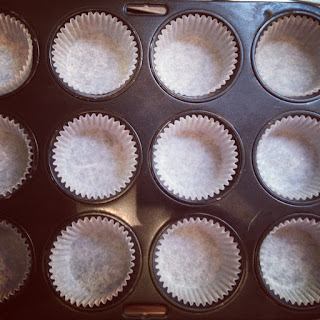
Preheat the oven to 180 degrees on bake. Spray the mini muffin trays generously with baking spray.
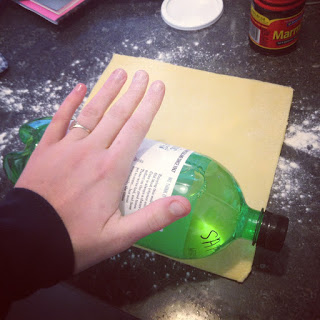
Flour the bench and carefully roll out the prerolled pastry a little thinner (so it stretches out another cm or so in both directions).
Take the cutter you are using and cut circles out of the pastry. Using the tart tamper or your fingers, carefully line each muffin tray with pastry shells.
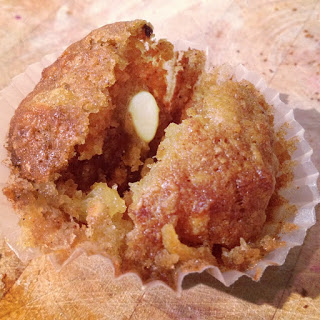
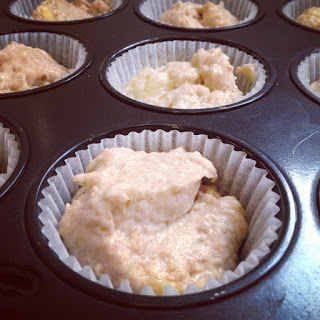
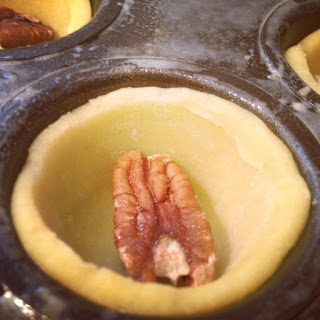
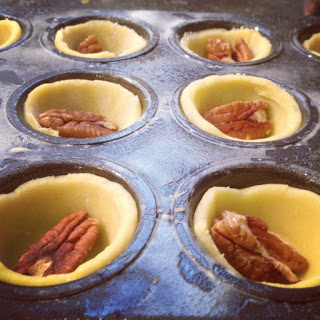
Place a pecan nut inside each shell, you can break them into smaller bits if you wish.
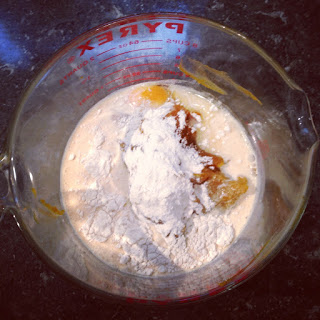
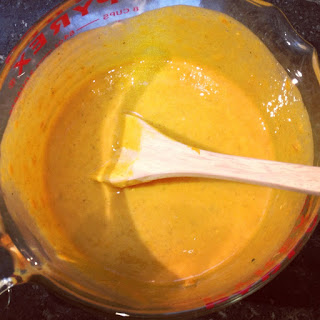
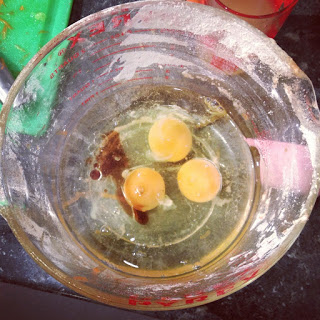
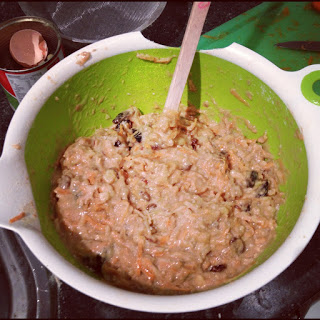
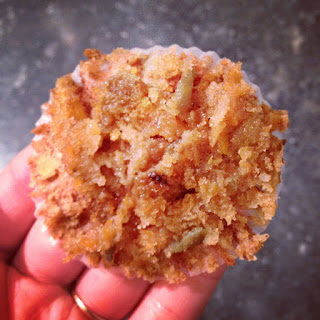
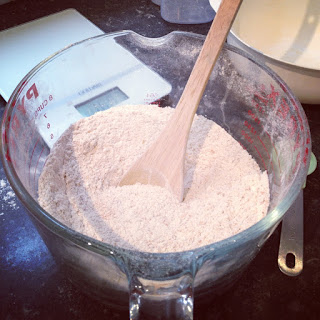
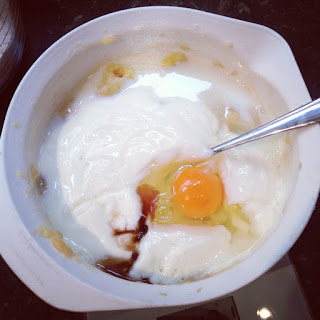
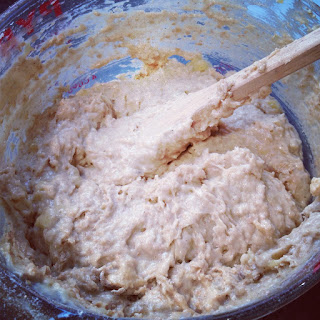
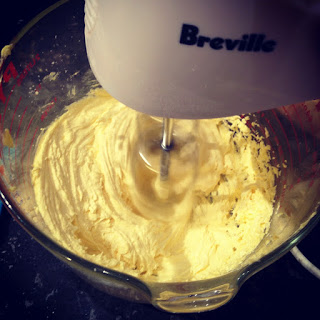
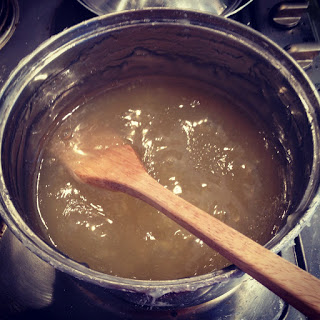
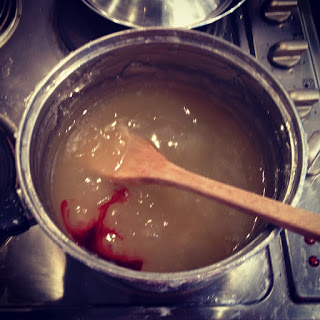
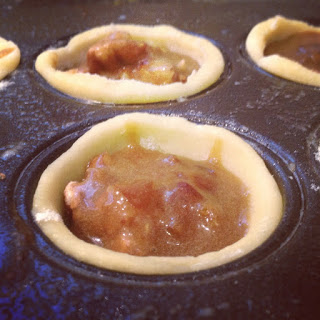
In a bowl, whisk together the melted butter, sugar, egg and vanilla. Mix in the mushy dates. Whisk until the mixture is thick and 'gluey'.
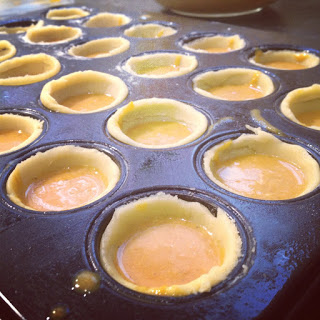
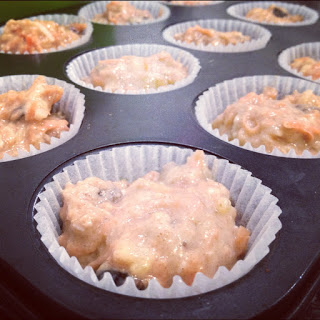
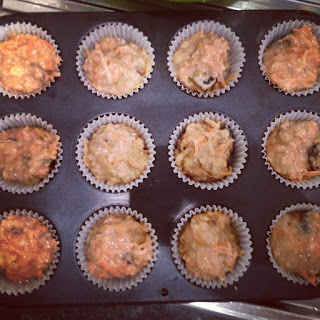
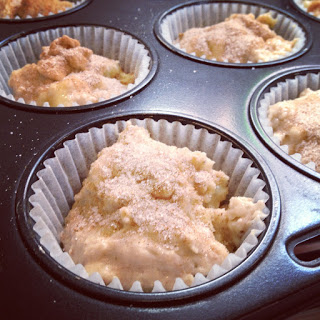
Spoon a teaspoon and a bit of the mixture into each pie shell.
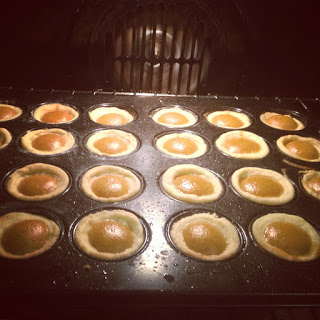
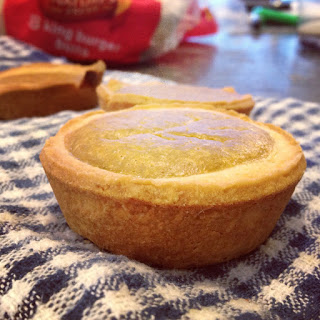
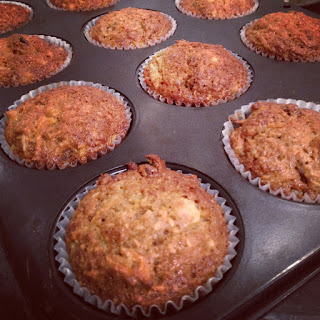
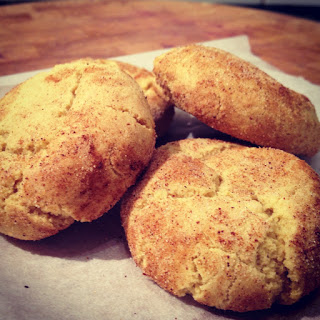
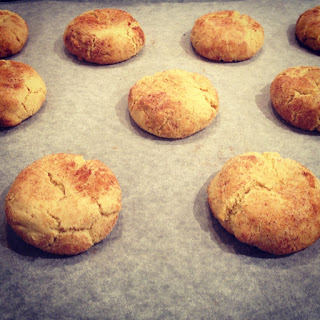
Bake for 17 minutes or until the pastry is golden.
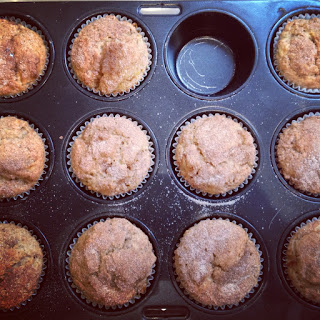
Leave to cool for a few minutes before twisting each pie to release it from the muffin tray. Leave them to cool on a wire rack or clean tea towel.
Don't forget to respray the tins for the next lot that you cook. They can easily become very stuck if there is any left over pastry crumbs in the bottom too.


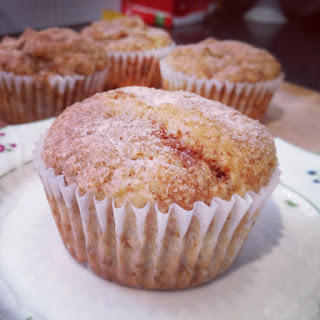
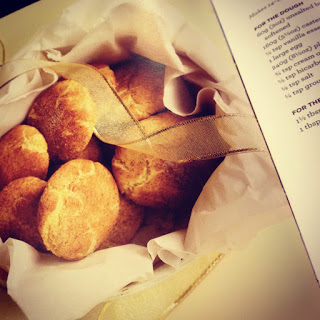
These are best served warm. If you are making these in advance, store them in an air tight container once they are fully cool. You can heat them up for a few seconds in the microwave.
Enjoy! (I know we did :))
Sophie x
Yesterday I showed you how to make mini pumpkin pies. Knowing how to make these absolutely to-die for pecan versions and not sharing with you is just cruel.
I once tried a pecan pie slice. It was amazing. It was the best thing I had ever tasted. It was nutty and caramelly. Words really cannot describe it's excellence.
These are definitely worth the hideous amount you pay for pecan nuts (we are talking $6/100g). The best thing about these ones is that you only need one nut per pie. So say you are making 30, you only need 30 nuts. Although I did chop a few up and pop them in the mixture. I don't think you need to do that though.
You will make friends for life with these pies. They are that good. Pretty sure a few boys could be seduced with these things too.
I found a recipe for baby pecan pies on Jo Seagars website which was really simple. I then found another pecan pie variation with dates in them on the Fisher and Paykel blog. I love dates, sure I coudn't afford fresh ones but I could use dried ones to bulk up the pecan pie mixture so I could get more bang for my buck. The dates leant a lovely dark sugary caramel flavour to the pies, more than what the brown sugar lends. I soaked my dates in hot water for a few minutes then chopped them up. This way they became nice and juicy.
As I had far too many things to do, I decided to cheat in the pastry department. I don't have a food processor to help me out and my skills in the pastry department are significantly lacking. I'm sorry. I have let you down.
To cut out the pastry to fit the mini muffin trays I used, I used the lid of a marmite jar. The cut out you use needs to have a diameter of 5-6cm. Luckily I was lent the most amazing of tools for helping me line the muffin trays. Before making these I had never seen a tart tamper in my life (probably due to my avoidance of all things pastry). It fit perfectly into the muffin trays and allowed me to press the pastry in evenly and without forming lump or hole. Try spraying your tamper with a bit of baking oil then dipping it in some flour. This will stop it from sticking the the pastry when you press it in. Those little toys are genius!
Luckily Alix prefers the pumpkin pies whilst I am team pecan, so no arguments over who gets the last one there :).
Mini Date and Pecan Pies
Adapted from Jo Seagar's recipe
makes 30
2 sheets, pre rolled sweet crust pastry
24 pecan nuts (1 cup)
1/2 cup dried dates, soaked in boiling water, drained and finely chopped
1 egg
60g butter, melted
1 cup brown sugar
1 teaspoon vanilla
2 mini muffin trays
baking spray
rolling pin (or a bottle of cider haha)
flour for dusting the bench with
5-6cm circle cutter (eg a marmite lid)
a tart tamper (or fingers if aesthetics aren't of the biggest concern)
Preheat the oven to 180 degrees on bake. Spray the mini muffin trays generously with baking spray.
Flour the bench and carefully roll out the prerolled pastry a little thinner (so it stretches out another cm or so in both directions).
Take the cutter you are using and cut circles out of the pastry. Using the tart tamper or your fingers, carefully line each muffin tray with pastry shells.
Place a pecan nut inside each shell, you can break them into smaller bits if you wish.
In a bowl, whisk together the melted butter, sugar, egg and vanilla. Mix in the mushy dates. Whisk until the mixture is thick and 'gluey'.
Spoon a teaspoon and a bit of the mixture into each pie shell.
Bake for 17 minutes or until the pastry is golden.
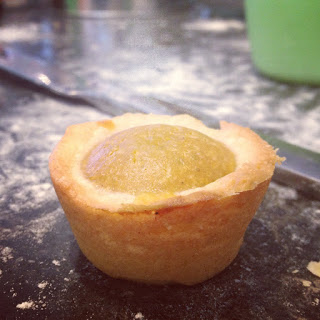
Leave to cool for a few minutes before twisting each pie to release it from the muffin tray. Leave them to cool on a wire rack or clean tea towel.
Don't forget to respray the tins for the next lot that you cook. They can easily become very stuck if there is any left over pastry crumbs in the bottom too.
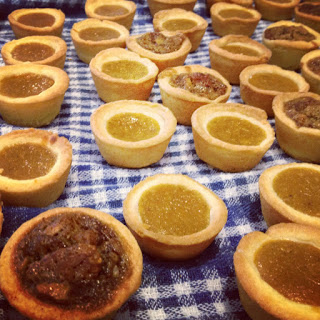
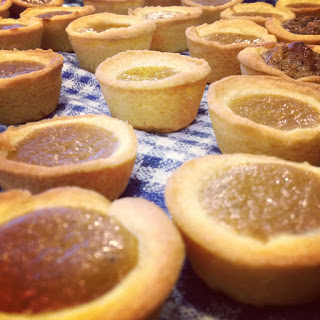
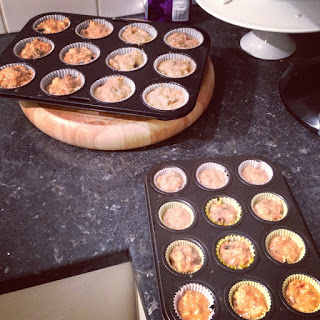
 |
| Mini Pumpkin and Mini pecan pies :) |
These are best served warm. If you are making these in advance, store them in an air tight container once they are fully cool. You can heat them up for a few seconds in the microwave.
Enjoy! (I know we did :))
Sophie x