I don't think blondes have more fun.
I don't know where that myth came from. I would kill for lovely dark hair as well as the dark eye lashes and brows that accompany it.
You see being a fair lass myself, I am cursed with equally fair brows and lashes, making it look like I have neither unless they are coloured in and lacquered with mascara. On the rare occasion I go to the gym without either painted onto my face I find that no one recognises me. Awkward!
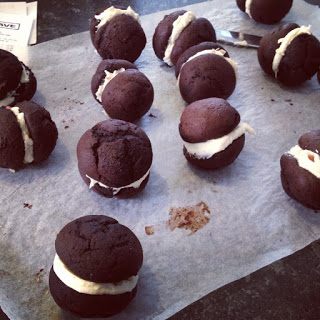
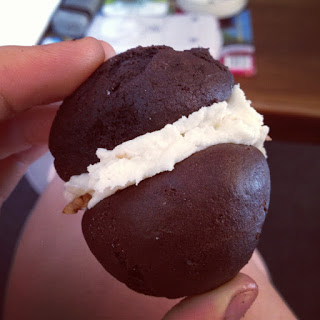
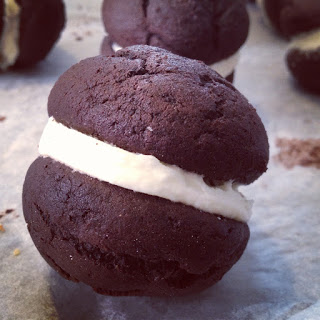
Anyway that is all somewhat irrelevant since I joined the strawberry sisters.
I have been on a real baking drive lately. I want to make as many things as possible these holidays. I have a nice long list if things I want to make.
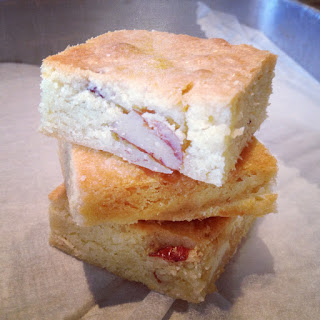
I had a flick through my Hummingbird baker cookbook and found this blondie recipe. It looked simple and didn't require copious amounts of chocolate which all their other brownies need.
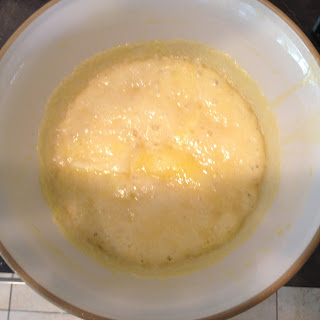
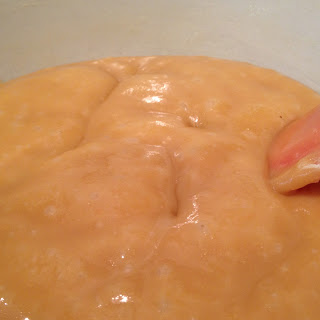
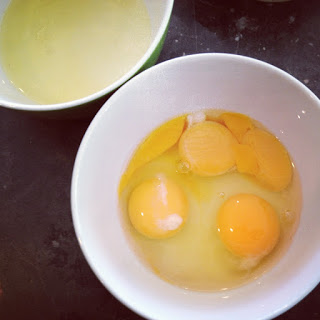
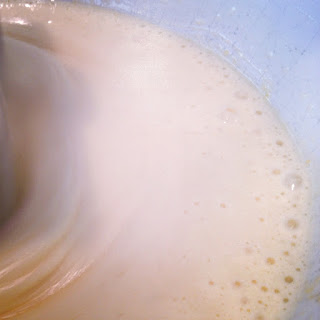
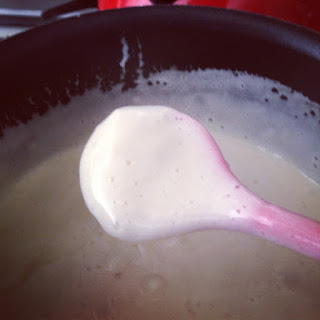
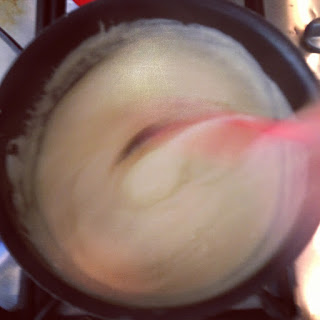
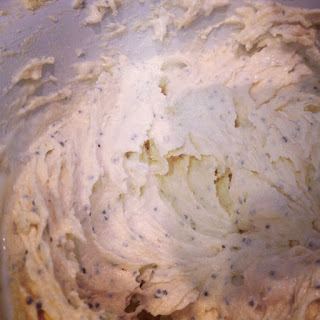
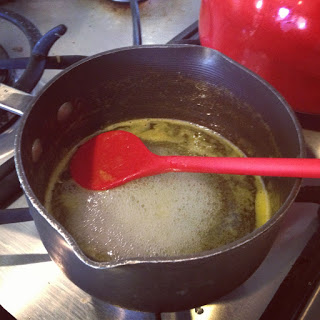
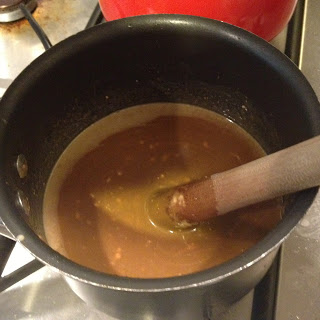
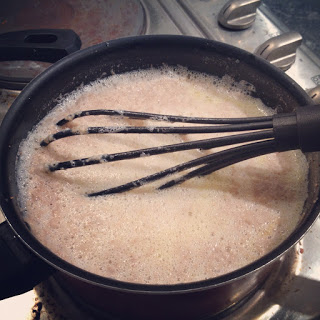
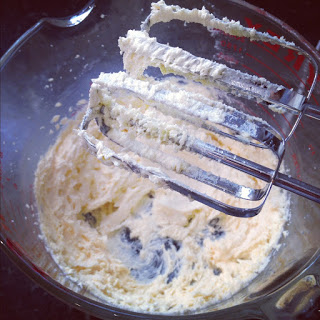
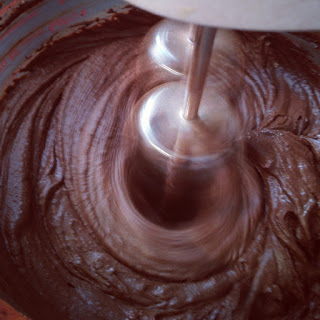
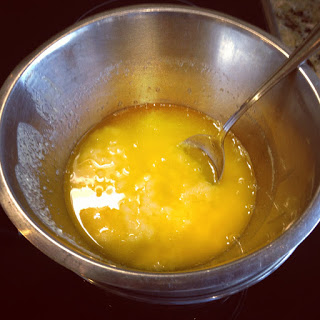
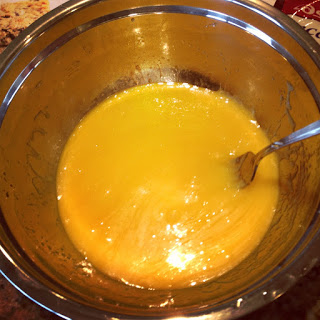
The process is kind of strange. You melt the chocolate and butter together in a double boiler then add the sugar. This causes the mixture to split and look crazy wrong but trust me and persevere! Once the eggs are added the lecithin in the yolks emulsifies the butter and the water in the mixture. Win! I love science!
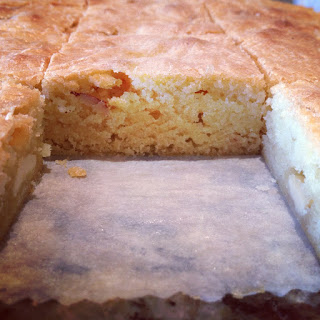
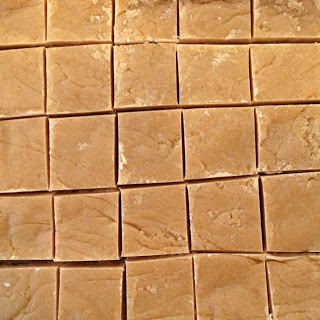
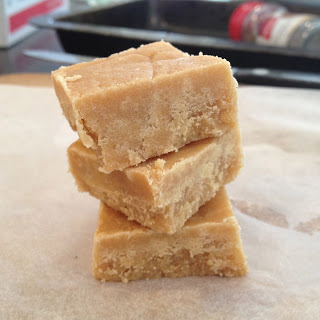
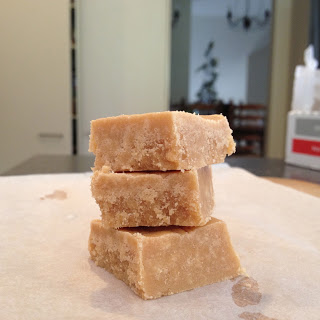
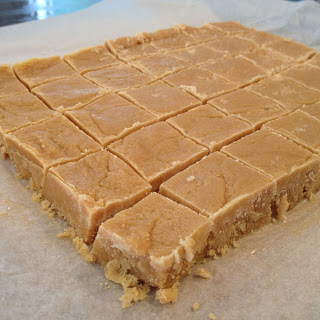
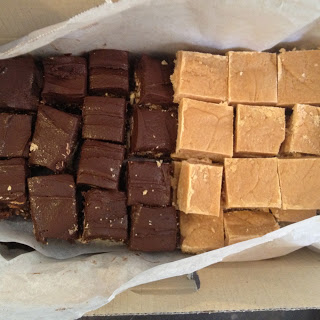
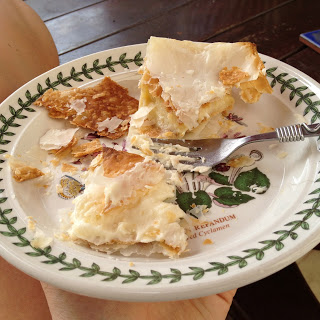
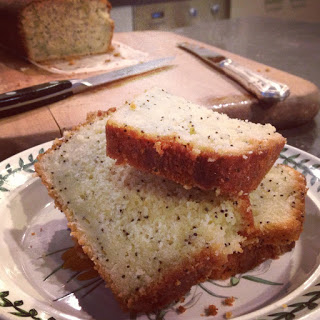
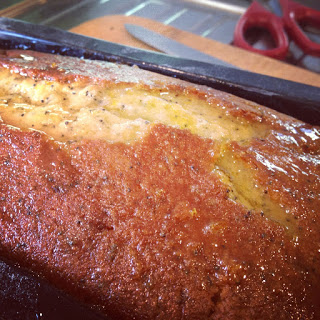
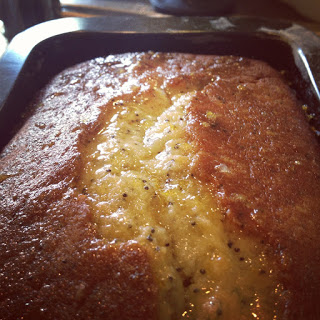
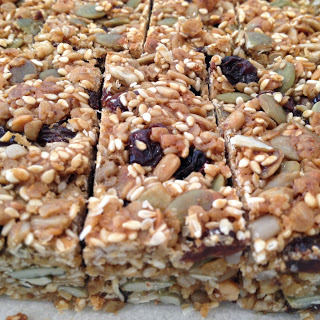
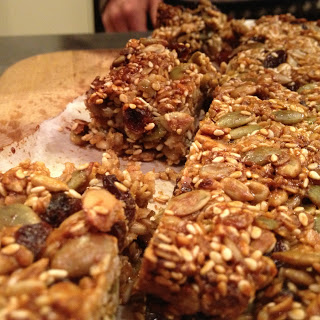
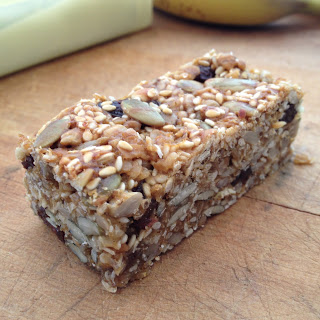
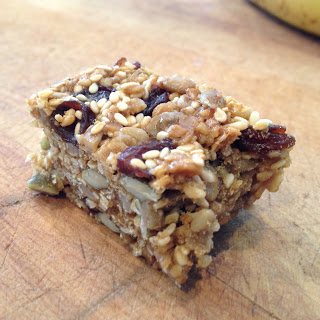
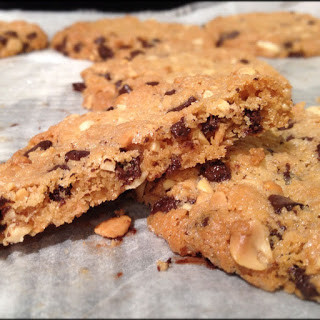
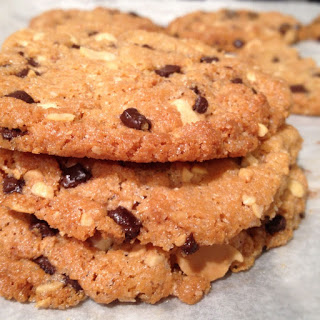
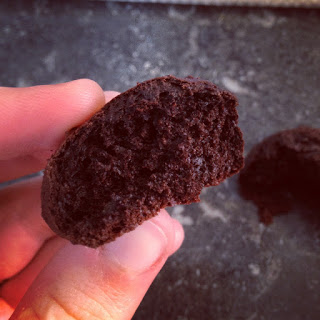
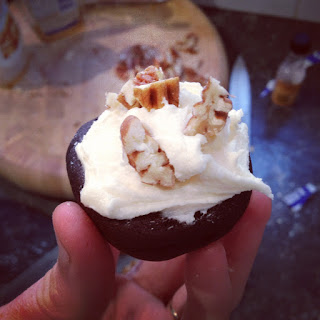
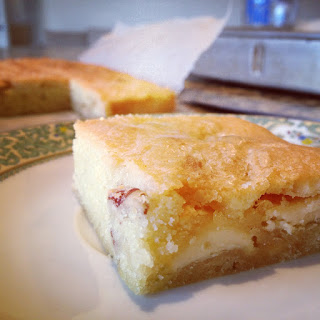
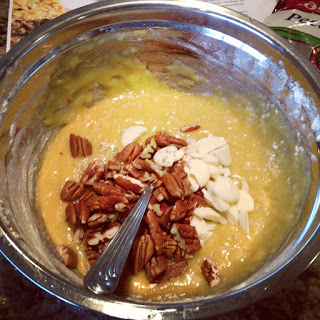
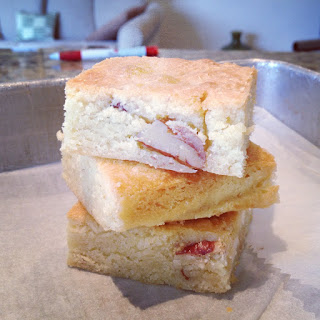
This is a nice sickly sweet alternative to its brown cuzzie. The addition of pecans is delicious but walnuts or even macadamias would be equally amazing. I added extra chopped white chocolate because what is a brownie or a blondie without extra chocolate!

So shall we then?
White Chocolate Blondie
Adapted from the Hummingbird Bakery Cookbook
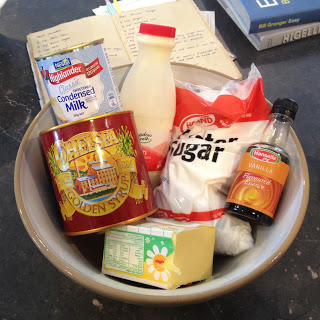
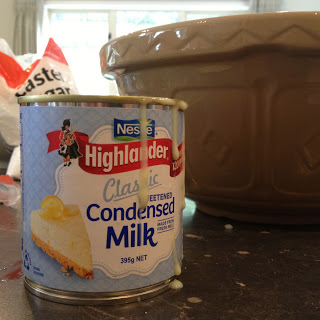
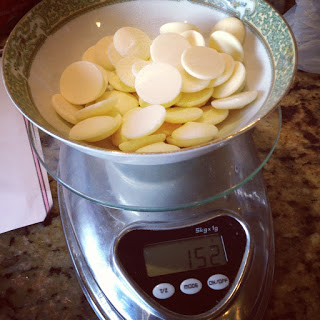
150g white cooking chocolate
125g butter
150g castor sugar
2 eggs
200g plain flour
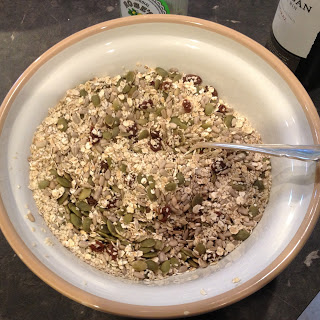
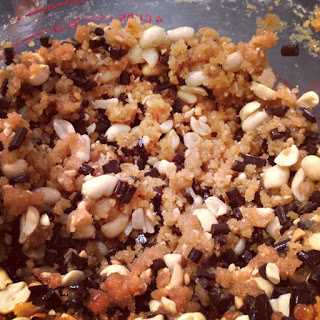
120g pecans, chopped
100g white chocolate chopped
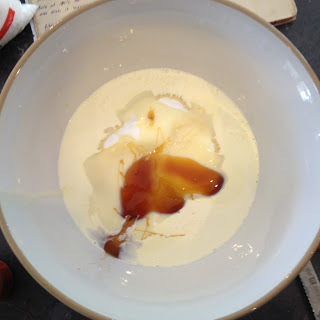
1 teaspoon vanilla essence
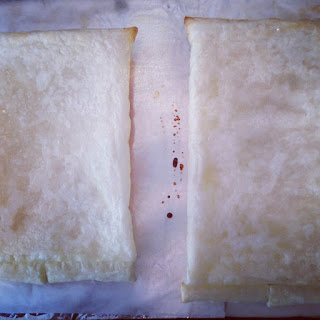
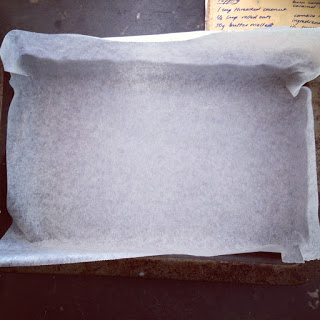
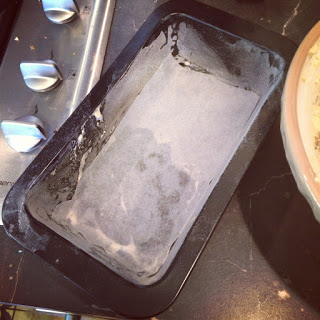
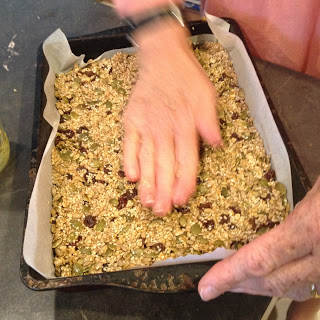
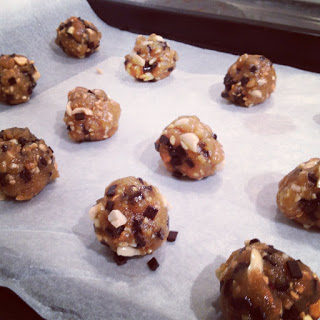
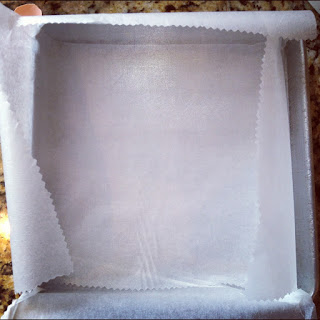
Preheat the oven to 170 degrees bake and line a small slice tin (20x30cm) with baking paper.
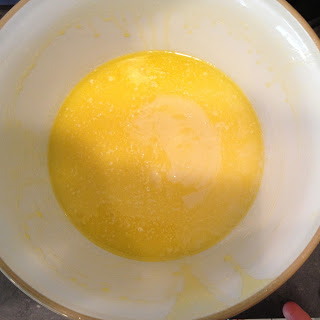
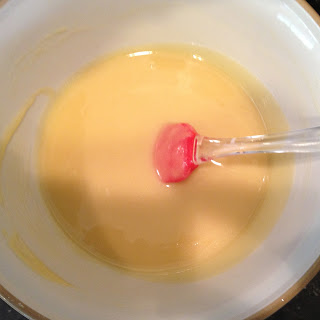
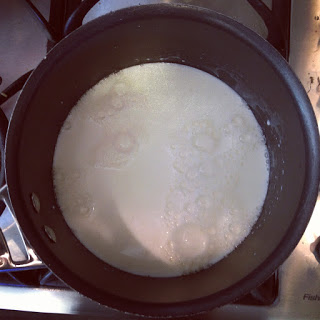
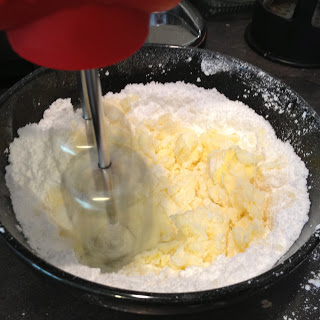
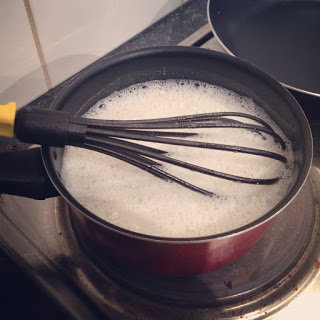
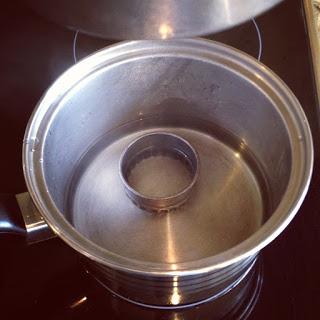
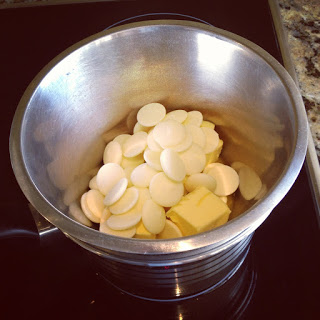
In a heat proof bowl over a saucepan of boiling water (make sure the water doesn't touch the bottom of the bowl - I used a cookie cutter to prop it up) melt together the butter and white chocolate. Remove from the heat.
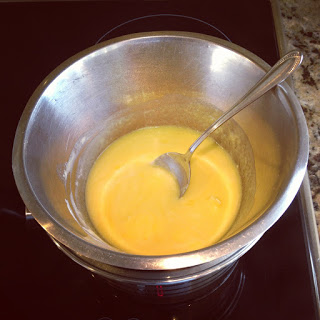
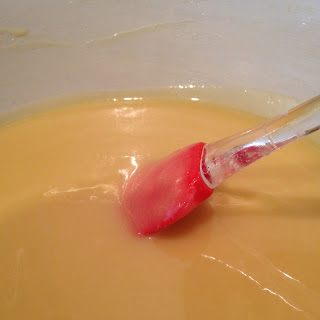
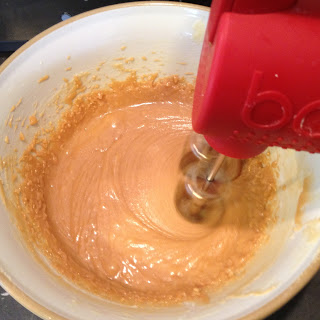
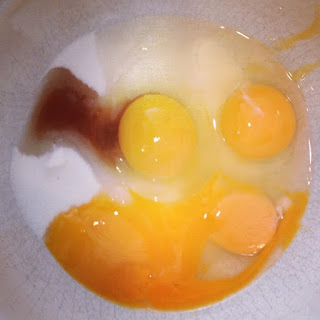
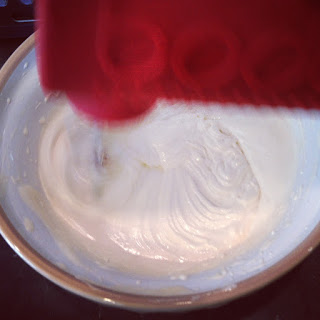
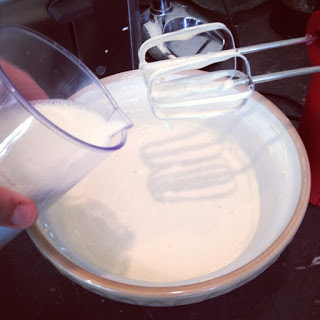
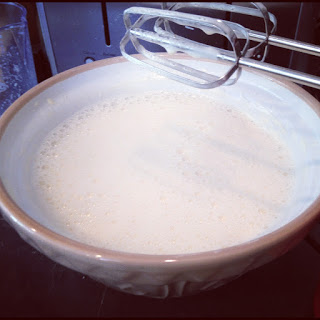
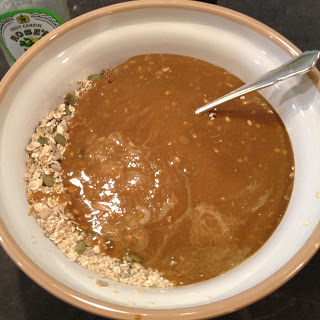
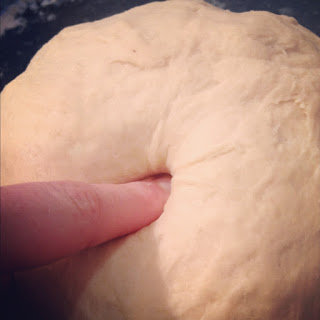
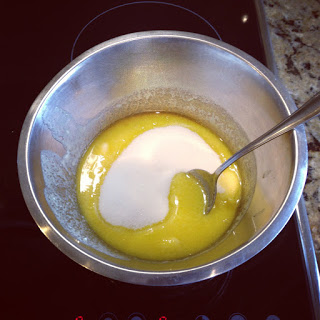
Once melted, whisk in the sugar and vanilla and stir until dissolved. It is here where the mixture looks like it has split but don't worry about it. Quickly mix in the two eggs making sure they don't scramble.
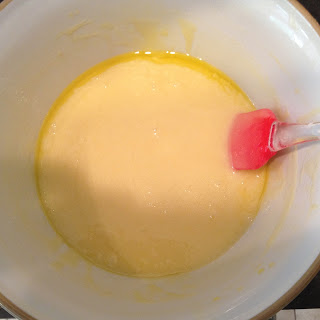
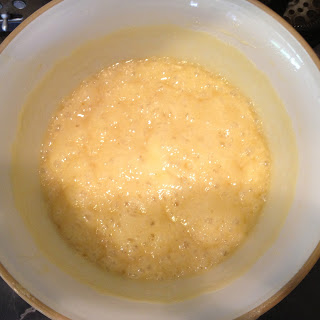
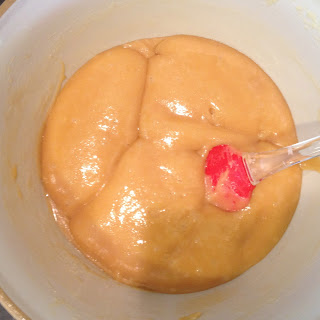
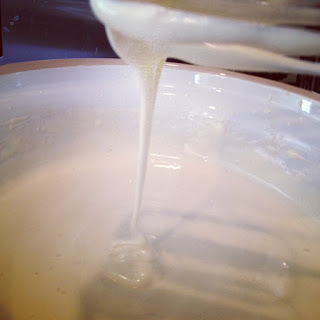
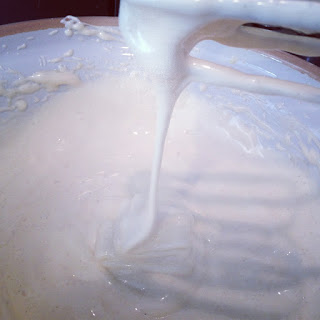
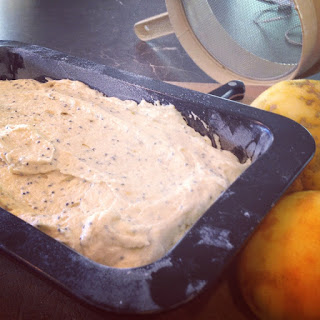
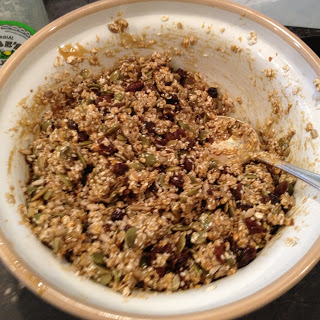
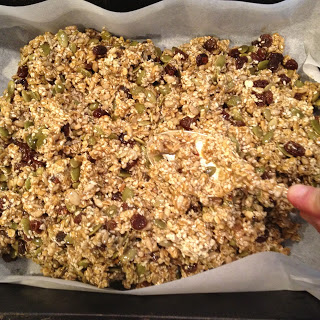
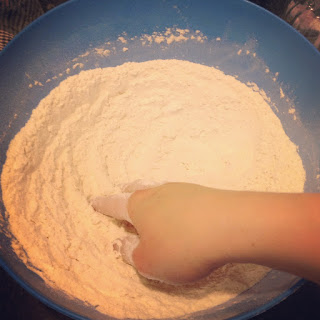
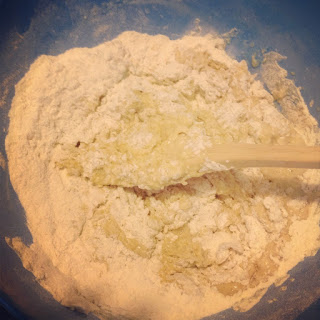
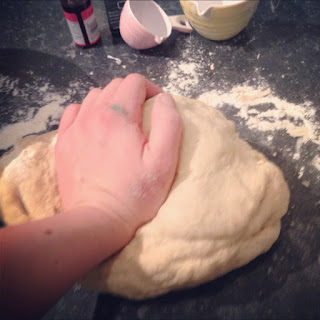
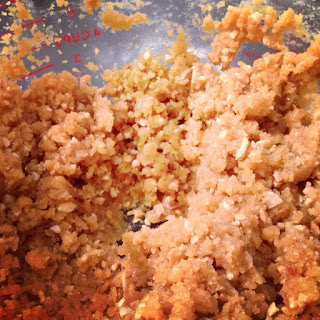
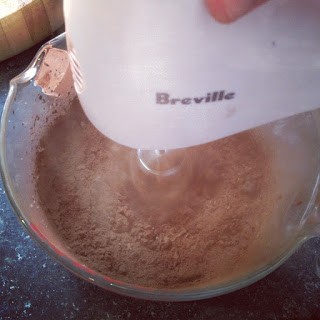
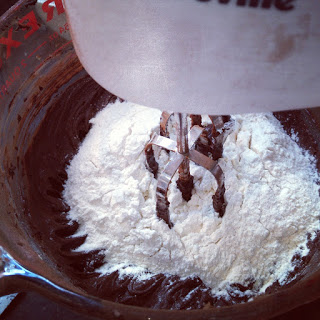
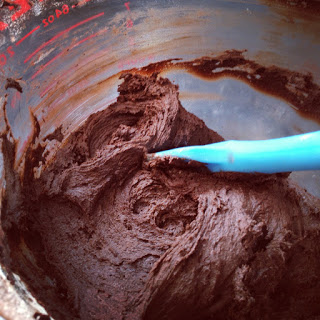
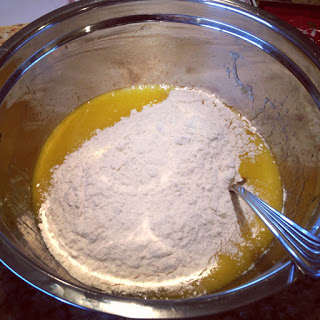
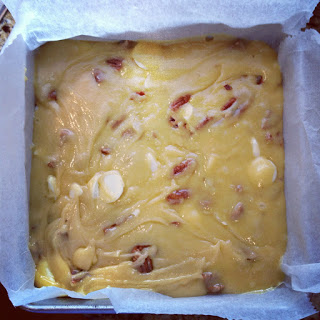
Sift in the flour, mix until just combined. Do not over mix. Add in the pecans and extra chocolate and very quickly mix to spread them out.
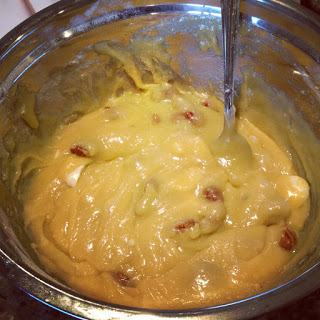
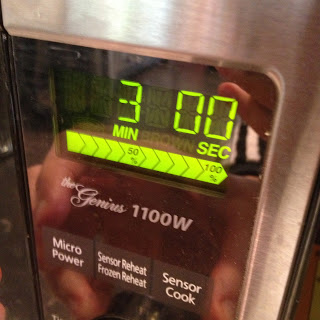
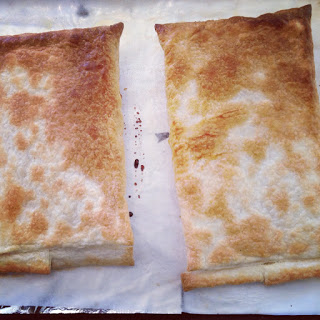
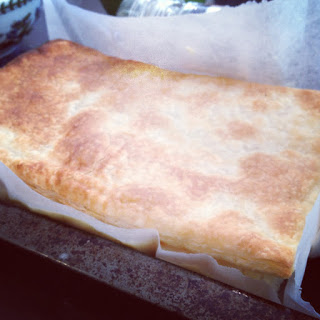
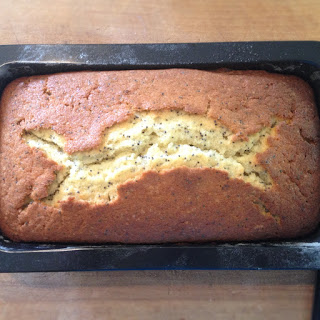
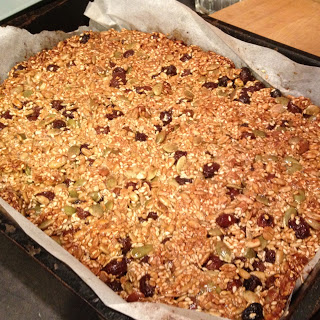
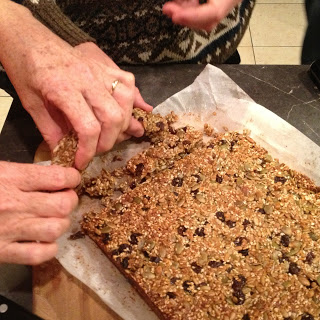
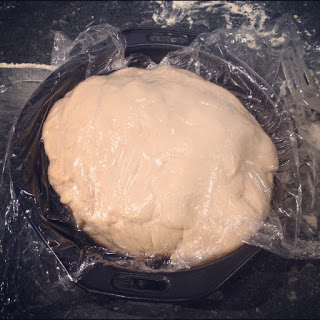
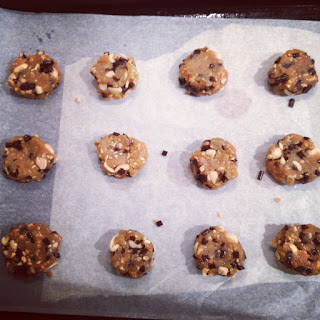
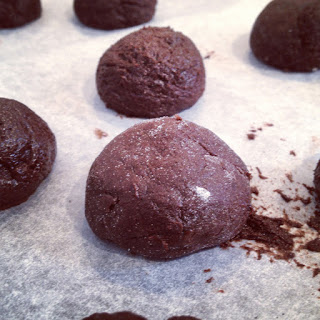
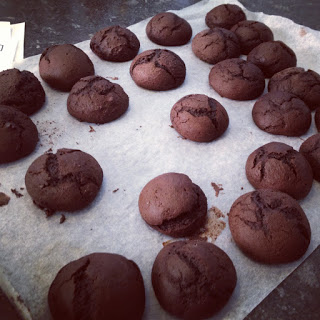
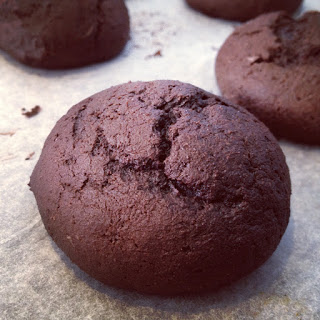
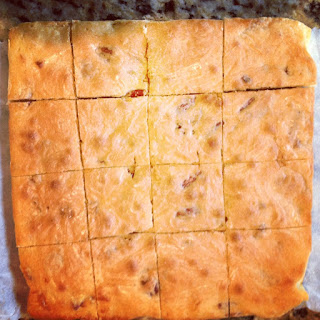
Pour into the prepared tin and bake for 25 minutes. It should be nice and gooey.
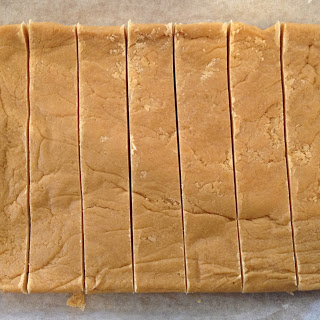
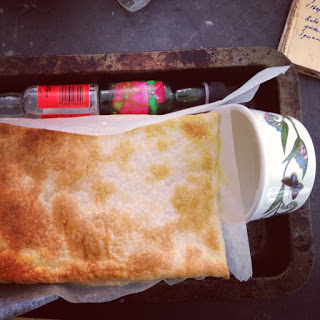
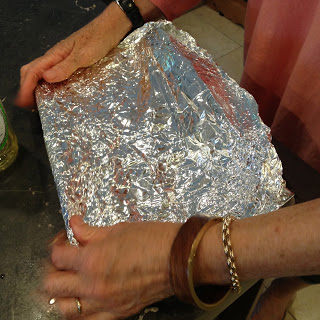
Leave to cool completely before slicing.
Enjoy!! :)
I don't know where that myth came from. I would kill for lovely dark hair as well as the dark eye lashes and brows that accompany it.
You see being a fair lass myself, I am cursed with equally fair brows and lashes, making it look like I have neither unless they are coloured in and lacquered with mascara. On the rare occasion I go to the gym without either painted onto my face I find that no one recognises me. Awkward!
Anyway that is all somewhat irrelevant since I joined the strawberry sisters.
I have been on a real baking drive lately. I want to make as many things as possible these holidays. I have a nice long list if things I want to make.
I had a flick through my Hummingbird baker cookbook and found this blondie recipe. It looked simple and didn't require copious amounts of chocolate which all their other brownies need.
The process is kind of strange. You melt the chocolate and butter together in a double boiler then add the sugar. This causes the mixture to split and look crazy wrong but trust me and persevere! Once the eggs are added the lecithin in the yolks emulsifies the butter and the water in the mixture. Win! I love science!
This is a nice sickly sweet alternative to its brown cuzzie. The addition of pecans is delicious but walnuts or even macadamias would be equally amazing. I added extra chopped white chocolate because what is a brownie or a blondie without extra chocolate!
So shall we then?
White Chocolate Blondie
Adapted from the Hummingbird Bakery Cookbook
150g white cooking chocolate
125g butter
150g castor sugar
2 eggs
200g plain flour
120g pecans, chopped
100g white chocolate chopped
1 teaspoon vanilla essence
Preheat the oven to 170 degrees bake and line a small slice tin (20x30cm) with baking paper.
In a heat proof bowl over a saucepan of boiling water (make sure the water doesn't touch the bottom of the bowl - I used a cookie cutter to prop it up) melt together the butter and white chocolate. Remove from the heat.
Once melted, whisk in the sugar and vanilla and stir until dissolved. It is here where the mixture looks like it has split but don't worry about it. Quickly mix in the two eggs making sure they don't scramble.
Sift in the flour, mix until just combined. Do not over mix. Add in the pecans and extra chocolate and very quickly mix to spread them out.
Pour into the prepared tin and bake for 25 minutes. It should be nice and gooey.
Leave to cool completely before slicing.
Enjoy!! :)